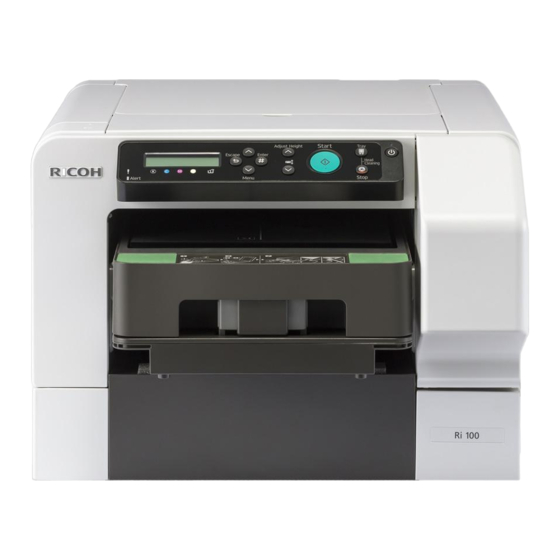
Ricoh Ri 100 Maintenance Manual
Pink / green
Hide thumbs
Also See for Ri 100:
- Safety information manual (404 pages) ,
- Operating instructions manual (260 pages) ,
- Manual (176 pages)
Advertisement
Quick Links
Download this manual
See also:
User Manual
Maintenance
Guide
Read this manual carefully before you use the product and
keep it handy for future reference.
For safe and correct use, be sure to read Safety Information
before using the machine.
Contents
Notice .......................................................................................2
Maintenance Kit ........................................................................3
Cleaning the Maintenance Unit ................................................4
Cleaning the Print Head Nozzles..............................................7
Advertisement

Summary of Contents for Ricoh Ri 100
- Page 1 Maintenance Guide Read this manual carefully before you use the product and keep it handy for future reference. For safe and correct use, be sure to read Safety Information before using the machine. Contents Notice ..................2 Maintenance Kit ................3 Cleaning the Maintenance Unit ..........4 Cleaning the Print Head Nozzles..........7...
-
Page 2: Notice
Notice • Keep ink and ink containers out of reach of children. • If ink gets into contact with eyes, wash eyes immediately with run- ning water. Consult a doctor if necessary. • If ink is ingested, induce vomiting by drinking a strong saline solu- tion. -
Page 3: Maintenance Kit
Maintenance Kit Use the maintenance kit to clean the inside of the machine. The supplied materials in the maintenance kit are as follows: • Cleaning tool • Protective glasses • Protective gloves • Dropper • Cleaning liquid • Absorbent • Cleaning stick •... -
Page 4: Cleaning The Maintenance Unit
Cleaning the Maintenance Unit If a message prompting you to provide regular maintenance appears, clean the Maintenance Unit. Press the [▼/Menu] key. Press the [▲] or [▼/Menu] key to display [Mainte- nance], and then press the [#Enter] key. Press the [▲] or [▼/Menu] key to display [Clean Maint Unit], and then press the [#Enter] key. When "Press # to clean Maint Unit" is displayed, press the [#Enter] key. - Page 5 Wipe off any dirt in the area shown in the figure with the cleaning stick moistened with the cleaning liquid. For the top part of the cap, wipe it gently. Wiper (back and front) Lever (side part, top part, and inner part) DSB102 DSA106 DSA200...
- Page 6 Wipe the side part, top part, and inner part of the cap until all the solidified ink is removed. Top part Inner part Side part DSB101 The video instructions we provide also explain how to clean the Maintenance Unit. For details, see the manufacturer’s website. •...
-
Page 7: Cleaning The Print Head Nozzles
Cleaning the Print Head Nozzles • Do not put your hands inside the machine while cleaning of the print head nozzles is automatically performed. Your fingers may be trapped and injured inside the machine. If the message prompting you to provide regular maintenance appears, clean the print head. Attach the two absorbents to the cleaning tool, and then use the dropper to moisten the absorbent with the cleaning liquid. - Page 8 When "Press # to start Auto Head Maint." is displayed, press the [#Enter] key. When "Remove Tray" is displayed, remove the cas- sette. When "Set Maint. Kit Press Start key" is displayed, at- tach the cleaning tool to the cassette stand. Push the cleaning tool to the back until it clicks. DSA104 Press the [Start] key.
- Page 9 • Do not reuse the absorbent. After using it, put it in the expendable items disposal bag included in the package. To dispose of the ab- sorbent, consult with an authorized dealer. When disposing of the absorbent by yourself, be sure to comply with local disposal regula- tions.
-
Page 12: Maintenance Guide
Maintenance Guide © 2017 Ricoh Co., Ltd. J088-6624B...


Need help?
Do you have a question about the Ri 100 and is the answer not in the manual?
Questions and answers