DeFelsko PosiTector SPG Manual
Surface profile gage
Hide thumbs
Also See for PosiTector SPG:
- Instruction manual (52 pages) ,
- Quick manual (38 pages) ,
- Manual (34 pages)
Table of Contents
Advertisement
Quick Links
Advertisement
Table of Contents

Related Manuals for DeFelsko PosiTector SPG


Summary of Contents for DeFelsko PosiTector SPG
- Page 1 Surface Profile Gage Full Guide v. 1.1...
-
Page 2: Table Of Contents
Table of Contents Table of Contents Introduction ............Quick Start ............Probes ..............Why is Measurement Important? ......How to Measure ..........Calibration & Verification of Accuracy ....Menu Operation ..........Zero Menu ............Setup Menu ............Reset .............. Gage Info ............10 Statistics Menu ............ - Page 3 Accessing Stored Measurement Data ....18 PosiSoft USB Drive ........18 PosiSoft.net ............ 18 PosiSoft Desktop ........... 18 PosiSoft App ..........18 Connect Menu ............. 19 WiFi ..............19 USB Drive ............21 Sync Now ............23 Bluetooth Smart..........23 Bluetooth ............
-
Page 4: Introduction
- Two (2) year warranty on Body and Probe Quick Start Quick Start The PosiTector SPG powers-up when the center navigation button is pressed. To preserve battery life, it powers-down after approximately 5 minutes of no activity. All settings are retained. - Page 5 Protective Cap PosiTector SPG models are shipped with a protective plastic cap over the probe. Remove this cap prior to use. Replace it when the Gage is not in use to protect the probe. Wrist Strap We recommend attaching and wearing the supplied wrist strap.
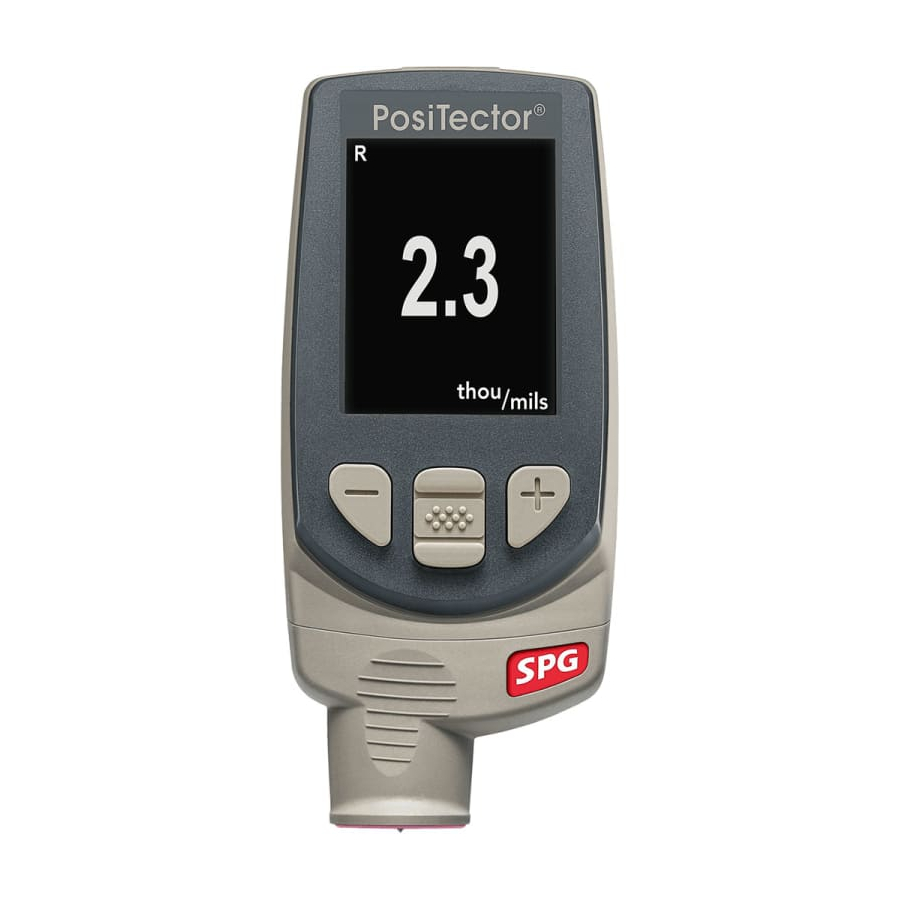
- Page 6 PosiTector Body USB Port LCD Display Probe Connector Typical Screen Measurement Type Current Measurement Factory Zero in Unit of Measurement Battery Indicator...
-
Page 7: Probes
The PosiTector body accepts a wide variety of probe types including magnetic, eddy current and ultrasonic coating thickness, surface profile, shore hardness durometer, salt contamination and ultrasonic wall thickness probes. See www.defelsko.com/probes PosiTector bodies accept all PosiTector DPM, 6000, 200, SPG, RTR, SST, SHD and UTG probes... -
Page 8: Why Is Measurement Important
PosiTector SPG probes include a 60˚ (ASTM D 4417 B) or 30˚ (Australian Standard AS 3894.5) angle tip (50 µm/2 mil radius) with a measurement range of 0 to 500 µm (20 mils). PosiTector SPG CS probes measure the profile of textured coatings up to 1500 µm (60 mils) with a 500 µm (20 mil) radius... -
Page 9: Calibration & Verification Of Accuracy
Instrument calibration is typically done by the manufacturer or qualified lab. All probes include a Certificate of Calibration showing traceability to a national standard. For organizations with re-certification requirements, the PosiTector SPG may be returned at regular intervals for calibration. DeFelsko recommends that our customers establish Gage calibration intervals based upon their own experience and work environment. -
Page 10: Menu Operation
Menu Operation Instrument functions are menu controlled. To access the Menu, power-up the Gage, then press the center navigation button. Below is a sample menu for a PosiTector SPG Advanced Model: Memory Statistics Some buttons have a tick box to their Zero right to indicate current status. -
Page 11: Zero Menu
Zero Menu Zero Menu The PosiTector SPG has only one adjustment point at zero. The zero point can be set using one of two methods. Both methods are found under the Zero menu option. Glass Plate Zero Setting the Gage to zero on the glass plate is the preferred zero adjustment method: 1.Select... -
Page 12: Setup Menu
Setup Menu Setup Menu Reset Reset (soft reset) restores factory settings and returns the Gage to a known condition. The following occurs: • All batches, stored datasets, images and batch names are erased. • Menu settings are returned to the following: Memory = OFF Bluetooth &... -
Page 13: Gage Info
The battery state indicator icon is calibrated for the selected battery type. No damage will occur if the wrong battery type is selected. NOTE: DeFelsko recommends the use of eneloop (NiMH) rechargeable batteries. Units Converts the display from inch to metric or vice versa. Stored measurements in memory are not converted. -
Page 14: Statistics Menu
Statistics Menu Statistics Menu Statistics When selected, a icon and statistical summary will appear on the display. Mean Standard # of (average) Deviation measurements Measurement Type σ 49.8 Minimum ↨ Maximum measurement measurement Last Battery Indicator reading microns Statistics Icon Remove the last measurement by pressing the (-) button. -
Page 15: Memory Management
Memory Management Memory Management The PosiTector SPG has internal memory storage for recording measurement data. Stored measurements can be reviewed on-screen or accessed via computers, tablets and smart phones. Measurements are date and time-stamped. Button functions with Memory ON: Create a new batch... -
Page 16: Advanced Models
(see pg. 11) current reading microns SmartBatch The PosiTector SPG measures the depth of a single valley in relation to the height of the surrounding peaks using a pointed, cone-shaped probe. A single depth measurement generally does not adequately characterize the surface profile of an abrasive blast cleaned surface. - Page 17 The Smart Batch menu option sets-up the PosiTector SPG to comply with the statistical approaches defined in various standards and test methods published by organizations such as ASTM, SSPC, ISO, IMO, US Navy, SANS and AS.
-
Page 18: Annotate
Annotate (Advanced models only) Create meaningful batch names and enter notes directly on the Gage using a familiar onscreen QWERTY keyboard. Use the Gages navigation and (-)(+) buttons to enter annotations. Annotations can be synchronized with PosiSoft.netand are included in all PosiSoft reports (see Accessing Stored Measurement Data, pg. - Page 19 NOTE: PosiSoft.net (pg. 19) and PosiSoft Mobile (pg. 20) are used to insert an Image and Notes into a batch.
-
Page 20: Display
NOTES: Remove the last reading from the current open batch by pressing (-). Calibration adjustments cannot be made if any measurements were taken with that Cal setting and stored into a batch. Each batch can contain a maximum of 10,000 readings. (Advanced models only) Displays a summary of all stored batches including the name, probe... -
Page 21: Accessing Stored Measurement Data
Accessing Stored Measurement Data Accessing Stored Measurement Data DeFelsko offers the following free solutions for viewing, analyzing and reporting data: PosiSoft USB Drive - Connect the Gage to a PC/Mac using the supplied USB cable. View and print readings and graphs using universal PC/Mac web browsers or file explorers. -
Page 22: Connect Menu
(Advanced models only) Allows connection to your local wireless network or mobile hot spot. Ideal for using your network’s internet connection for synchronizing stored measurements with PosiSoft.net (pg.19). www.defelsko.com/wifi Enable Turns WiFi functionality ON. When selected, the icon will appear on the display. - Page 23 The PosiTector is now visible to all WiFi enabled devices. Simply connect your devices WiFi to the new PosiTector Access point. All PosiTectors are uniquely identified by their respective gage body serial numbers. AP Channel - Default Channel: 6 For most users the default channel will not have to be altered. If you are experiencing poor connection or are unable to connect, try another channel.
-
Page 24: Usb Drive
Information (continued): • Server Enable: enables a connection between the network and the Gage • Gage Name: enter a name for the Gage (up to 14 Characters). AP Channel: The access point channel corresponding to a frequency range. (Default Channel: 6) AP Passphrase: A series of characters, numbers or symbols used to log on to a WiFi network. - Page 25 USB connected computer. Using 3rd party data collection or SPC software, datasets can be captured as they are taken. This following guide provides step-by-step directions for estab- lishing communication between the PosiTector Advanced and a USB connected computer. PosiTector Advanced USB Serial Streaming Instructions http://www.defelsko.com/usb/PosiTectorAdvanced-USBserial.pdf...
-
Page 26: Sync Now
Sync .net Now The below WiFi, USB and Bluetooth menus contain a Sync .net Now option. When selected, the Gage immediately synchronizes stored measurement data via its respective communication method (internet connection required). Alternatively, select Auto Sync .net from within the USB connect menu to automatically synchronize upon connection to a PC. -
Page 27: Bluetooth
Allows individual readings to be sent to a computer, printer or compatible device as they are taken using Bluetooth wireless technology. See www.defelsko.com/bluetooth Pairing The instrument and receiving device must be paired before stored or streamed datasets can be transmitted. For pairing instructions, see http://www.defelsko.com/bluetooth... -
Page 28: Updates
Updates Determines if a software update is available for your Gage. If an update is available, a prompt will appear allowing the user to choose to perform the update at this time or not. To perform an update the Gage must be connected to an internet connected computer with PosiSoft Desktop (pg. -
Page 29: Technical Data
Most conditions can be cleared with a Hard Reset (see pg. 9). If not, visit our Service & Support page for information on sending your Gage to us for a no charge evaluation. See: http://www.defelsko.com/service Thickness readings are inconsistent: - Probe tip may be damaged, scratched or worn... - Page 32 Corporation registered in the U.S. and in other countries. Other brand or product names are trademarks or registered trademarks of their respective holders. Every effort has been made to ensure that the information in this manual is accurate. DeFelsko is not responsible for printing or clerical errors.
Need help?
Do you have a question about the PosiTector SPG and is the answer not in the manual?
Questions and answers