
Related Manuals for Samsung CMD6638


Summary of Contents for Samsung CMD6638
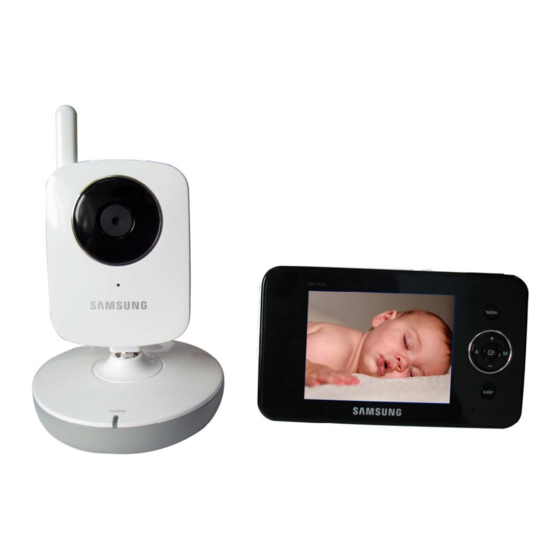
- Page 1 PORTABLE DIGITAL WIRELESS MONITORING SYSTEM INSTRUCTION MANUAL MODEL: CMD6638 (SEW-3030)
-
Page 2: Camera Features
Features • Digital wireless technology provides excellent image quality and clarity • Interference free, secure and private signal ① • Up to 300ft wireless transmission range • Listen in with exceptional sound clarity • Safety warning feature notifies you when out of range ②... -
Page 3: Wireless Receiver
Check your package to confirm that you have received the complete system, including all components shown above. Wireless Receiver Front/Back Controls 1. LCD Screen – Displays video from the camera. 2. Microphone – Receives sounds from the area near the receiver and transmits sound from the receiver to the camera (only when TALK Button is pressed down and held). - Page 4 9. DC 5V Power Input – Connect the included DC 5V power adaptor to power the receiver and/or charge the receiver battery (when the receiver is not in the cradle). 10. A/V Out Port (Optional Use) – Connect the included A/V cable to view video from the receiver on a TV or monitor, or record on a DVD recorder/VCR.
-
Page 5: Wireless Receiver Installation
Wireless Receiver Installation Determine if you will be using the receiver cradle, or connecting the cables directly to the receiver before installation: 1. Place the receiver cradle or receiver in a place that will have clear reception with your camera(s). 2. -
Page 6: Side Controls
7. Charging Indication LED – Indicates the camera is in charge when the LED is red on 8. DC 5V Power – Connect the DC 5V power adaptor to the camera NOTE: The camera can also be powered using 3 AA batteries (not included) installed in the base. If the camera is plugged in with the AC adaptor, the batteries will not be used. -
Page 7: Installing The Camera
Avoid installing the cameras where there are thick walls, or obstructions between the Cameras and the Receiver. Night Vision This camera has built-in IR LEDs, which provides the camera with the ability to view images in no/low light conditions. It is important to use the provided power adaptor (and not the batteries) when using the camera for prolonged periods in low light conditions, as the built-in IR LEDs will drain the battery more quickly than regular daytime use. -
Page 8: Viewing Mode
Battery Pack 1. Remove the battery cover off the base of the camera. 2. Insert 3 AA batteries (not included) into the Battery Pack. Make sure to correctly line up the Positive (+) and negative (-) terminals of the batteries. 3. - Page 9 Adjusting the Receiver Volume The receiver volume can be adjusted by using the UP/DOWN▲▼ arrows when viewing a camera. Press the DOWN▼ arrow to decrease the volume, and press the UP▲ arrow to increase the volume. When the volume is set to one bar (lowest setting), the volume is muted.
- Page 10 predetermined time, to save battery. This function can be set to 1 minute, 2 minutes, 5 minutes, 10 minutes, or disabled by selecting off. The monitor will go to black screen to save battery after the time you have set (1minute, 2 minutes, 5 minutes or 10 minutes).
- Page 11 6)Temperature Unit—Choose the ℃ or ℉ for temperature unit 7). Temperature Alert – Sets the temperature alert range. Once the temperature on camera side is out of the range, the monitor will beep to alert you. 8). A/V Out – Chooses the TV system for A/V output. 9).Factory Reset–...
- Page 12 can select Blank screen to make the LCD screen display nothing in scan mode. Date & Time You can set the time value with YY MM DD HH MM to show in the monitor screen. Trigger Alert You can select the Vibration or Beep as the trigger alert manner while something has been detected by camera side Temperature Unit The ℃...
-
Page 13: Camera Pairing
Use LEFT and RIGHT arrows to select low temperature or high temperature, then use the UP and DOWN ▼▲ arrows to set the temperature value. After successfully setting the temperature range, choose ON and then press the OK button to confirm the setting. Choose OFF to disable temperature alert function. -
Page 14: Troubleshooting
1. Power on the camera by connecting the power adaptor or battery pack, and turning the switch to ON. The power LED for the camera should be ON. 2. Power on the receiver by connecting the power adaptor to the 5V Input on the side. 3. -
Page 15: Appendix #1 - Receiver Specifications
1. Move the camera closer to the receiver. 2. Try repositioning the camera, receiver or both to improve the The picture is dropping reception. 3. Adjust the monitor antenna to vertical position. 1. Ensure that the volume on the TV is on. 2. - Page 16 Camera(s) Transmit Frequency Range 2.400GHz~2.483.5GHz Data Rate 2 Mbps Transmitting Power 14dBm (TYP) Modulation Type GFSK with FHSS Transmitting Distance 100m (Line of Sight) Image Sensor Type 1/4” Color CMOS Image Sensor Effective Pixels H: 640 V: 480 Image Processing Motion JPEG Image Resolution / Frame Rate H: 640 V: 480 / 30FPS Max...
- Page 17 FCC NOTE This device complies with Part 15 of the FCC Rules. Operation is subject to the following two conditions: (1) this device may not cause harmful interference, and (2) this device must accept any interference received, including interference that may cause undesired operation. THE MANUFACTURER IS NOT RESPONSIBLE FOR ANY RADIO OR TV INTERFERENCE CAUSED BY UNAUTHORIZED MODIFICATIONS TO THIS EQUIPMENT.
Need help?
Do you have a question about the CMD6638 and is the answer not in the manual?
Questions and answers