Table of Contents
Advertisement
Quick Links
Download this manual
See also:
User Manual
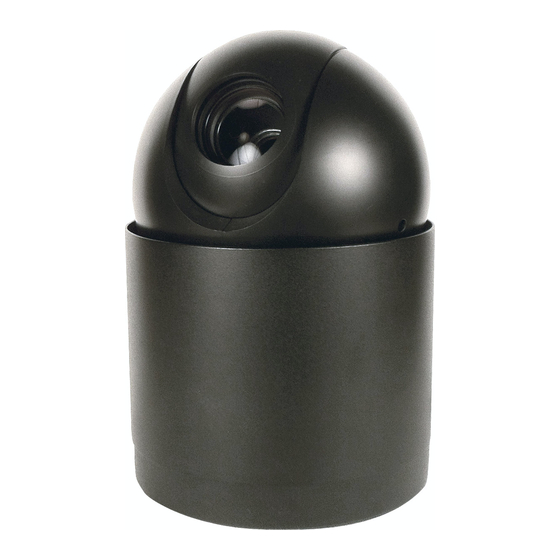
VT-PTZ220N
ENVI Series 2.0 MegaPixel 20x
Network PTZ Camera with PoE
QUICK START GUIDE
FEATURES:
• 1/2.8" 2.0 MegaPixel Sony® Exmor™ Progressive Scan CMOS Sensor
• Up to 30fps live view @ 1920 x 1080p
• High speed PTZ operation from 0.1°/sec to 420°/sec.
• XDNR Noise Reduction (Utilizes both 2DNR & 3DNR)
• 16:9 Video format
• True Day/Night with ICR & DSS
• H.264/MJPEG Dual Streaming
• Full duplex 2 way audio, Alarm IN/OUT
• Minimal Latency w/Max 16 User Connections
• Onvif Compliance
• MicroSD Card Slot supporting up to 64GB cards for Onboard EDGE
Recording & Playback
• 12VDC & PoE Plus (Power over Ethernet)
• 3 Year Warranty
Advertisement
Table of Contents

Related Manuals for Vitek VT-PTZ220N


Summary of Contents for Vitek VT-PTZ220N
-
Page 1: Quick Start Guide
VT-PTZ220N ENVI Series 2.0 MegaPixel 20x Network PTZ Camera with PoE QUICK START GUIDE FEATURES: • 1/2.8” 2.0 MegaPixel Sony® Exmor™ Progressive Scan CMOS Sensor • Up to 30fps live view @ 1920 x 1080p • High speed PTZ operation from 0.1°/sec to 420°/sec. -
Page 2: Box Contents
1. Box Contents 1) VT-PTZ220N 20x IP PTZ Camera 2) Mounting Hardware & Accessories 4) ENVI Series CD 2. Included Accessories Surface Mount Housing Qty: 1 Mounting screws Qty: 3 Alarm/Multi Cable Qty: 1 ENVI Series CD Qty: 1 3. Available Accessories 3.1. - Page 3 4. VT-PTZ220N Installation • Remove by unscrewing the surface mount housing (See Fig. A). Simultaneously push the right and left hooks from the camera, this will free the camera from the base. (See Fig. B) 4.1. Surface mount Installation • Attach the PTZ Dome camera base to a sturdy surface with two of the included St4x30 screws.
- Page 4 1. Power Depending on the type of installations, apply power to the camera by one of the two options below. a) Via Ethernet – Use only with POE + switch (100 Meters max distance) b) 12VDC - Use with 12VDC 2A ** SEE IMPORTANT NOTES BELOW ** Primary and secondary grounds are completely isolated to avoid possible ground-loop problems.
-
Page 5: Camera Software Installation
b) Screw back the Surface Mount Housing in to Place. 5. Camera Software Installation 1. Run IP Installer Software from the CD program on a computer that is on the same network as the IP camera. 2. Start IP Installer, by double clicking the icon “IP Installer” 3. - Page 6 4. Search for the installed camera on the network by clicking the search product icon, the camera should appear as the image below. The default IP address is 10.20.30.40 5. To assign an automatic IP address to this camera within the network, click the “Automatic IP Setup” icon 6.
- Page 7 b) Click over the icon “ Connect Product Homepage ” 8. From the Home Page, you can “ Live View” or administrate “Admin” the camera. On Live View you will be able to see live video from your camera.
- Page 8 Version 1.0 28492 Constellation Road ValenCia, Ca 91355 November 2015 WWW.ViteKCCtV.CoM...
Need help?
Do you have a question about the VT-PTZ220N and is the answer not in the manual?
Questions and answers