Sign In
Upload
Download
Table of Contents
Contents
Add to my manuals
Delete from my manuals
Share
URL of this page:
HTML Link:
Bookmark this page
Add
Manual will be automatically added to "My Manuals"
Print this page
×
Bookmark added
×
Added to my manuals
Manuals
Brands
Roberts Manuals
Radio
Blutune 5
Manual
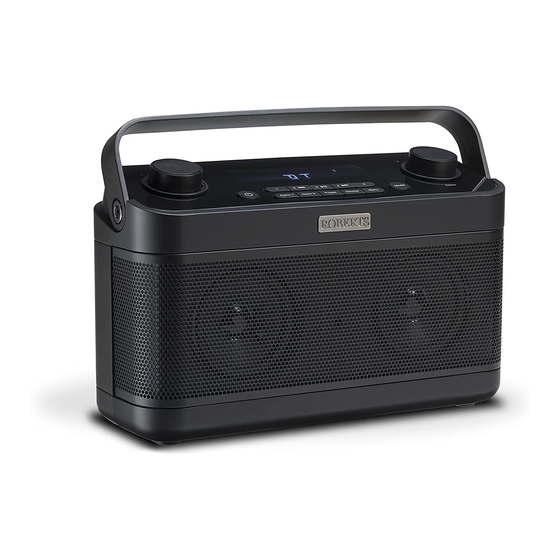
Roberts Blutune 5 Manual
Dab / dab+ / fm rds / bluetooth digital radio with clock and alarms
Hide thumbs
1
2
3
4
5
6
7
8
9
10
11
12
13
14
15
16
17
18
19
20
21
22
23
24
25
26
27
28
29
30
31
32
Table Of Contents
33
page
of
33
Go
/
33
Contents
Table of Contents
Bookmarks
Table of Contents
Battery Operation
Operating Your Radio - DAB
Selecting a Station - DAB
Manual Tuning - DAB
Prune Stations - DAB
Manual Tuning - FM
Display Options - DAB / FM / Bluetooth
Presetting Stations in Dab and Fm Modes
Preset Stations
Connecting Bluetooth Devices
Connecting and Reconnecting a Bluetooth Device
When the Alarm Sounds
Cancelling Alarms
Snooze Function
Sleep Function
Software Version
Language Function
Equaliser Function (Bass & Treble)
Headphone Socket
Auxiliary Input Socket
System Reset
Safety Notices
Advertisement
Quick Links
1
Battery Operation
2
Operating Your Radio - Dab
3
Manual Tuning - Dab
4
Display Options - Dab / Fm / Bluetooth
5
Connecting Bluetooth Devices
6
Equaliser Function (Bass & Treble)
7
System Reset
Download this manual
Blutune 5 / Blutune 6
DAB / DAB+ / FM RDS / Bluetooth digital radio with clock and alarms
Please read this manual before use
Table of
Contents
Previous
Page
Next
Page
1
2
3
4
5
Advertisement
Table of Contents
Need help?
Do you have a question about the Blutune 5 and is the answer not in the manual?
Ask a question
Questions and answers
Related Manuals for Roberts Blutune 5
Radio Roberts Blutune User Manual
Dab / dab+ / fm / bluetooth stereo digital radio (48 pages)
Radio Roberts Blutune 6 Manual
Dab / dab+ / fm rds / bluetooth digital radio with clock and alarms (33 pages)
Radio Roberts ROBERTS User Manual
Dab / fm rds stereo digital radio with dock for ipod and iphone (52 pages)
Radio Roberts Blutune 40 Manual
Dab / dab+ / fm bluetooth digital radio (44 pages)
Radio Roberts classic blutune User Manual
Dab / dab+ / fm rds bluetooth digital radio (36 pages)
Radio Roberts Blutune T2 Manual
Dab / dab+ / fm rds / bluetooth portable digital radio with clock and alarms (37 pages)
Radio Roberts Classic FM RD-12CFM Manual
Roberts radio dab digital radio user manual (16 pages)
Radio Roberts Gemini 28 RD-28 User Manual
Roberts radio dab digital radio user manual (16 pages)
Radio Roberts Sovereign User Manual
Dab / dab+ / fm rds digital radio (28 pages)
Radio Roberts Stream93i User Manual
Dab/fm/wifi sound system with internet radio, music player and spotify connect (104 pages)
Radio Roberts Gemini 49 RD-49 User Manual
Fm rds/dab digital radio (20 pages)
Radio Roberts Play 11 User Manual
Dab & fm radio (10 pages)
Radio Roberts Expression User Manual
Dab / dab+ / fm rds stereo digital radio with built-in battery charger (32 pages)
Radio Roberts R809 User Manual
Multi-band digital preset stereo world radio (48 pages)
Radio Roberts solarDAB 2 Manual
Dab / fm rds digital solar radio (32 pages)
Radio Roberts SOUND 48 Manual
Dab / dab+ / fm stereo clock radio with cd, bluetooth, usb playback / charging (28 pages)
This manual is also suitable for:
Blutune 6
Table of Contents
Print
Rename the bookmark
Delete bookmark?
Delete from my manuals?
Login
Sign In
OR
Sign in with Facebook
Sign in with Google
Upload manual
Upload from disk
Upload from URL


Need help?
Do you have a question about the Blutune 5 and is the answer not in the manual?
Questions and answers