Advertisement
Scalar i6 QUICK START
The Scalar i6 features simple, cartridge-based media handling with active vault and Extended Data Life
Management (EDLM) partitions that automatically scan media for certain issues. For complete documentation,
including pre-installation requirements, refer to the Scalar i6 Documentation Center:
http://quantum.com/scalari6docs.
Activate your warranty and register your product with Quantum:
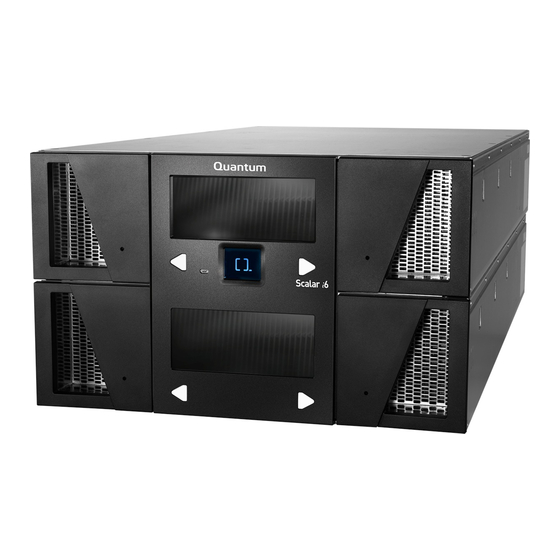
Your system will include a single Control Module, or a Control and at least one Expansion Module (EM).
Control Module
Local User Interface (LUI)
Installing the Scalar i6
A summary of the steps is below. For details, see:
Install > Single Module Installation
For safety information, see
Step 1
Unpack the library, and remove the top cover and restraints.
Step 2
Multi-module installation only: Remove the robot and
the bottom cover; then install the bottom cover on the
bottom module of the library.
Step 3
Mount the library in the rack. For specifications, see
"Rack" in the Technical Specifications section of the
Site Planning
Guide.
Step 4
Multi-module installation only: Add EMs, and install the
robot and the top cover.
Step 5
Install components, and cable the library.
Step 6
Connect to the WebGUI, and install the firmware.
Step 7
Log on, and run the Installation Verification Test (IVT).
or
Install > Multi-Module
Resources > Safety
Information.
www.quantum.com/startup
Magazines
Magazine Eject Buttons
Installation.
Page 1
Expansion Module
Advertisement
Table of Contents

Subscribe to Our Youtube Channel
Related Manuals for Quantum Scalar i6


Summary of Contents for Quantum Scalar i6
- Page 1 Scalar i6 QUICK START The Scalar i6 features simple, cartridge-based media handling with active vault and Extended Data Life Management (EDLM) partitions that automatically scan media for certain issues. For complete documentation, including pre-installation requirements, refer to the Scalar i6 Documentation Center: http://quantum.com/scalari6docs.
- Page 2 Install > Single Module Installation Install > Multi-Module Installation. Operating and Maintaining the Scalar i6 Now that your system is up and running, use the Status menu to view hardware and library statuses. Make sure to learn how coordinates work, because this will help you locate drives, slots, and media in your library.
Need help?
Do you have a question about the Scalar i6 and is the answer not in the manual?
Questions and answers