Table of Contents
Advertisement
Advertisement
Table of Contents

Subscribe to Our Youtube Channel
Related Manuals for Body Champ BCB 3890


Summary of Contents for Body Champ BCB 3890
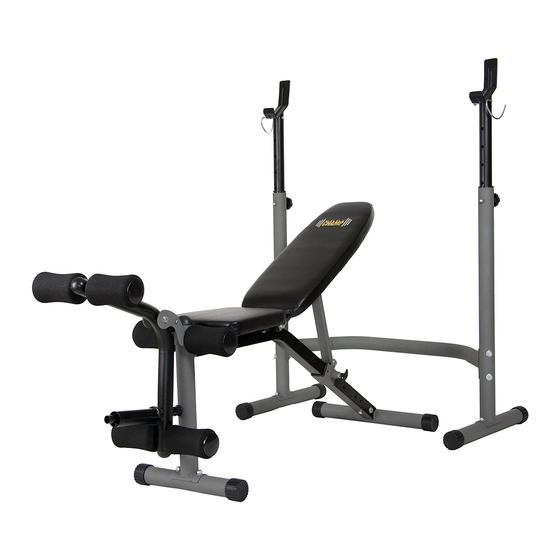
- Page 1 BCB 3890...
-
Page 2: General Information
General Information Safety Storage and Use Before you undertake any exercise program, Your product is intended for use in clean please be sure to consult with your doctor. dry conditions. You should avoid storage in Frequent strenuous exercise should be excessively cold or damp places as this may approved by your doctor and proper use lead to corrosion and other related problems. - Page 3 BEFORE ASSEMBLY BEFORE ASSEMBLY Take a few minutes to familiarize yourself with the parts and hardware included with your product. Take a few moments to familiarize yourself with the specific parts hardware IMPORTANT PLEASE NOTE: MANY OF THE PARTS AND HARDWARE LISTED ON THE PARTS included with your product.
- Page 4 Hardware & Tool List The following hardware is used to assemble your unit. Please take a moment to familiarize yourself with these items. Please note, most of these parts are already pre-assembled on your unit. Do not be alarmed if you see parts on this page that are not included in your hardware packet.
- Page 5 Parts Listing The following parts list describes all of the parts illustrated on the exploded diagram on the following page. Please note, most of these parts are already pre-assembled on your unit. Description Description Right Upright Frame Hex Bolt (5/16"x1-1/4") Left Upright Frame Lock Nut (3/8") Rear Cross Tube...
-
Page 6: Exploded Diagram
Exploded Diagram The following diagram is provided to help you familiarize yourself with the parts and hardware that will be used during the assembly process. Please note that not all of the parts and hardware you see here will be used while you are assembling the machine because some of these items are already pre-installed. -
Page 7: Assembly Instructions
Assembly Instructions Hardware Required A s s e m b l y S t e p 1 BOLT A). Connect the Main Frame (#05) to the Rear Stabilizer (#09) by inserting two Carriage Bolts (#20) up through the Rear Stabilizer (#09) and Main Frame (#05) and secure with two Curved Washers (#28) and two Lock #20. - Page 8 Assembly Instructions Hardware Required A s s e m b l y S t e p 2 BOLT A). Place the Bracket (#08) onto the rear declining portion of the Main Frame (#05) as illustrated and secure by inserting Lock Pin (#19) in through the Bracket (#08) and the first set of holes of the Main Frame (#05).
- Page 9 Assembly Instructions Hardware Required A s s e m b l y S t e p 3 BOLT A). Attach the Seat Cushion (#41) to the front section of the Main Frame (#05) by inserting four Hex Bolts (#24) through four Washers (#30) and up through the bottom of the Main Frame (#05) and secure.
- Page 10 Assembly Instructions Hardware Required A s s e m b l y S t e p 4 Please use the diagram and close-up diagram below for BOLT reference to ensure proper assembly. A). Attach the Leg Developer (#06) to the bracket on the Main Frame (#05).
- Page 11 Assembly Instructions Hardware Required A s s e m b l y S t e p 5 BOLT A). With the help of an assistant, attach the Right Upright Frame (#01) to one Rear Stabilizer (#09) by inserting two Carriage Bolts (#20) up through the Rear Stabilizer (#09) and Right Upright Frame (#01) and secure with two #20.
- Page 12 Safety & Maintenance SAFETY & WARNINGS • Make sure all nuts, bolts, and screws are tightened prior to use. • Be sure that all adjustment locking devices and safety devices are properly engaged prior to use! • Never over-tighten the above-mentioned devices and parts to avoid damage to the unit. •...
- Page 13 Warm-Up Instructions Before use, you must read and understand all instructions & warning stated in this Owner's Manual as well as posted on the equipment. The following flexibility exercises are provided to you as a means to prevent injury while you are exercising. A proper warm-up routine decreases the chance of injuring your muscles while you are exercising.
- Page 14 Warm-Up Instructions Trunk Flexion, Prone 1. Assume the depicted position on your hands and knees. Stretch your hands out in front of you and then slowly start to pull them back in toward your body as you tuck your chin and arch your back upward. 2.
- Page 15 PLEASE KEEP THESE INSTRUCTIONS FOR FUTURE USE & REFERENCE. DO NOT DISCARD. WARNING: SERIOUS INJURIES AND EVEN DEATH CAN OCCUR IF THE PROPER SAFETY PRECAUTIONS ARE NOT FOLLOWED. The diagram below highlights and reviews many of the important Safety and Warning labels also found on the unit.
- Page 16 Thanks for choosing BCB 3890 Retailer: Hupa International Inc. Version:01-13-2014 BCB3890 Made in China...
Need help?
Do you have a question about the BCB 3890 and is the answer not in the manual?
Questions and answers