Table of Contents

Related Manuals for Sunny SF-B1714


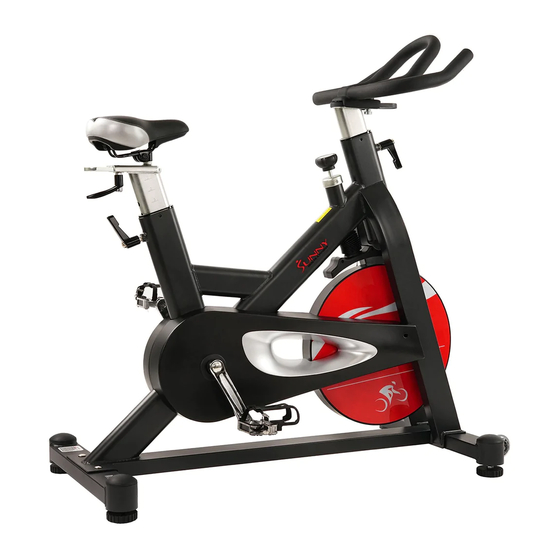
Summary of Contents for Sunny SF-B1714
- Page 1 EVOLUTION PRO MAGNETIC BELT DRIVE INDOOR CYCLING BIKE SF-B1714 USER MANUAL IMPORTANT! Read all instructions carefully before using this product. Retain owner’s manual for future reference. For customer service, please contact: support@sunnyhealthfitness.com...
-
Page 2: Important Safety Information
IMPORTANT SAFETY INFORMATION We thank you for choosing our product. To ensure your safety and health, please use this equipment correctly. It is important to read this entire manual before assembling and using the equipment. Safe and effective use can only be assured if the equipment is assembled, maintained, and used properly. -
Page 3: Exploded Drawing
EXPLODED DRAWING... -
Page 4: Parts List
PARTS LIST Description Description Main Frame Hex Socket Head Bolt M8x15 3 pcs Front Stabilizer 40x80x2T 1 pc Washer 10x29x2T 2 pcs Rear Stabilizer 40x80x2T 1 pc Self-tapping Screw M5x12 3 pc Handlebar Post 40x80x2T 1 pc Bottle Holder 1 pc Seat Post 40x80x2T 1 pc Screw M5x10... -
Page 5: Hardware Package
HARDWARE PACKAGE... - Page 6 ASSEMBLY INSTRUCTIONS STEP 1: #89 S14 S17 1PC Attach Rear Stabilizer (No. 3) to Main Frame (No. 1) using 2 Carriage Bolts (No. 36), 2 Washers (No. 37) and 2 Cap Nuts (No. 35). Tighten with Spanner (No. 89). Attach Front Stabilizer (No. 2) to Main Frame (No.
- Page 7 STEP 4: Unscrew 2 nuts on Seat (No. 9), #90 S13 S15 1PC then attach Saddle Column (No. 7) to Seat (No. 9), and screw the nuts. Tighten with Spanner (No. 90). Insert the Saddle Column (No. 7) Seat Post (No.
- Page 8 ADJUSTMENTS GUIDE SEAT ADJUSTMENT SEAT ADJUSTMENT HANDLEBAR ADJUSTMENT Loosen the Spring Knob (No. 21) Loosen the L-shaped Knob (No. 22) Loosen the Spring Knob (No. 21) to to raise or lower the Seat Post (No. move seat forward raise or lower the handlebar to the 5) to the desired position.
- Page 9 MAINTENANCE GUIDE This is general information for daily, weekly and monthly maintenance to be performed on your bike. Daily Maintenance After each exercise session, wipe down all the equipment: seat, frame, handlebars. Pay special attention to the seat post, handlebar post and belt/chain guard. Sweat is very corrosive and may cause problems for parts replacement later.
Need help?
Do you have a question about the SF-B1714 and is the answer not in the manual?
Questions and answers
Need to order L shape knob