Table of Contents
Advertisement
Quick Links
Advertisement
Chapters
Table of Contents

Related Manuals for Sunny SF-B1110S


Summary of Contents for Sunny SF-B1110S
- Page 1 ’ ’ IMPORTANT! PLEASE READ THIS MANUAL CAREFULLY BEFORE USING THE BIKE. For Customer Service, please contact: support@sunnyhealthfitness.com...
-
Page 2: Important Safety Information
Important Safety Information Please keep this manual for future reference! 1. It is important to read this entire manual before assembling and using the equipment. Safe and effective use can only be achieved if the equipment is assembled, maintained and used properly. It is your responsibility to ensure that all users of the equipment are informed of all warnings and precautions. - Page 3 EXPLODED VIEW...
- Page 4 PARTS LIST DESCRIPTION DESCRIPTION End cap F80*40 Bottle holder Screw M6*12*Φ12 Rear stabilizer Foot pad Knob M10 Washer d8*φ16*1.5 Nut M10 Screw M8*55 Brake rod φ10*210 Front stabilizer Square nut Screw Φ7.8*30*M6*15*S5 Nut M6*H14*S10 Brake board t7*138.3*28 Bearing ABEC-5 φ8 9L/R Pedal Spring piece t1.5*110*15.5...
- Page 5 HARDWARE PACKAGE...
-
Page 6: Assembly Instructions
ASSEMBLY INSTRUCTIONS STEP 1: A: Remove the shipping tubes (69) from main frame (64) by unscrewing the screws (70) and washers (4) with Allen wrench (65). B: You can save these parts for future packaging and transportation of the bike if desired. -
Page 7: Rear Stabilizer 1
STEP 2: Attach the front stabilizer (6) and rear stabilizer (2) to main frame (64), secure each of them together using two hex screws (5) and washers (4). -
Page 8: Saddle
STEP 3: A. Insert the saddle post (30) into the main frame (64) fixing with knob (38). B. Secure the saddle column (27) onto the saddle post (30) using the L shape knob (29) and washer (28). -
Page 9: Handlebar
STEP 4: A. Insert the handlebar post (36) into the main frame (64) fixing with knob (38). B. Secure the handle bar (35) onto the handle bar post (36) using the L shape knob (29) and washer (28). -
Page 10: Bottle Holder
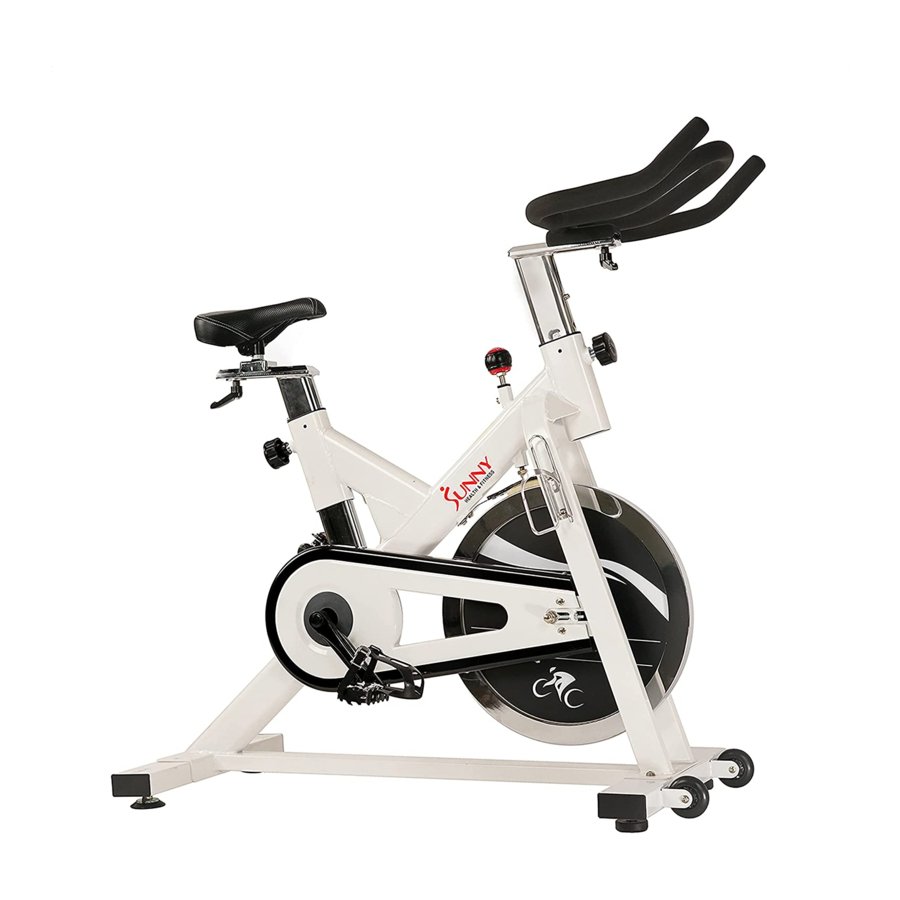
STEP 5: 39 67 68 IMPORTANT! Read instructions carefully, failure to do so may cause permanent damage to your bike. A. Screw the right pedal (9R) into the crank shaft (10R) in the CLOCKWISE direction. Screw the left pedal (9L) into the crank shaft (10L) in the COUNTER-CLOCKWISE direction. - Page 11 OPERATION Leveling the bike This bike can be leveled to compensate for uneven surfaces. To level the bike, please raise or lower the four leveler feet located on the underside of the front and rear stabilizers. (Fig.1) Fig.1 Resistance Adjustment Pedaling resistance is controlled by the tension control knob (Fig.2).
- Page 12 Seat Adjustment Appropriate seat height helps ensure your exercise efficiency, reduce the risk of injury and makes you feel more comfortable. Adjusting the seat forward or backward helps you work on different lower body muscle groups. 1. Place one pedal in the upward position. Place your foot in the toe clips, then get on the bike.
- Page 13 Handlebar Adjustment 1. Loosen and pull the pop pin (Fig.6), then raise or lower the handlebar to the desired position for a more efficient & comfortable ride. Make sure the pop pin settles into the desired hole and then Fig.6 secure it firmly.
-
Page 14: Flywheel
Pedal Strap Adjustment Place the ball of each foot in the toe clip until the front of the shoe fits snugly in the toe clip cage. Rotate one foot to within arm’s reach, then pull up the strap until the toe clip cage fits the shoe Fig.8 snugly (Fig.8) and insert the strap back into the hoop of toe clip. - Page 15 Warning! Do not dismount the bike or remove your feet from the pedals until the pedals have completely stopped. Moving the Bike Carefully press down from the front of the handlebar to move the bike to another location (Fig.9). Please gently move the bike as any sudden Fig.9 impact may affect the operation of the machine.
Need help?
Do you have a question about the SF-B1110S and is the answer not in the manual?
Questions and answers