Advertisement
Table of Contents
Advertisement
Table of Contents

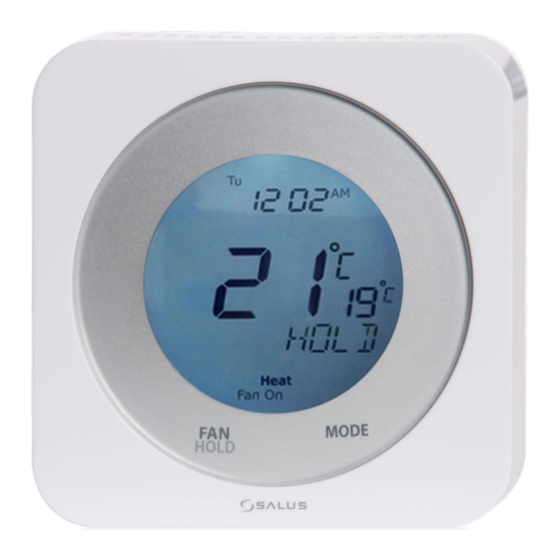
Summary of Contents for Salus ST880ZB
- Page 1 Smart Thermostat Manufacturer's Installation Guide...
-
Page 2: Let's Get Started
Let's get started Make sure you have the following items: Smart Home Monitoring | Smart Thermostat | Manufacturer's Installation Guide... -
Page 3: Determine Wiring Configuration
Turn off the heating and/or cooling Turn OFF the breakers or remove the fuses to the heating and/or cooling systems at the electrical panel. In some regions, there may be a switch located near the furnace. Determine wiring configuration › Remove the old thermostat to expose the wiring terminals. -
Page 4: Remove Old Thermostat
* A jumper connects RC and RH as most combination heat and cooling systems use a single transformer. For systems where separate transformers are used, remove the jumper in place across the RC and RH terminals. Remove old thermostat terminals Remove the old thermostat wiring terminals from the wall, taking care not to allow the wiring to fall inside the wall. -
Page 5: Install Mounting Plate
Install mounting plate Remove the Mounting Plate from the back of the Optima thermostat. Use the included wall anchors and screws to attach the Mounting Plate to the wall, making sure the wires run through the center opening. Use the Trim Plate vertically or horizontally if desired. -
Page 6: Install Batteries
Install batteries Insert the alkaline batteries into the back of the thermostat. Make sure the polarity of the batteries is correct. After inserting the batteries, the display will flash all the segments, followed by the version number of the firmware, then display US / CA with a blinking US. -
Page 7: Attach Thermostat To Mounting Plate
Attach thermostat to mounting plate Attach the thermostat to the Mounting Plate by aligning the connector pins and the plastic retention posts and pushing the thermostat onto the Mounting Plate. Make sure the connector pins are not bent and that the thermostat is fully seated on the Mounting Plate. -
Page 8: Configure Thermostat
Configure thermostat The thermostat can now be used as a basic local thermostat. To enable the enhanced features, additional settings need to be configured, such as pairing with a connected home system. See the Configuring the Thermostat section in the User’s Manual for more details. Smart Home Monitoring | Smart Thermostat | Manufacturer's Installation Guide...


Need help?
Do you have a question about the ST880ZB and is the answer not in the manual?
Questions and answers