
Subscribe to Our Youtube Channel
Related Manuals for Hilti AG 100-7 S


Summary of Contents for Hilti AG 100-7 S
- Page 1 AG 100-7 (S/D) AG 100-8 (S/D) AG 115-7 (S/D) AG 115-8 (S/D) English Printed: 20.07.2017 | Doc-Nr: PUB / 5169257 / 000 / 05...
- Page 2 Printed: 20.07.2017 | Doc-Nr: PUB / 5169257 / 000 / 05...
- Page 3 1 Information about the documentation 1.1 About this documentation • Read this documentation before initial operation or use. This is a prerequisite for safe, trouble-free handling and use of the product. • Observe the safety instructions and warnings in this documentation and on the product. •...
- Page 4 ▶ Make a note of the designation and serial number printed on the identification plate in the following table. ▶ Always quote this information when you contact a Hilti representative or Hilti Service to enquire about the product.
- Page 5 ▶ Use personal protective equipment. Always wear eye protection. Protective equipment such as dust mask, non-skid safety shoes, hard hat, or hearing protection used for appropriate conditions will reduce personal injuries. ▶ Prevent unintentional starting. Ensure the switch is in the off‐position before connecting to power source and/or battery pack, picking up or carrying the tool.
- Page 6 machining operations. The dust mask or respirator must be capable of filtering out dust particles resulting from use of the power tool. Prolonged exposure to high-intensity noise can cause hearing loss. ▶ Keep bystanders a safe distance away from the work area. Anyone entering the work area must wear personal protective equipment.
- Page 7 ▶ Grinding discs must be stored and handled carefully in accordance with the manufacturer’s instructions. ▶ Have the tool checked by Hilti Service after breakage of a disc, if the tool has been dropped or has fallen, or in the event of other mechanical damage.
- Page 8 English Printed: 20.07.2017 | Doc-Nr: PUB / 5169257 / 000 / 05...
- Page 9 English Printed: 20.07.2017 | Doc-Nr: PUB / 5169257 / 000 / 05...
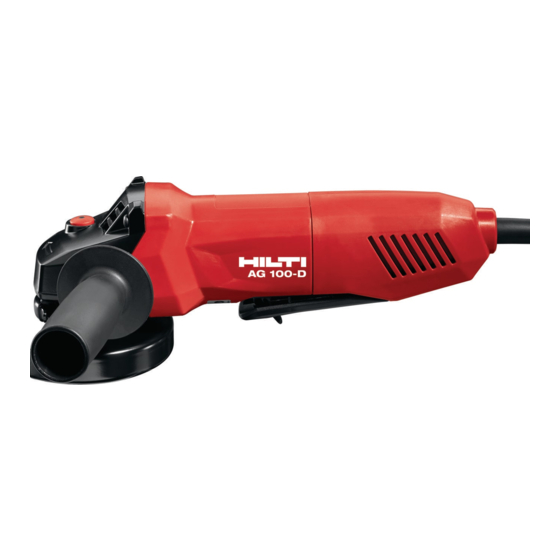
- Page 10 3 Description 3.1 Product overview English Printed: 20.07.2017 | Doc-Nr: PUB / 5169257 / 000 / 05...
- Page 11 It is recommended that a dust removal system consisting of matched components, i.e. dust removal hood and a suitable Hilti vacuum cleaner, are used for working on mineral materials such as concrete or stone. These protect the operator and increase the life of the power tool and accessory tools used.
- Page 12 3.6 DC-EX 100/4" C dust hood for cutting or DC-EX 115/4,5" C compact hood (accessory) Use the compact hood when cutting masonry and concrete. CAUTION Use of this hood for working on metal is prohibited. 3.7 Front cover for the disc guard When grinding with straight grinding discs and cutting with cutting discs in metalworking applications, use the standard guard with front cover.
- Page 13 850 W input Rated speed 11,500 /min 11,500 /min 11,500 /min 11,500 /min 5.2 Further information AG 100-7 S/D, AG 100-8 S/D AG 115-7 S/D, AG 115-8 S/D Maximum disc diameter 100 mm 115 mm Thread diameter Thread length 11 mm...
- Page 14 Noise emission values Sound (power) level (L 101 dB(A) Emission sound pressure level (L 90 dB(A) Uncertainty for the sound pressure level 3 dB(A) Total vibration (vector sum of three directions) Other applications, such as cutting, may produce vibration values that deviate from the given values. Surface grinding with the 6.5 m/s²...
- Page 15 6.2.2 Adjusting the guard 1. Release the clamping lever. 2. Rotate the guard to the required position. 3. Secure the guard by closing the clamping lever. 6.2.3 Removing the hood 1. Release the clamping lever. 2. Rotate the guard until the keyed locating lug is aligned with the keyed locating groove and then remove the guard.
-
Page 16: Operation
6.3.1 Fitting an accessory tool 1. Disconnect the supply cord plug from the power outlet. 2. Clean the clamping flange. 3. Fit the clamping flange onto the drive spindle. 4. Fit the accessory tool. 5. Screw on the clamping nut corresponding to the type of accessory tool fitted. 6. - Page 17 To help ensure safe and reliable operation, use only genuine Hilti spare parts and consumables. Spare parts, consumables and accessories approved by Hilti for use with the product can be found at your local Hilti Center or online at: www.hilti.group English Printed: 20.07.2017 | Doc-Nr: PUB / 5169257 / 000 / 05...
-
Page 18: Troubleshooting
▶ After long periods of transport or storage, check the power tool for damage before use. 10 Troubleshooting If the trouble you are experiencing isn’t listed in this table or you are unable to remedy the problem by yourself, please contact Hilti Service. Trouble or fault Possible cause Action to be taken The power tool doesn’t start. - Page 19 Most of the materials from which Hilti tools and appliances are manufactured can be recycled. The materials must be correctly separated before they can be recycled. In many countries, your old tools, machines or appliances can be returned to Hilti for recycling. Ask Hilti Service or your Hilti representative for further information.
- Page 20 English Printed: 20.07.2017 | Doc-Nr: PUB / 5169257 / 000 / 05...
- Page 21 Printed: 20.07.2017 | Doc-Nr: PUB / 5169257 / 000 / 05...
- Page 22 Printed: 20.07.2017 | Doc-Nr: PUB / 5169257 / 000 / 05...
- Page 23 Printed: 20.07.2017 | Doc-Nr: PUB / 5169257 / 000 / 05...
- Page 24 Hilti = registered trademark of Hilti Corp., Schaan 20170712 Printed: 20.07.2017 | Doc-Nr: PUB / 5169257 / 000 / 05...
Need help?
Do you have a question about the AG 100-7 S and is the answer not in the manual?
Questions and answers