Subscribe to Our Youtube Channel
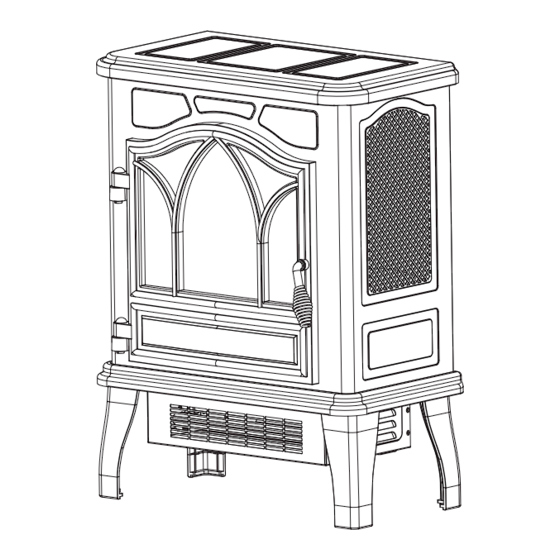
Summary of Contents for ChimneyFree CFI-470-03
- Page 1 TM / MC / MR MODEL: CFI-470-03 www.tsicustomerservice.com 1-866-661-1218 Twin-Star International, Inc; Delray Beach, FL 33445 Made in China A611 www.tsicustomerservice.com...
-
Page 2: Important Instructions
IMPORTANT INSTRUCTIONS When using electrical appliances, basic precautions should always be followed to reduce the risk of fire, electrical shock, and injury to persons including the following: 1. Read all instructions before using this appliance. 2. This appliance is hot when in use. To avoid burns, do not let bare skin touch hot surfaces. If provided, use handles when moving this appliance. -
Page 3: Getting Started
NO HAY PARTES DE SERVICIO PARA EL USUARIO EN EL INTERIOR. 2. Go to www.tsicustomerservice.com for product warranty registration. For registration use the MODEL NUMBER: CFI-470-03. If you are unable to complete registration save your proof of purchase for warranty purposes. -
Page 4: Installation Instructions
INSTALLATION INSTRUCTIONS Tools Required for Assembly Phillips Head Screwdriver 1. Handle Installation Attach the handle to the mounting hole on the Insert the screw (0.16 in. x 0.4 in.) from inside of outside of the door. door and tighten the screw until the handle can not be turned. -
Page 5: Operation Instructions
OPERATION INSTRUCTIONS Control Panel Location Control Panel Heater Switch Thermostat Dial Power Switch Flame Brightness 1. Set the thermostat knob 1. The 1000W switch will turn on the 1. This switch turns Dimmer to turning clockwise to heater to the low heat setting and on and off the 1. -
Page 6: Bulb Replacement
BULB REPLACEMENT Tools Required for Assembly Phillips Head Screwdriver Clear, 40-watt, E12 socket base light bulb (candelabra base, B bulb). Unplug the stove. Remove the screws holding the stove back panel in place. Remove the back panel to access the light bulb. REMOVE Pinch the spring clip to loosen the spindle, and gently turn and pull the rubber gromet out of the... -
Page 7: Troubleshooting Guide
TROUBLESHOOTING GUIDE Problem Root Cause Corrective Action 1. No power, switches Power cord was not plugged into Check that unit is plugged directly into a standard do not light up. the outlet. 120 volt outlet. 2. Stove does not 2a. No incoming power from the 2a. -
Page 8: Exploded View
EXPLODED VIEW Part Part Name Part Number Power Switch P06-S Thermostat P03-S Thermostat knob P05-S Heater Switch P06-S Dimmer Knob P04-S Dimmer P07-S Legs Y16-S181-LG Emberbed Y17-S181-P02 Heater/Blower Assembly Y16-S181-P01 Flame Generator Drive Motor P10-Q-S A611 www.tsicustomerservice.com... -
Page 9: Year Limited Warranty
1-YEAR LIMITED WARRANTY The manufacturer warrants that your new Electric Stove is free from manufacturing and material defects for a period of one year from date of puchase, subject to the following conditions and limitations. 1. Install and operate this appliance in accordance with the installation and operating instructions furnished with the product at all times. - Page 10 TM / MC / MR www.tsicustomerservice.com A611 www.tsicustomerservice.com...


Need help?
Do you have a question about the CFI-470-03 and is the answer not in the manual?
Questions and answers