Table of Contents
Advertisement
Quick Links
User Guide
Made In China
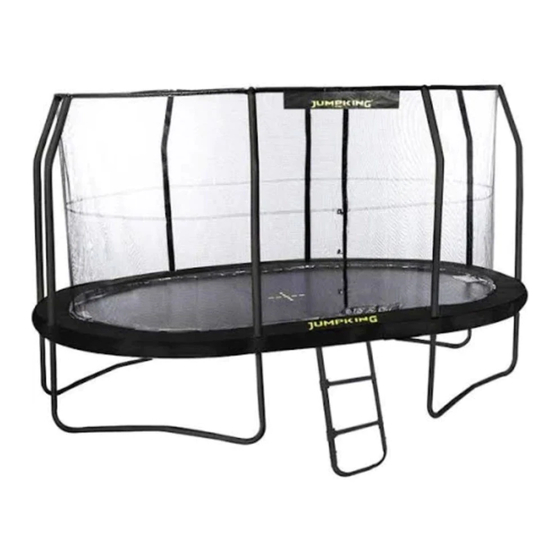
14ft x 17ft Oval POD, Deluxe and Capital Ultra
Got a Problem building your trampoline?
Call us on 01276 855 600 and we can help
WARNING: Read these assembly instructions carefully
before attempting to assemble or use this product. Keep
this user guide in a safe place for future reference.
Advertisement
Table of Contents


Need help?
Do you have a question about the Oval POD and is the answer not in the manual?
Questions and answers