Table of Contents
Advertisement
Advertisement
Table of Contents
Troubleshooting

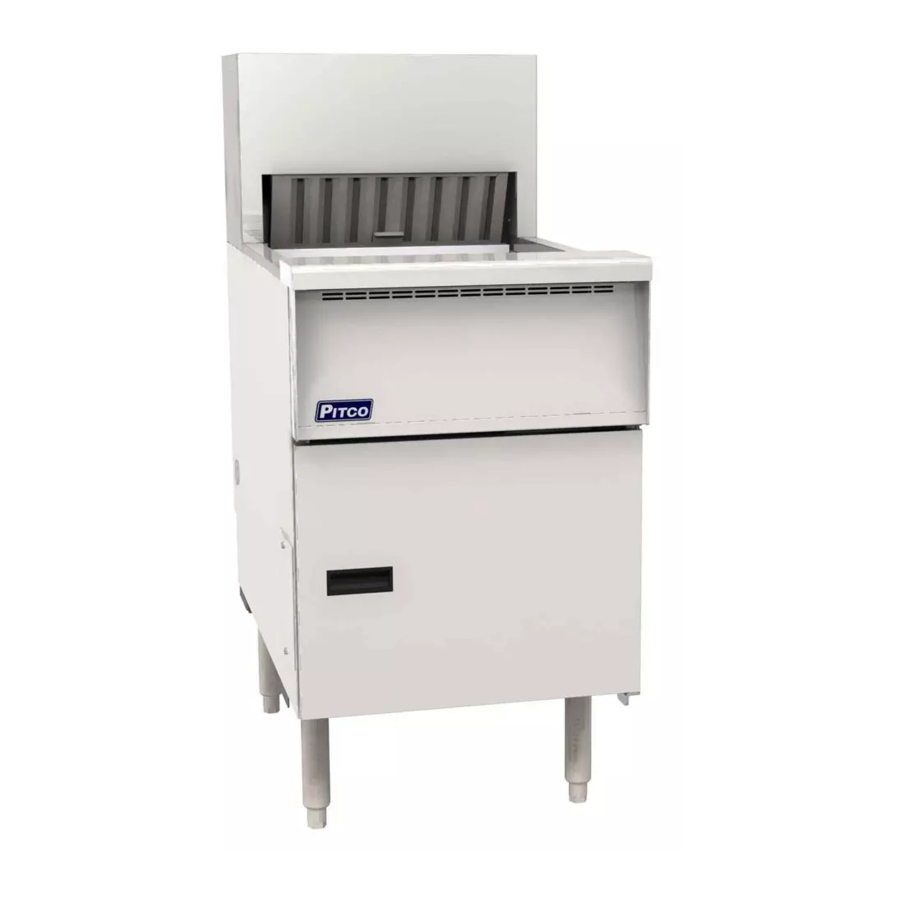
Summary of Contents for Pitco 12
- Page 1 Installation, Operation & Service Instructions Covering Gas Fired Deep Fryers 35C+, 7, 14, 18, 24, 34, 12, 14R, Model Numbers: PR14, PM14, RPB14 with all options P.O.Box 501, 509 Rt 3A, Bow, NH 03302 USA Tel # (603)225-6684 Fax # (603)225-8497...
-
Page 2: Warranty
To prevent burns, always ensure the fryer is completely SHUT DOWN and COOLED down before working on the fryer. Do not break any fryer gas connections while the unit is Installation should only be done by a Competent Service Technician. - Page 3 TABLES: Appliance Model Number Great Britain 35C+ (PM)(PR)14 (R) RPB14A RPB14B Ireland 35C+ (PM)(PR)14 (R) RPB14A RPB14B France 35C+ (PM)(PR)14 (R) G20/G25 RPB14A G20/G25 RPB14B G20/G25 2.44 LP16 18/20 1.15 LP16 18/20 1.75 1.15 LP16 18/20 LP16 10.8 2.44 37/50 29.4 1.51 LP16...
- Page 4 Appliance Model Number Netherlands 35C+ (PM)(PR)14 (R) RPB14A RPB14B Germany 35C+ (PM)(PR)14 (R) RPB14A RPB14B Austria 35C+ (PM)(PR)14 (R) G20/G25 RPB14A G20/G25 RPB14B G20/G25 2.44 LP16 18/20 1.15 LP16 18/20 1.75 1.15 LP16 18/20 LP16 10.8 2.44 37/50 29.4 1.51 LP16 II2H3P 4.16...
-
Page 5: Table Of Contents
..........Lighting the Pilot On NON Electronic Ignition Fryers On Electronic Ignition Fryers Running the Fryer up to Operating Temperature GS Thermostat Equipped Digital Thermostat Equipped Computer Equipped . - Page 6 ............SERVICE: .
-
Page 7: Model Number Recognition
15 cm of clearance from any combustible surface and have at least 15 cm floor clearance. If the fryer is equipped with a filter, it will be necessary to allow at least 0.75 m front clearance for the removal/installation of the filter pan/module. -
Page 8: Initial Assembly
COVERS: In case of an oil fire in the fryer the cover can be used to place on top of the fryer to extinguish the flames. It should be kept in a nearby location that is uncluttered and easy to reach. -
Page 9: Shutting The Fryers Down For A Short Time
Clip Screen over the folded end of the paper. Screw the Pickup onto the screen and place it in the pan. Push the Pickup into its receptacle and push the filter under the fryer. Attach the Return Hose. -
Page 10: Operating The Computer Control
OPERATING THE COMPUTER CONTROL: To check the ACTUAL Temperature Press the mode.) To check the SET Temperature Press the mode.) To check the COOK, SHAKE or HOLD times press the key. (The times will be automatically displayed in sequence, the display will return to the run mode.) The BOIL mode will be automatically displayed when the computer senses a constant temperature of 100 ºC. -
Page 11: Cleaning / Maintenance
CLEANING. The fryer is now ready to be refilled and used. OPTIONS: There are many options available on Pitco Frialator Fryers, these may include one or more of the following: DIGITAL CONTROLS: Machines with this option are completely controlled by the Digital Control. For programming instructions, refer to the Operating section of this manual. -
Page 12: Troubleshooting
TROUBLESHOOTING: FRYING SYSTEM: Should there be a problem with your machine, the following checks should be done prior to calling an Authorized Service Company. Make sure the machine is operated correctly and that the Computer or Digital Display (when installed) is programmed accordingly. Check these items before calling your Authorized Service Company ITEM TO CHECK Power to machine... -
Page 13: Filtering Systems
SERVICE This chapter provides the qualified technician with the trouble shooting techniques necessary to diagnose individual components within the Pitco fryer. Thermostats: GS (The Thermostat is connected to the Gas Valve by two small tubes): This type of thermostat has an open port when the temperature at the probe is LESS than the Set temperature. -
Page 14: Hi Limit Thermostats
Pilot and repair if damaged. If a spark CAN be heard go to the next step. { Check for 24 vac between the two wires at the Pilot solenoid on the Gas Valve. If voltage is found, turn the fryer OFF and check the Pilot Solenoid for a Resistance of 60 Ohms. -
Page 15: Digital Controls
Check between the TH terminal and GROUND for 24 vac. For the first 4 seconds after the module receives voltage there will be a 24 vac output to the HSI. At this time the Check Fryer Light will light. This can be measured between terminals HSI1 and HSI2. -
Page 16: C+, 7, 14, 18, 24, 34, 14R
TROUBLE SHOOTING: Before diagnosing any machine for defective components check the following items: v Check all power cords and appropriate circuit breakers to ensure that electrical power is supplied to the machine. v Check all machine gas shut off valves to ensure that gas is supplied to the machine. v Check all machine fuses. -
Page 17: Schematics
RPB14: SYMPTOM Blower comes ON but Burners do NOT light. HSIs blow but Burners do NOT come on. Burners come ON but shut down after a few seconds. Burners try to ignite but Blower does NOT come on. Machine makes Booming sound. SCHEMATICS: Description Schematic, Gas - ALL Options w/Digital T-Stat... -
Page 18: Parts List
Gas Valve Gas Valve Gas Valve Gas Valve PART # COMMENT PP10940 Digital Control PP10804 Single control computer, 12 Product PP10805 Single control computer, 8 Product PP10806 Dual control computer, 12 Product PP10807 Dual control computer, 8 Product PP10071 PP10801...


Need help?
Do you have a question about the 12 and is the answer not in the manual?
Questions and answers