
Related Manuals for Kramer Galil 6-AWAll


Summary of Contents for Kramer Galil 6-AWAll
-
Page 1: User Manual
USER MANUAL MODEL: Galil 6-AW All Weather Speakers P/N: 2900-300794 Rev 1 www.KramerAV.com... -
Page 2: Table Of Contents
Contents Introduction Getting Started Overview Typical Applications Defining the Galil 6-AW Installing the Galil 6-AW Choosing the Best Location Installing the Speaker Wires Installing the Mounting U-Bracket Setting up an Array Installation Connecting the Galil 6-AW Technical Specifications Galil 6-AW - Introduction... -
Page 3: Introduction
Kramer Electronics Ltd. Introduction Welcome to Kramer Electronics! Since 1981, Kramer Electronics has been providing a world of unique, creative, and affordable solutions to the vast range of problems that confront the video, audio, presentation, and broadcasting professional on a daily basis. In recent years, we have... -
Page 4: Overview
European Advanced Recycling Network (EARN) and will cover any costs of treatment, recycling and recovery of waste Kramer Electronics branded equipment on arrival at the EARN facility. For details of Kramer’s recycling arrangements in your particular country go to our recycling pages at www.kramerav.com/support/recycling. -
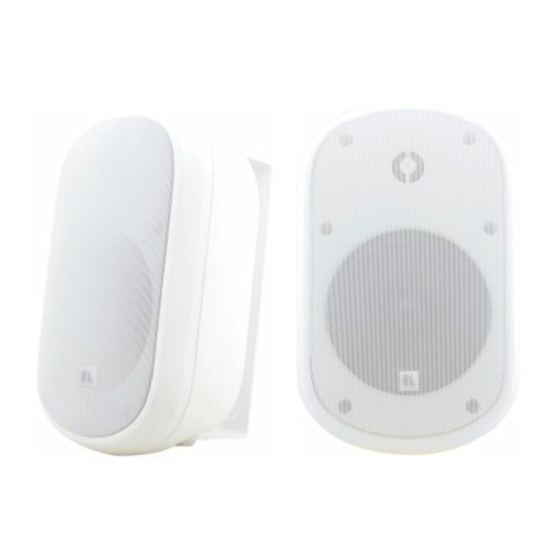
Page 5: Defining The Galil 6-Aw
Kramer Electronics Ltd. Defining the Galil 6-AW This section defines the Galil 6-AW. Figure 1: Galil 6-AW All Weather Speakers Galil 6-AW - Defining the Galil 6-AW... - Page 6 Kramer Electronics Ltd. Feature Function Speaker Grille Protects the internal components of the speaker from foreign objects. Do not remove the grille from the speakers. Tweeter Emits high frequency sounds. Woofer Driver Emits low frequency sounds. Keyhole Mounting Point Use to attach the U-bracket to a wall.
-
Page 7: Installing The Galil 6-Aw
Kramer Electronics Ltd. Installing the Galil 6-AW The Galil 6-AW installation steps include the following: Choosing the Best Location, on page 5. Installing the Speaker Wires, on page 5. Installing the Mounting U-Brackets, on page 7. ... -
Page 8: Speaker
Kramer Electronics Ltd. 3. Adjust each speaker to the appropriate tap setting: Set the tap according to the power requirements of the speaker based on its location in the room (for example, a speaker located in a remote corner may require additional power). -
Page 9: Installing The Mounting U-Bracket
Kramer Electronics Ltd. Installing the Mounting U-Brackets To install the mounting U-brackets: 1. Mark the location of the mounting holes on a wall at the location that you want to mount the speakers. 2. Screw the mounting screws into the wall. -
Page 10: Setting Up An Array Installation
Kramer Electronics Ltd. Setting up an Array Installation When installing the Galil 6-AW in an array layout, you need to define the distance between each of the speakers. The distance between the speakers is determined according to the uniformity of the desired coverage and budget. -
Page 11: Connecting The Galil 6-Aw
Kramer Electronics Ltd. Connecting the Galil 6-AW You can connect the Galil 6-AW speakers to a recommended Kramer power amplifier (for example, PA-120Z), as illustrated in Figure Figure 6: Connecting the Galil 6-AW Galil 6-AW - Installing the Galil 6-AW... -
Page 12: Technical Specifications
Kramer Electronics Ltd. Technical Specifications Description: IP66 Weatherproof 2-way outdoor on-wall speakers Frequency Response: 85Hz to 20kHz@ +/-3dB 80Hz to >20kHz@ -10dB 6.5” (166mm) PP cone with rubber surround Woofer: 1” (25.4mm) silk dome Tweeter: Impedance: 8 70V/8Ω – 30W / 15W / 7.5W / 3.7W Transformer taps: 100V/8Ω... - Page 13 What Kramer Electronics Will Do Kramer Electronics will, at its sole option, provide one of the following three remedies to whatever extent it shall deem necessary to satisfy a proper claim under this limited warranty: Elect to repair or facilitate the repair of any defective parts within a reasonable period of time, free of any charge for the necessary parts and labor to complete the repair and restore this product to its proper operating condition.
- Page 14 SAFETY WARNING Disconnect the unit from the power supply before opening and servicing For the latest information on our products and a list of Kramer distributors, visit our Web site where updates to this user manual may be found. We welcome your questions, comments, and feedback.
Need help?
Do you have a question about the Galil 6-AWAll and is the answer not in the manual?
Questions and answers