
Related Manuals for SEI BC4013


Summary of Contents for SEI BC4013
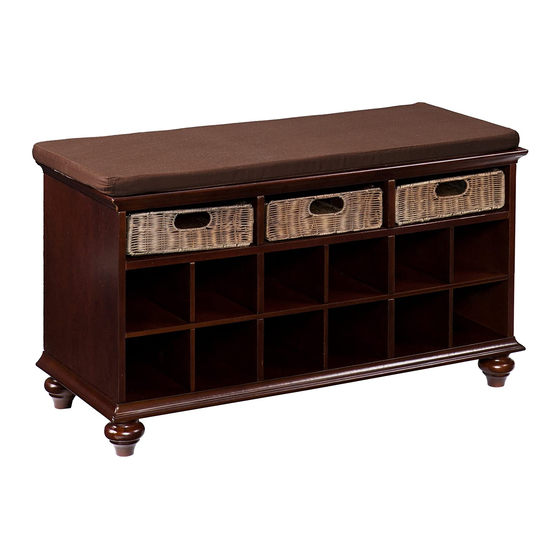
- Page 1 SEI ITEM NO BC4013 Shoe Bench With Baskets For assistance with assembly contact: Max Load: 250 LB Southern Enterprises, Inc. Customer Service 1-800-633-5096 service@seidal.com Assembly Instructions www.seidal.com...
-
Page 2: Bottom Panel
Shoe Bench With Baskets Parts List Please review all parts and hardware before disposing of any packaging. Call Customer Service if missing hardware. Do not return to store/retailer. Using a screw that is too long will cause damage. Before beginning assembly, separate each type of screw. Carefully study the screw diagrams below. - Page 3 Quantity Quantity Quantity of 24 of 3 of 3 SCREWS Quantity Quantity Quantity of 24 of 28 of 28 DOWELS CAM-BOLTS CAM-LOCKS Quantity Quantity Quantity of 12 of 1 of 16 SCREWS COTTON MAT CAM-TOOL Care and Cleaning Instructions: For replacement parts or questions, please Before using, wipe with a clean, dry cloth.
- Page 4 Shoe Bench With Baskets Assembly Instructions Assembly Instructions: Wood may scratch easily. Be careful when assembling. Unpack and lay parts on clean, padded surface like carpet or blanket. Rotate the 5 feet (J/K) into holes in bottom panel (B). Figure 1 Insert the cross - panel (P) into slot in stand panel (O).
- Page 5 ARROW (4) (3) ARROW Insert the 4 dowels (2) into holes in cross - panel (P). Rotate the 4 cam-bolts (3) into holes in left facing panel (C) and left stand panel (H). Place the cam-bolts (3) into holes in panel (E) and attach using cam-locks (4).
- Page 6 ARROW (4) (3) ARROW Insert the 4 dowels (2) into holes in cross - panel (P). Rotate the 4 cam-bolts (3) into holes in stand panel (I) and right facing panel (D). Place the cam-bolts (3) into holes in panel (G) and attach using cam-locks (4).
- Page 7 Rotate the 8 cam-bolts (3) into holes in top panel (A). Place the cam-bolts (3) into holes in panel (C/D/H/I) and attach using cam-locks (4). Figure 7 Attach the back panel (K/M) using screws (1). Figure 8...
- Page 8 Attach the wicker bottom (N) to wicker frame (O) using 4 screws (6). Figure 9 Cover cam-locks (4) with cotton mats (7) provided. Insert wicker baskets. Put the cushion (L) onto top panel (A). Figure 10...
-
Page 9: Parts Replacement Form
9 months. If this product has not been purchased from our retail affiliates (within 9 months), we are under no obligation to provide parts or replacement merchandise. Parts will not be available for items arriving fully assembled. Parts will be sent if available from SEI...
Need help?
Do you have a question about the BC4013 and is the answer not in the manual?
Questions and answers