Advertisement
Advertisement
Table of Contents

Related Manuals for Brickcom MD-300Np-A4-Star


Summary of Contents for Brickcom MD-300Np-A4-Star
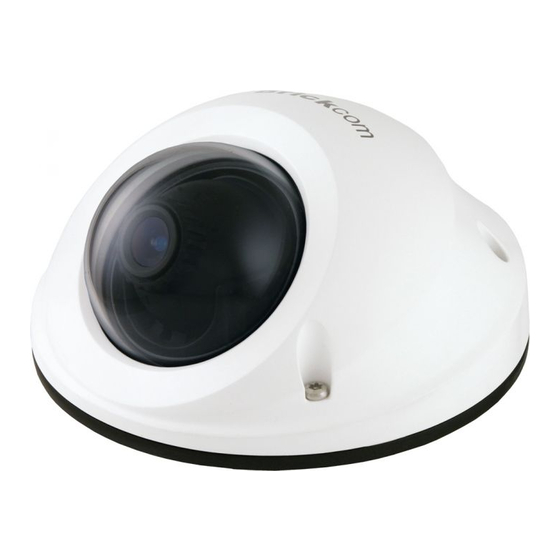
- Page 1 Easy Installation Guide Megapixel Day & Night Mini Dome Network Camera English...
- Page 2 Step 1.Check Package Contents a. MD Series b. Product CD c. c, Warranty Card d. Allen Key e. Screw Bags(1pcs) f. Dry Bag / Double-Sided Tape g. Alignment Sticker h. Easy Installation Guide Mounting Adapter (Optional) j. TV out Connector Cable k.
- Page 3 Step 2.Hardware Installation WARNING: Do not mount the camera on a soft material. The camera may fall and be damaged. 1. Use the enclosed Allen key to detach the dome cover from the camera device. As remove the cover, please be aware of the Microphone Line. 2.
- Page 4 4. Drill four holes through the center of the four location holes on the sticker. 5. Hammer the four plastic anchors which are provided in the product package into the four location holes. Please use the “Waterproof Tape” to wrap around the RJ45 connector, DC12V connector,, in order to prevent water to seep in to the connectors.
- Page 5 If you don't use the Mounting Adapter, please use the three shorter screws which are included in the product package. Mount the camera on the wall or ceiling and position the three screw slots over the plastic anchors. Insert the screws into the holes and use the screwdriver to tighten the screws clockwise until they are secure.
- Page 6 Step 3. Lens Adjustment Please use the “Lens Adjustment Tool” to adjust the lens to the desired position. Focus Rotate the lens until the image in the Live View page is focused. Remove the tool directly. The camera can either be connected to a PoE switch or a non-PoE switch a.
- Page 7 b. Powering on Camera with PoE Injector: Use an Ethernet cable to connect the camera to a PoE Injector. Use an Ethernet cable to connect the PoE Injector to the non-PoE switch. iii. Connect the PoE Injector to a power outlet. Step 4.Installation Completed Put the cover back on the camera and fix it by using the Allen Key...
- Page 8 Step 5.Install the EasyConfig Software Insert the CD into the CD-ROM, and follow the instructions of the InstallShield Wizard to finish installation. Step 6.Launch EasyConfig Launch the EasyConfig software, and click on the camera from the survey list to connect. Follow the EasyConfig software to configure the camera’s IP address and EasyLink settings.
Need help?
Do you have a question about the MD-300Np-A4-Star and is the answer not in the manual?
Questions and answers