Table of Contents
Advertisement
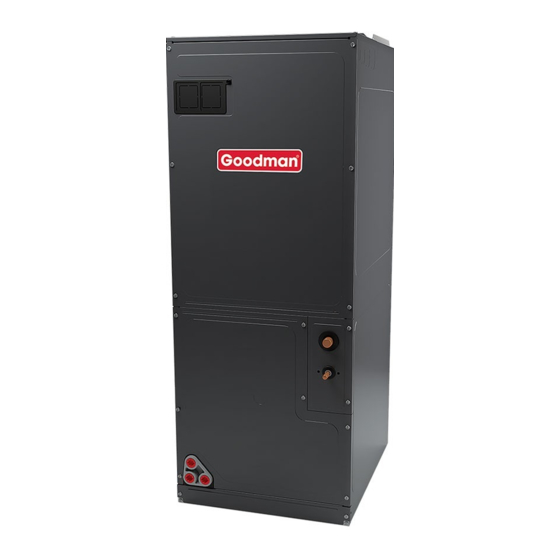
AVPTC**14**
AIR HANDLERS
INSTALLATION & OPERATING INSTRUCTIONS
Contents
1 Important Safety Instructions ................................... 2
2 Shipping Inspection .................................................. 2
3 Codes & Regulations ................................................. 3
4 Replacement Parts .................................................... 3
5 Pre-Installation Considerations ................................ 3
6 Installation Location .................................................. 4
7 Refrigerant Lines ....................................................... 7
8 Condensate Drain Lines ............................................ 7
9 Ductwork .................................................................... 8
10 Return Air Filters ....................................................... 8
11 Electric Heat ............................................................... 9
12 Electrical and Control Wiring .................................. 10
13 Achieving 2% Low Leakage Rate ........................... 11
14 24 Volt Wiring ........................................................... 11
15 Auxiliary Alarm Switch ............................................ 13
16 AVPTC Motor Orientation ........................................ 13
17 Circulator Blower ..................................................... 14
18 Heat Kit Selection .................................................... 16
19 Troubleshooting ....................................................... 16
20 ComfortNet™ System .............................................. 18
21 Start-Up Procedure .................................................. 20
22 Regular Maintenance ............................................... 20
23 Communications Troubleshooting Chart .............. 23
24 Air Handler Advanced Features Menu ................... 24
25 Troubleshooting ....................................................... 25
27 Wiring Diagrams ...................................................... 29
26 Diagnostic Codes .................................................... 32
®
ATTENTION INSTALLING PERSONNEL
Prior to installation, thoroughly familiarize yourself with this Instal-
lation Manual. Observe all safety warnings. During installation or
repair, caution is to be observed. It is your responsibility to install
the product safely and to educate the customer on its safe use.
is a registed trademark of Maytag Corporation or its related companies and is used under license. All rights reserved.
© 2013-2014 Goodman Manufacturing Company, L.P.
5151 San Felipe, Suite 500, Houston, TX 77056
www.goodmanmfg.com - or - www.amana-hac.com
P/N: IO-443E
Date: October 2014
RECOGNIZE THIS SYMBOL AS A
SAFETY PRECAUTION.
Advertisement
Table of Contents
Troubleshooting


Need help?
Do you have a question about the AVPTC42D14 series and is the answer not in the manual?
Questions and answers