
Related Manuals for Sunny SF-RW5639


Summary of Contents for Sunny SF-RW5639
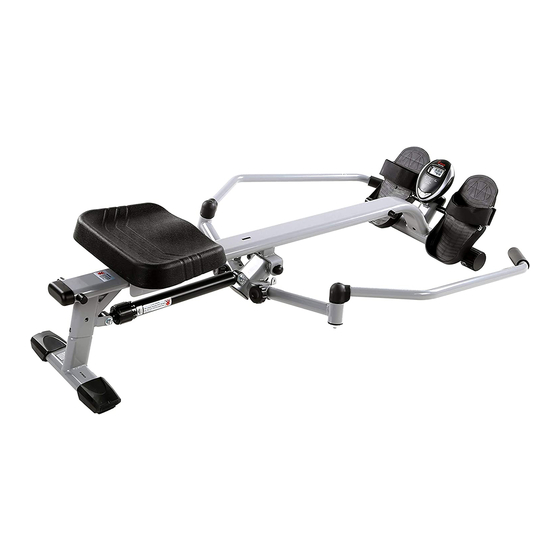
- Page 1 FULL MOTION ROWING MACHINE SF-RW5639 USER MANUAL IMPORTANT: Read all instructions carefully before using this product. Retain this manual for future reference. For customer service, contact support@sunnyhealthfitness.com...
-
Page 2: Important Safety Notice
IMPORTANT SAFETY NOTICE Thank you for purchasing the Full Motion Rowing Machine. For your safety and benefit, read this manual carefully before using the machine. Prior to assembly, remove components from the box and verify that all the listed parts were supplied. -
Page 3: Exploded Diagram
EXPLODED DIAGRAM - 2 -... -
Page 4: Parts List
PARTS LIST Item Item Description Description Seat bracket Sensor Rear stabilizer Knob Hydraulic cylinder Seat rail Left handlebar Pedal strap Seat Right handlebar Connecting joint Foam grip Junction piece Roller Long shaft Bolt M8x60 Axle Nut M8 Fixed plate Nut M10 Handlebar cover Nut M 8 Bearing... -
Page 5: Hardware Package
HARDWARE PACKAGE NOTE: Most of the listed assembly hardware has been packaged separately, but some hardware items have been preinstalled in the identified assembly parts. In these instances, simply remove and reinstall the hardware as required. Please reference the individual assembly steps and make note of all preinstalled hardware. PREPARATION: Before assembling, make sure that you will have enough space around the item. -
Page 6: Assembly Instructions
ASSEMBLY INSTRUCTIONS Step 1 Attach the Front Stabilizer (21) to the Seat Rail (3) with 2 Bolts (35), 2 Arc Washers (50), 2 Spring Washers (49), and 2 Nuts (38). Attach the Rear Stabilizer (2) to the Seat Rail (3) with 3 Inner Hex Screws (40), 2 Spring Washer(49), 2 Flat Washers (46) and 1 Arc Washer (50). - Page 7 Step 2 Insert Long Shaft (8) into the Seat Rail (3), and insert the Spacers (14) onto the Long Shaft (8) on both ends. Then slide the Pedals (15) onto each side of the Long Shaft (8) and secure with the Flat Washer (46) and Inner Hex Screw (40) and tighten. Insert the Meter (27) into the meter support on the Seat Rail (3).
- Page 8 Step 3 Attach the Left and Right Handlebar (4 & 5) to the Connecting Joint (6) with Inner Hex Screw (42), Flat Washer (46) and Nut (36). Then secure the Junction Piece (7) with the Knob (29). Step 4 Insert the Seat Bracket (1) onto the Seat Rail (3), then remove the tape from the Rollers (34).
- Page 9 Adjusting the Resistance This rowing machine is designed with 12 levels of resistance. Turn the upper ring on the Hydraulic Cylinder (22) so the arrow points to the desired resistance level, as shown on drawing. Note: Please keep the tool set and the instructions as they may be required for repairs in the future.
-
Page 10: Meter Instructions
METER INSTRUCTIONS TIME ..................00:00-99:59 MIN COUNT ....................0-9999 TOTAL COUNT ..................0-9999 CALORIE ..................0-9999 KCAL FUNCTIONS MODE: Press this button to select and set to a function. Press and hold for 3 seconds to reset TIME, COUNT, and CALORIE. SET: Press this button to set the value of TIME, DISTANCE and CALORIE.
Need help?
Do you have a question about the SF-RW5639 and is the answer not in the manual?
Questions and answers