
Related Manuals for Sunny SF-RW5606


Summary of Contents for Sunny SF-RW5606
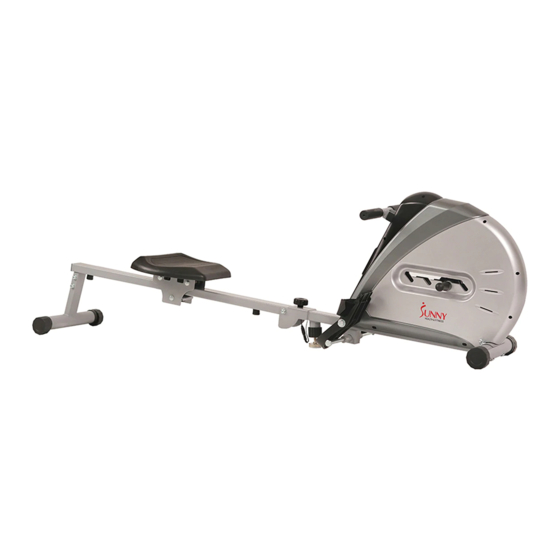
- Page 1 ELASTIC CORD ROWING MACHINE SF-RW5606 USER MANUAL IMPORTANT! Read all instructions carefully before using this product. Retain owner’s manual for future reference. For customer service, please contact: support@sunnyhealthfitness.com...
-
Page 2: Important Safety Information
IMPORTANT SAFETY INFORMATION We thank you for choosing our product. To ensure your safety and health, please use this equipment correctly. It is important to read this entire manual before assembling and using the equipment. Safe and effective use can only be assured if the equipment is assembled, maintained, and used properly. -
Page 3: Exploded Drawing
EXPLODED DRAWING... -
Page 4: Parts List
PARTS LIST Q’ty No. Q’ty Description Description Main frame Plug Front stabilizer Handlebar End cap Foam grip Bolt M8x65 Rope Curved washer d8x1.5xÖ20xR30 Bolt Spring washer D8 Bolt M10x80 Nut M8 Sensor wire Bolt ö12.5x130xM12x18 Extended wire Washer D13xö26x2 Washer D10xö20x1.5 Pedal Nut M10 Screw ST4.2x18... -
Page 5: Hardware Package
HARDWARE PACKAGE... -
Page 6: Assembly Instructions
ASSEMBLY INSTRUCTIONS STEP 1: Attach the Handlebar (No. 22) to the Axle (No. 24). STEP 2: Attach the Front Stabilizer (No. 2) to the Main Frame (No. 1) using Bolts (No. 4), Curved Washers (No. 5), Spring Washers (No. 6) and Nuts (No. 7). Attach the Foot Pad (No. - Page 7 STEP 3: Insert the Bolt (No. 8) to the short bottom shaft of the Main Frame (No. 1). Attach the Pedals (No. 10L/R) to the Main Frame (No. 1) using Bolts (No. 8) and Washers (No. 9). STEP 4: Attach the Saddle (No. 52) to the Saddle Post (No. 51) using Screws (No. 48), Spring Washers (No.
- Page 8 STEP 5: Connect the Extended Wire (No. 36) to the Sensor Wire (No. 35) then attach the Rail Tube (No. 45) to the Main Frame (No. 1) using Bolts (No. 34), Washers (No. 37), and Nuts (No. 38). Insert Knob (No. 33) and Washer (No. 15) and turn to tighten. Check that the Adjustable Foot Pad (No.
-
Page 9: Folding Instructions
FOLDING INSTRUCTIONS: The rowing machine is foldable. Before folding the machine, remove the Bolt (No. 33) and Washer (No. 15). Once folded, you may reinsert the Bolt (No. 33) & Washers (No. 15) to secure the folded position. IMPORTANT: cautious when folding as the Saddle will drop down. -
Page 10: Function Key
EXERCISE MONITOR FUNCTION KEY: MODE: Press to select function. (Time, Speed, Distance, Calories, Pulse). OPERATIONS: 1. AUTO ON/OFF: If the belt is put into motion, or the mode button is pressed the computer will become active, and shall remain active while either of these two things continues to be done, however without any signal for approximately 4 minutes, power (monitor), will turn off automatically.
Need help?
Do you have a question about the SF-RW5606 and is the answer not in the manual?
Questions and answers