HunterDouglas RB 500 Installation Instructions Manual
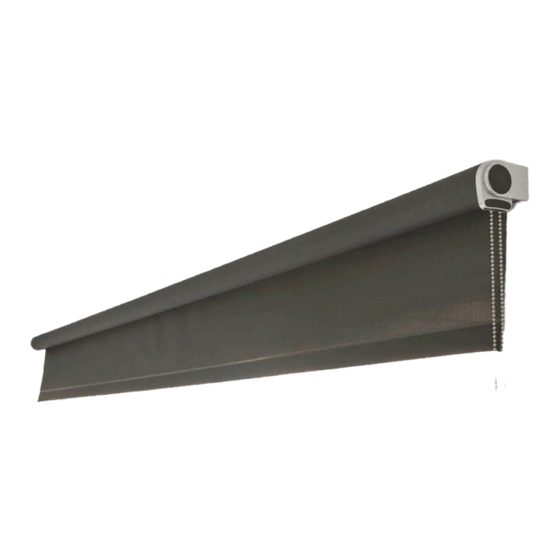
Motorized coupled roller shade
Hide thumbs
Also See for RB 500:
- Installation instructions manual (6 pages) ,
- Installation (4 pages) ,
- Manual installation (3 pages)

Related Manuals for HunterDouglas RB 500


Summary of Contents for HunterDouglas RB 500
- Page 1 Installation Instructions RB 500 Motorized Roller Shade Motorized Coupled Roller Shade HunterDouglas Architectural...
-
Page 2: Installation
Installation Install the brackets with the screws provided. a) recess b) ceiling c) wall Slide the bracket cover onto the bracket until it snaps. The fastener of the bracket adapter must be open. Place the shade with the tube bearing plug onto the bracket. - Page 3 Line up teeth of motor Plate L with the bracket adapter (A).Turn the shade (10°) in the rolling off direction (1) close fastener on the bracket adapter (2). Make sure that limit switches are accessible on motors. Secure the shade by turning the locking ring furthest away from the bracket.
- Page 4 Make sure the bracket cover is on the intermediate plug bracket. Install the end plug bracket with screws provided. Slide the screw cover onto the bracket until it snaps.
- Page 5 Slide the aligner or the connector set through the intermediate bracket into the tube bearing plug. Shades with custom width gaps or Joint 45° will require 2 intermediate brackets. Slide the aligner or connector set through the intermediate bracket into the tube bearing plug.
- Page 6 Press the tube bearing plug, lift the roller shade and snap it to the bracket. To align the bottom hembars, pull the shade away from aligner set (1), turn shade to line up bottom hembars together shade secure position (3). Not possible when using connector set. Secure shade band by turning the locking ring on tube bearing plug furthest away from the bracket.
- Page 7 Slide the bracket cover onto the bracket. Make sure that the bracket cover snaps onto the bracket. Option: Leveler Make sure that the opening for the Allen key is pointing downwards before installing the brackets. Change the orientation by loosening the 4 screws and turning the leveler 90°.
- Page 8 Connect the motor and all controls in accordance with all safety standards.
- Page 9 Removal Lift the backside of the bracket cover and slide it towards you. Unfasten the locking ring. Slide a screw driver between locking ring and bracket and push the tube bearing plug in the aligner/connector direction. Move the roller shade downwards out of the bracket. Pull the aligner or connector out of the tube bearing plug.
- Page 10 Disconnect power to the motor. Lift the backside of the bracket cover..and slide it towards you. Unfasten the locking ring.
- Page 11 Open fastener on the bracket adapter. Turn the shade in the roll up direction (1) and then pull Plate L out of the bracket adapter.(2) Push the shade against the tube bearing plug and slide it out of the bracket.
Need help?
Do you have a question about the RB 500 and is the answer not in the manual?
Questions and answers