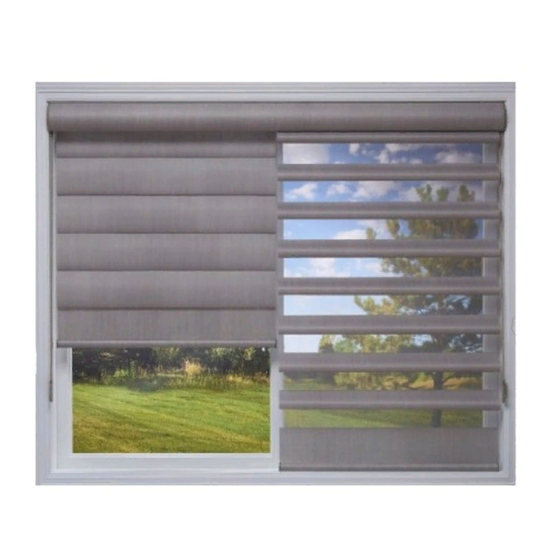
HunterDouglas Pirouette Installation And Care
Window shadings specialty shapes
Hide thumbs
Also See for Pirouette:
- Installation & operation manual (24 pages) ,
- Installation operation care (36 pages)
Table of Contents
Advertisement
Quick Links
Advertisement
Table of Contents

Summary of Contents for HunterDouglas Pirouette
- Page 1 Installation and Care Pirouette Window Shadings ® Specialty Shapes...
-
Page 2: Table Of Contents
CONTENTS Getting Started: Product View ............... 1 Tools and Fasteners Needed .......... 2 Installation: Install the Brackets ............3 Install the Shading ............5 Troubleshooting ............7 Care: Remove the Shading ............. 9 Cleaning Procedures ............. 9 Questions? Call Hunter Douglas Consumer Support at 1-888-501-8364. ©... -
Page 3: Getting Started
GETTING STARTED Product View Installation Bracket Fabric U-Clip Slot Plastic Arrow Pin Support Face Fabric Bottom Rail Installation Bottom Rail Brackets Weight Weight Plastic Lock Magnetic Supports Hold-Down Brackets Magnetic Hold-Down Weight Slot Fabric U-Clip Arrow Pin Face Fabric Installation Bracket Fabric U-Clip Slot Bottom Rail... -
Page 4: Tools And Fasteners Needed
GETTING STARTED Thank you for purchasing Hunter Douglas Pirouette window shadings. With proper installation ® and care, your new shadings will provide years of beauty. Please thoroughly review this instruction booklet and the enclosed packing list before beginning the installation. -
Page 5: Installation
INSTALLATION Install the Brackets Circle shadings require three installation brackets. The number of Installation Bracket installation brackets for arch and angle shadings vary depending Fabric U-Clip on the width of the shadings. Arrow Pin Each installation bracket will have a fabric U-clip and arrow pin. IMPORTANT: The process for determining the installation bracket location and installing the installation bracket is basically the same for any of the shading shapes available (arch, angle, or circle). - Page 6 INSTALLATION IMPORTANT: Be sure to make an allowance of at Back of Window least " between the window and the screw hole Screw Hole location to allow enough clearance for the installation Minimum bracket to slide back to lock the shading in place. "...
-
Page 7: Install The Shading
INSTALLATION Install the Shading Attach the Installation Bracket Remove the arrow pin to release the installation ■ bracket from the plastic support. Screw Fit the screw head into the keyhole slot of each Head ■ installation bracket. Slide the installation bracket back and tighten the ■... - Page 8 INSTALLATION Mount the Magnetic Hold-Down Brackets (Optional) Arch and Angle Shadings Magnetic Lower the shading until it is fully lowered. Hold-Down ■ Bracket Attach the magnetic hold-down bracket onto the bottom rail ■ just inside the end cap, oriented as shown. Mark the screw locations.
-
Page 9: Troubleshooting
INSTALLATION Troubleshooting Problem The fabric rubs against the window casement. Solution Adjust the Shading Before trimming the shading, center it in the window. Move it to either side by sliding the arrow pin in the slot. See “Adjust the Shading” on page 5. Trim the Shading CAUTION: Trimming the shading permanently alters the shading. - Page 10 INSTALLATION Problem The shading is not centered in the window. Solution Verify the center of the window and check that the screws are accurately mounted. Adjust the screw placement or height to compensate. See “Measure and Mark the Location for the Installation Bracket” on page 3. Problem Arch and Angle Shadings: The bottom rail does not appear straight.
-
Page 11: Care
CARE Remove the Shading Use a small, flat blade screwdriver to gently pry off the fabric U-clip from the installation ■ bracket. The face fabric will drop. Gently pry the arrow pin out of the hole in the installation bracket. ■... - Page 12 ■ A Note About Pirouette Fabric ® As with all textiles, Pirouette fabric is subject to some variations. Slight wrinkling, puckering, or ® bowing is inherent to this textile product and should be considered normal, acceptable quality. These characteristics are not usually visible from the front or rear but may be visible from a side angle.
- Page 13 Notes...
- Page 14 Notes...
- Page 16 If you are not thoroughly satisfied, simply contact Hunter Douglas at (888) 501-8364 or visit hunterdouglas.com. In support of this policy of consumer satisfaction, we offer our Lifetime Limited Warranty as described below.


Need help?
Do you have a question about the Pirouette and is the answer not in the manual?
Questions and answers