
Subscribe to Our Youtube Channel
Related Manuals for Luxul XWO-BKT1


Summary of Contents for Luxul XWO-BKT1
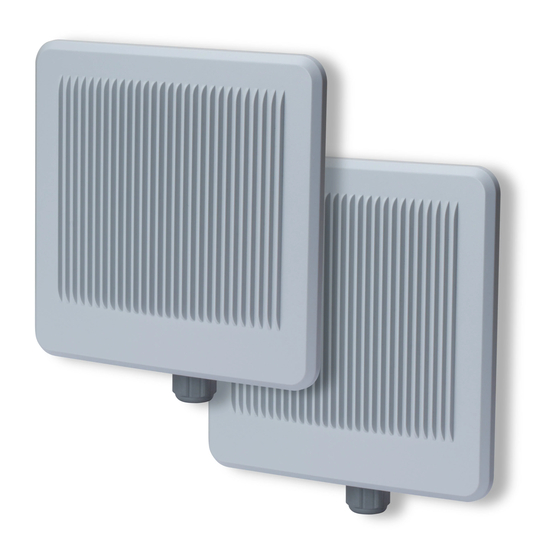
- Page 1 QUICK INSTALL GUIDE High Power AC1200 Dual-Band Outdoor Bridging Kit XWO-BKT1 Includes: XWO-BAP1 Wireless Access Points (2) „ PoE Injectors and Power Cords (2) „ Mounting Brackets and Hardware (2) „ Ethernet Cables (2) „...
-
Page 2: Physical Installation
READ ME FIRST - CONTROLLER COMPATIBILITY Because the XWO-BAP1s in this kit are designed for use primarily as a wireless bridge, they are NOT compatible with the Luxul XWC-1000 Wireless Controller. AP SETUP AND CONFIGURATION Physical Installation The XWO-BAP1 access points are designed for simple and efficient installation. - Page 3 2. Thread the Ethernet cable through the cable gland assembly as shown, connect it to the Ethernet connector, secure the cable gland to the threaded recess on the access point, then tighten the cable gland nut to secure and seal the cable gland. Cable gland exploded view 3.
- Page 4 Data & PWR Out: Connect an Ethernet cable from the Data & PWR Out port of the included PoE Injector to the PoE Port of the XWO-BKT1 AC Power: Connect the included AC Cord to the Power Input of the Included Injector first and then to the AC outlet.
- Page 5 Once you’re finished configuring the APs, you can return your computer’s IP configuration to normal, typically “Obtain Automatically/DHCP.” Note: Visit http://luxul.com/ip-addressing to learn more about changing your computer’s IP address and getting connected. Note: The XWO-BAP1 is not a router and will need to be connected to...
- Page 6 Default IP: 192.168.0.10 or 192.168.0.11 Username: admin Password: admin Once logged in, use Quick Setup and follow the online help to configure security and bridging as desired. For more information on configuring the XWO-BAP1s for various applications, visit http://luxul.com/wireless-bridging.
-
Page 7: Led Indicators
Hardware Operation LED Indicators The LED indicators are located on the bottom portion of the enclosure, near the cable gland. PWR: If the green Power LED is On, the XWO-BAP1 is powered. If the Power LED is Off, the XWO-BAP1 is not receiving power. -
Page 8: Technical Support
Luxul product. © Copyright 2016 Luxul. All rights reserved. The name Luxul, the Luxul logo, the Luxul logo mark and Simply Connected are all trademarks and or registered trademarks of Luxul Wireless, Inc. All other trademarks and registered trademarks are property of their respective holders.
Need help?
Do you have a question about the XWO-BKT1 and is the answer not in the manual?
Questions and answers