Advertisement
Quick Links
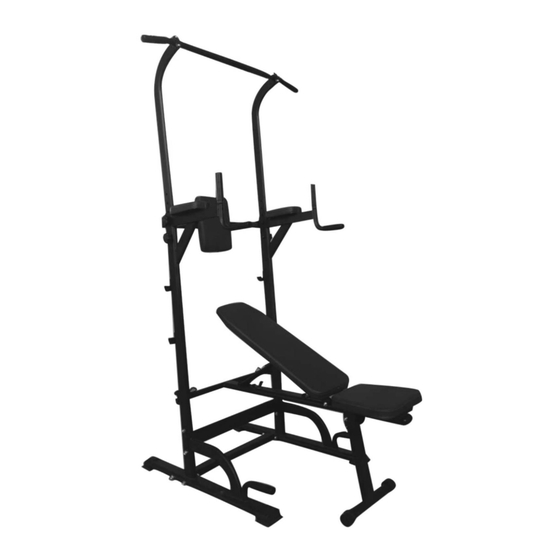
GBH-210
POWER TOWER
OWNER'S MANUAL
Product may vary slightly from the item pictured due to model upgrades
Read all instructions carefully before using this product. Retain this owner's manual for future
reference.
NOTE: This manual may be subject to updates or changes. Up to date manuals are available through our website at www.lifespanfitness.com.au
Advertisement

Related Manuals for LSG GBH-210


Summary of Contents for LSG GBH-210
- Page 1 GBH-210 POWER TOWER OWNER’S MANUAL Product may vary slightly from the item pictured due to model upgrades Read all instructions carefully before using this product. Retain this owner’s manual for future reference. NOTE: This manual may be subject to updates or changes. Up to date manuals are available through our website at www.lifespanfitness.com.au...
-
Page 2: Table Of Contents
TABLE OF CONTENTS IMPORTANT SAFETY INSTRUCTIONS CARE INSTRUCTIONS PARTS LIST ASSEMBLY INSTRUCTIONS WARRANTY GBH-210... -
Page 3: Important Safety Instructions
This equipment is designed for indoor and family use only Care must be taken when lifting or moving the equipment so as not to injure your back. Always keep this instruction manual and assembly tools at hand for reference. The equipment is not suitable for therapeutic use. GBH-210... -
Page 4: Care Instructions
Lubricate moving joints with grease after periods of usage Be careful not to damage plastic or metal parts of the machine with heavy or sharp objects The machine can be kept clean by wiping it down using dry cloth 3. PARTS LIST GBH-210... - Page 5 Bolt M8*30mm Stabilizer Tube Pad Nut M10mm Main Frame Bracket Leg adjustable Tube Knob M10mm Chin Up Bar Bolt M6*40mm Bench set Bolt M8*25mm Adjustable tying Rope Nut M8mm Bolt M8*90mm Bench Feet Knob M8mm Stabilizer extended Safety Pin GBH-210...
-
Page 6: Assembly Instructions
4 x Bolt #1 (M10*90mm) 4 x Nut #6 (M10mm) 2 x Plate #3 STEP 3: Secure 1 x Part C to 2 x Part G with: 4 x Bolt #2 (M10*50mm) 4 x Nut #6 (M10mm) 2 x Plate #4 GBH-210... - Page 7 Secure 1 x Part A to 2 x Part G with: 2 x Bolt #10 (M8*25mm) 2 x Nut #11 (M8mm) STEP 5: Secure 2 x Part D to 2 x Part G with: 4 x Bolt #9 (M6*40mm) GBH-210...
- Page 8 STEP 6: Secure 2 x Part E to 2 x Part G with existing bolt in Part G STEP 7: Secure 1 x Part I to 2 x Part H with: 4 x Bolt #5 (M8*30mm) 2 x Bracket #7 GBH-210...
- Page 9 STEP 8: Secure 2 x Part H to 2 x Part G with: 4 x Hand Bolt #8 (M10mm) Step 9: Secure 1 x Part J onto frame hook on Part G with: M8mm 2 x Knob #13 ( GBH-210...
- Page 10 Step 10: M8*90mm) Secure 1 x Bolt 12 ( onto Part M. Insert Safety Pin #14 onto Part M. Step 11: Part K Adjustable Tying Belt can be used to hold trainer’s feet when doing sit-ups. GBH-210...
- Page 11 To fold up the bench, loosen the safety pin and fold up. Part K Adjustable Tying Belt can be used to hold the bench leg to the back of the cushion. GBH-210...
-
Page 12: Warranty
Please visit our website to view our full warranty terms and conditions: http://www.lifespanfitness.com.au/warranty-repairs Warranty and Support: Please email us at support@lifespanfitness.com.au for all warranty or support issues. For all warranty or support related enquiries an email must be sent before contacting us via any other means. GBH-210...
Need help?
Do you have a question about the GBH-210 and is the answer not in the manual?
Questions and answers