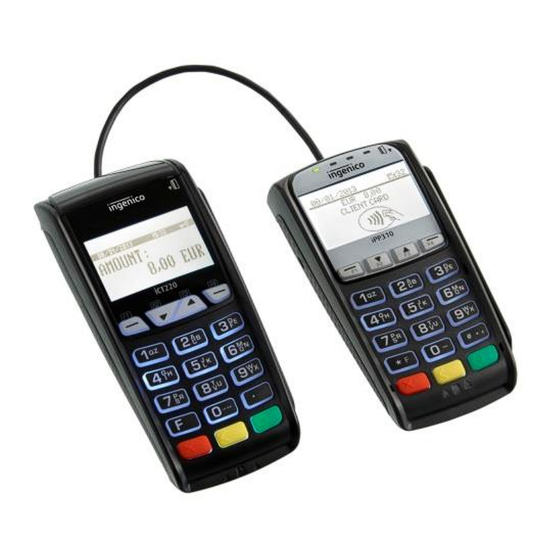
Ingenico iCT 200 Series Setup Manual
Ethernet based terminal with dial backupn and pin pad
Hide thumbs
Also See for iCT 200 Series:
- User manual (38 pages) ,
- Quick reference manual (11 pages) ,
- Quick start manual (2 pages)
Advertisement
Table of Contents
The Ingenico iCT 200 series are Ethernet based terminal with dial backup and PIN pad connectivity capability
CONNECTING/INITIALIZING THE TERMINAL
Turn over terminal and plug the various ends of
the "magic box" connector into the corresponding
outlets in the back of terminal.
Plug Ethernet or phone cable, power cable into the
other end of the magic box.
(Power connector turns terminal on/off).
PIN Pad SETUP
Connect PIN pad into RS232 Port of magic box
Press F
Press 0 -Telium Manager
Press 3 - Initialization
Press 1 - Parameters
Scroll and choose PIN Pad
Select - Autodetect
INTERNET SETUP
Press F
Press 0 -Telium Manager
Press 3 -Initialization
Press 2 –Hardware
Press 2 -Ethernet Setup
Press 1 -Boot Proto
Press 2 –DHCP
Press red cancel button to exit and save
LOADING & CHANGING THE PAPER ROLL
Pull tab on paper roll cover to release and open
cover
Place the paper roll in the compartment as shown
SETTING ADMIN PASSWORD
Press ADMIN to access the Admin menu
Press 3 for SET-UP
Press 3 for SYSTEM SET-UP
Enter default Admin password 000000, press OK
Enter new Admin password
Confirm new Admin password
Ingenico iCT 200 Series Set-Up Guide
Terminal / Keypad Layout
Menu Layout
The Ingenico iCT 220 menu functions are
arranged in two menus: Transaction and
Administration.
To access letters on the numeric keypad,
double click the letter key quickly until
the desired number appears.
Use yellow button to go back one step
and red button to cancel.
Page 1 of 5
Advertisement
Table of Contents

Summary of Contents for Ingenico iCT 200 Series
- Page 1 Ingenico iCT 200 Series Set-Up Guide The Ingenico iCT 200 series are Ethernet based terminal with dial backup and PIN pad connectivity capability Terminal / Keypad Layout CONNECTING/INITIALIZING THE TERMINAL Turn over terminal and plug the various ends of the “magic box” connector into the corresponding outlets in the back of terminal.
-
Page 2: System Setup
Ingenico iCT 200 Series Set-Up Guide SYSTEM SET-UP Press ADMIN to access Admin menu Select 3 for SET-UP, press OK Select 3 for SYSTEM SET-UP, press OK Enter Admin password, press OK TERMINAL DATE will be set automatically by host... -
Page 3: Printer Setup
Ingenico iCT 200 Series Set-Up Guide PRINTER SET-UP Press ADMIN to access the Admin menu Press 5 for PRINT SET-UP Set the NUMBER OF COPIES (choose 2 for merchant and customer copy), press OK Set PAUSE between copied to YES/NO, press OK... -
Page 4: Printing Reports
Ingenico iCT 200 Series Set-Up Guide CHANGING MERCHANT AND ADMIN PASSWORDS Press ADMIN to access Admin menu Press 9 to access Password Menu Options TO CHANGE MERCHANT PASSWORD TO CHANGE ADMIN PASSWORD Press 2 Press 1 Enter current password, press OK... -
Page 5: Training Mode
Ingenico iCT 200 Series Set-Up Guide CT-PAYMENT KEY EXCHANGE Press ADMIN to access Admin menu Press 4 for KEY EXCHANGE function, press OK Terminal will automatically connect to Host and update encryption KEYS TRAINING MODE IMPORTANT NOTE: When terminal is in training mode any Sale transactions will not be processed.


Need help?
Do you have a question about the iCT 200 Series and is the answer not in the manual?
Questions and answers