Sign In
Upload
Download
Table of Contents
Contents
Add to my manuals
Delete from my manuals
Share
URL of this page:
HTML Link:
Bookmark this page
Add
Manual will be automatically added to "My Manuals"
Print this page
×
Bookmark added
×
Added to my manuals
Manuals
Brands
AURES Manuals
Touch terminals
YUNO-151
User manual
AURES YUNO-151 User Manual
Hide thumbs
1
2
3
Table Of Contents
4
5
6
7
8
9
10
11
12
13
14
15
16
17
18
19
20
21
22
23
24
25
26
27
28
29
30
31
32
33
34
35
36
37
38
39
40
41
42
43
44
45
46
47
48
49
50
51
52
53
54
55
56
57
58
59
60
61
62
63
64
65
66
67
68
69
70
71
72
73
74
75
76
77
78
79
80
81
82
83
84
85
86
87
88
89
90
91
92
page
of
92
Go
/
92
Contents
Table of Contents
Bookmarks
Table of Contents
Liability Disclaimer
Regulatory Information
FCC Notice
CE Notice
UL Notice
WEEE Notice
Safety
Table of Contents
1 Item Checklist
Standard Items
POS System Series
Touch Monitor Series
Optional Items
2 System View
Front View
Rear View
Side View
Dimension
For YUNO-151 / YUNO-151TM
For YUNO-156 / YUNO-156-50KH / YUNO-156TM
For YUNO-151K
I/O View
POS System Series
Touch Monitor Series
3 POS System / Touch Monitor Assembly & Disassembly
Open the System Cover
Replace the Storage Disk Drive
Replace the Memory
Install the Power Adapter
Install the Wall-Mount
4 Peripherals Installation
Install the Cash Drawer
Install the Attachment-Type Customer Display (YUNO-VFD) and Second Display (YUNO-2NDLCD10.1)
Install Other Attachment-Type Peripherals
Install the Wi-Fi Bluetooth Module (YUNO-KIT-WIFI)
5 Specification
POS Series
Touch Monitor Series
6 Configuration
POS Series - X72 Motherboard
Motherboard Layout
Connectors & Functions
Jumper Settings
POS Series - X7D Motherboard
Motherboard Layout
Connectors & Functions
Jumper Settings
Touch Monitor Series - Touch Screen Board
Touch Screen Board Layout
Connectors & Functions
Jumper Settings
Appendix A: Driver Installation
Installation Note of USB 3.0 Driver with Bay Trail YUNO
Application Note of Installing Posready 7 or Windows 7 with Broadwell YUNO
Appendix B: Customer Display Command Settings
General Specifications
Advertisement
Quick Links
1
Open the System Cover
Download this manual
User Manual
POS System series
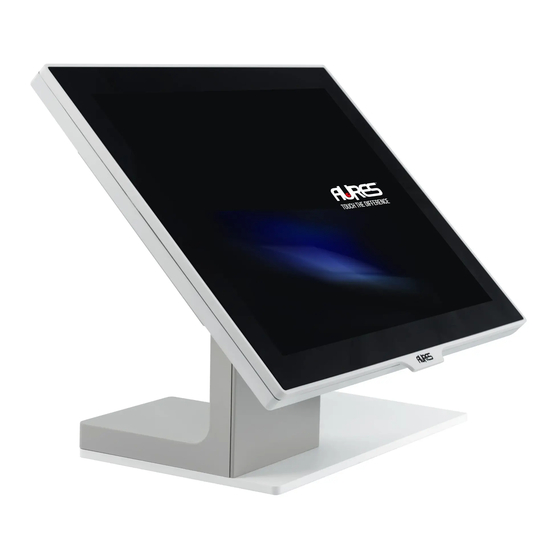
YUNO-151
/ YUNO-151K
and
YUNO-156
/ YUNO-156-50KH
Touch Monitor series
YUNO-151TM / YUNO-156TM
Table of
Contents
Previous
Page
Next
Page
1
2
3
4
5
Advertisement
Table of Contents
Need help?
Do you have a question about the YUNO-151 and is the answer not in the manual?
Ask a question
Questions and answers
Related Manuals for AURES YUNO-151
Touch terminals AURES YUNO-156 User Manual
(92 pages)
Touch terminals AURES YUNO II User Manual
(41 pages)
Touch terminals AURES YUNO-K170-BLACK User Manual
(13 pages)
Touch terminals AURES JAZZ-BASE151 Series User Manual
(22 pages)
Touch terminals AURES TRX 3000 Quick Start Manual
(4 pages)
Touch terminals AURES TMC 7200 User Manual
(64 pages)
Touch terminals AURES Odysse II User Manual
(79 pages)
Touch terminals AURES NINO II User Manual
(38 pages)
Touch terminals AURES TWIST-MB-1900 User Manual
Pos system (19 pages)
Touch terminals AURES TRX3000 Maintenance Manual
(69 pages)
Touch terminals AURES TEOS WIDE User Manual
(30 pages)
Touch terminals AURES TMC 7000 Quick Start Up Manual
7" integrated mobile pos (8 pages)
Touch terminals AURES EKO User Manual
(24 pages)
This manual is also suitable for:
Yuno-156
Yuno-156-50kh
Yuno-151tm
Yuno-156tm
Yuno-151k
Yuno series
...
Show all
Yuno151
Pos system series
Touch monitor series
Table of Contents
Save PDF
Print
Rename the bookmark
Delete bookmark?
Delete from my manuals?
Login
Sign In
OR
Sign in with Facebook
Sign in with Google
Upload manual
Upload from disk
Upload from URL


Need help?
Do you have a question about the YUNO-151 and is the answer not in the manual?
Questions and answers