Advertisement
Advertisement
Table of Contents

Subscribe to Our Youtube Channel
Summary of Contents for Siqura sa fixed series
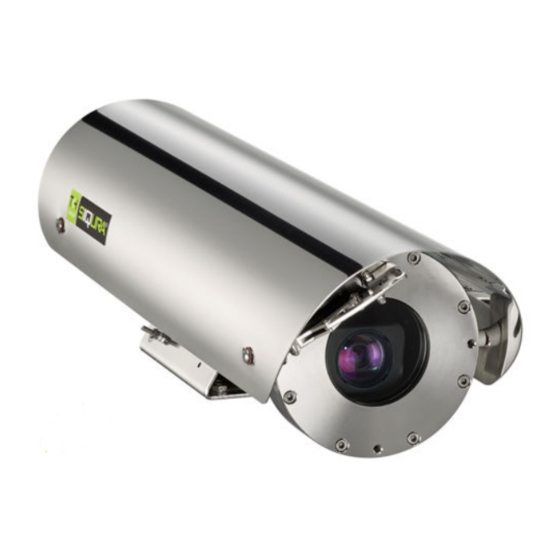
- Page 1 SA Fixed Series Stainless Steel fixed camera station...
- Page 2 Any brand names mentioned in this manual are registered trademarks of their respective owners. Liability Siqura accepts no liability for claims from third parties arising from improper use other than that stated in this manual. Although considerable care has been taken to ensure a correct and suitably comprehensive description of all relevant product components, this manual may nonetheless contain errors and inaccuracies.
- Page 3 1.4 Install the camera....................5 1.5 Dimensions......................7 Description SA Fixed Series housings are made in AISI316L stainless steel to protect CCTV cameras in outdoor locations, especially where corrosive environment can cause the premature deterioration of a standard aluminium/plastic camera housing. Models...
- Page 4 SA Fixed Series - Installation manual Certifications Weatherproof standard: IP67 EN 61000-6-3:2007 and 50130-4:1995 + A1:1998 + A2:2003 (EMC – Electromagnetic Compatibility) 60950-1:2006 + A11:2009 (LVD – Safety)
-
Page 5: Install The Camera
SA Fixed Series - Installation manual Install the camera ● Prior to installation and operation, carefully read all instructions in this manual and heed all warnings. ● Unpack this equipment and handle it carefully. If the package appears to be damaged, notify the shipper immediately. - Page 6 SA Fixed Series - Installation manual ● Ensure that the unit case is properly earthed, connecting all the earth ground studs. Earth cable should be about 10 mm longer than the other cables on the connector, in such way that it will not be accidentally disconnected when the cable is stretched or pulled.
- Page 7 SA Fixed Series - Installation manual 5. Close the housing Slide the housing outer body along the internal rail. The internal rail is to be inserted in the guide fissure as shown in the picture. Check the proper position of the seal in its groove on the rear flange.


Need help?
Do you have a question about the sa fixed series and is the answer not in the manual?
Questions and answers