
Related Manuals for Nu-Vu NVT-3/9


Summary of Contents for Nu-Vu NVT-3/9
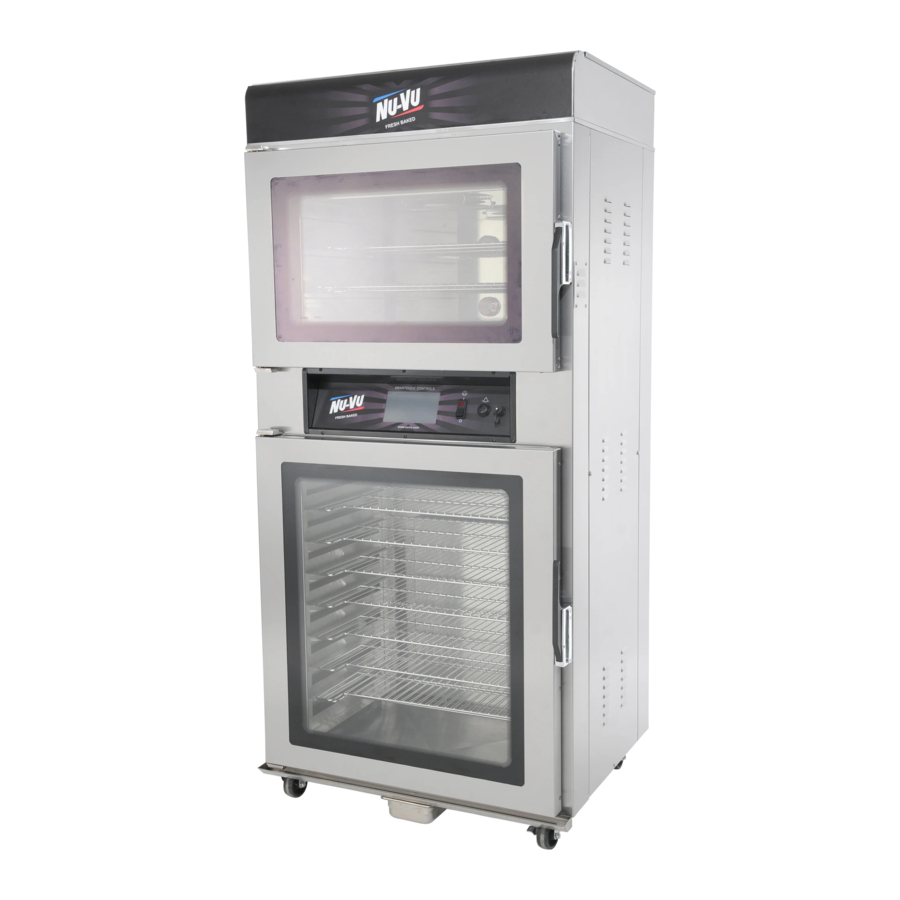
- Page 1 ® NU-VU Model: NVT-3/9 Oven / Proofer SERVICE AND REPAIR MANUAL Revised: Aug 14, 2014 (NVT-39-ServiceManual-01c)
-
Page 2: Table Of Contents
TABLE OF CONTENTS TROBLESHOOTING ...................... 1 Oven problems ......................1 Proofer problems ..................... 2 Controller problems....................3 WATER FILTER INSTALLATION ................... 4 HINGE REVERSAL ......................5 Oven Door Hinge Reversal ..................5 Proofer Door Hinge Reversal ................... 6 CALIBRATION INSTRUCTIONS..................7 HUMIDITY SPRAY TIME ADJUSTMENT ................ - Page 3 LIST OF ILLUSTRATIONS AND SCHEMATICS Drawing #1 ........Control Header ............ 1 Drawing #2 ........Proofer Parts ............2 Drawing #3 ......... Control Adjustments ..........3 Drawing #4 ........ Water Filter Installation ..........4 Drawing #5 ......Oven Door Hinge Reversal ........... 5 Drawing #6 .......
-
Page 5: Trobleshooting
NVT-3/9 SERVICE AND REPAIR MANUAL TROUBLESHOOTING GUIDE Troubleshooting Guide Oven Problems The oven doesn’t heat up ........................... Is there a period next to the oven temperature on the display? Yes – Is the contactor engaged? Yes – Is the oven fan rotating? Yes –... -
Page 6: Proofer Problems
TROUBLESHOOTING GUIDE NVT-3/9 SERVICE AND REPAIR MANUAL Proofer Problems The proofer is not heating up Is there a period next to the proofer temperature on the display? Yes – Check proofer heating elements Proofer elements OK – Replace control board Proofer elements not OK –... -
Page 7: Controller Problems
Do interior lights come on? Yes- Replace display No – Contact Nu-Vu Service for further assistance. No – Check output from transformer (output voltage should be 20 – 30 VAC) Output voltage is OK – is there voltage at the power connections on the controller Yes –... -
Page 8: Water Filter Installation
WATER FILTER INSTALLATION NVT-3/9 SERVICE AND REPAIR MANUAL Water Filter Installation Drawing 4 1. Attach water filter bracket to the rear of the unit using the 10-32 screws included with the filter assembly. 2. Run 1/4” OD tubing from the water supply line to the unit location. Allow some slack in the tubing for final unit positioning and any future service requirements. -
Page 9: Hinge Reversal
NVT-3/9 SERVICE AND REPAIR MANUAL OVEN DOOR REVERSAL OVEN DOOR HINGE REVERSAL Drawing 5 Important: disconnect power before beginning Tools Required: 7/16” socket and ratchet 9/16” wrench or adjustable wrench Slotted screwdriver Phillips screwdriver 1. Remove both side panels and access covers (on sides, level with the door switch) using a slotted screwdriver. -
Page 10: Proofer Door Hinge Reversal
HUMIDITY SPRAY TIME ADJUSTMENT NVT-3/9 SERVICE AND REPAIR MANUAL PROOFER DOOR HINGE REVERSAL 1. The proofer door is reversed using the same procedure as the oven door with the exception of the steps referring to the door switch as there is no proofer door switch. The proofer handle points up instead of down as it is on the oven door. -
Page 11: Calibration Instructions
NVT-3/9 SERVICE AND REPAIR MANUAL CALIBRATION INSTRUCTIONS CALIBRATION INSTRUCTIONS Drawing 6 1) Place a thermocouple or a reliable thermometer on a pan in the center of each cavity. 2) Turn on the oven and proofer cavities of the unit and select the bread recipe. -
Page 12: Humidity Spray Time Adjustment
REPLACEMENT PARTS LIST NVT-3/9 SERVICE AND REPAIR MANUAL HUMIDITY SPRAY TIME ADJUSTMENT 1. Enter the offset screen (Drawing 7), refer to calibration instructions. 2. Pressing the “+” key next to “On Time” will reduce the spray duration, pressing the “-“... -
Page 13: Parts List
NVT-3/9 SERVICE AND REPAIR MANUAL REPLACEMENT PARTS LIST REPLACEMENT PARTS LIST (NVT-3/9) Reference # Description Replacement Part # ELECTRICAL COMPONENTS - - Power Terminal Block ....................... 50-1539 Ground Lug ........................50-1329 Contactor: .......................... 66-2017 Touch Screen Panel Assembly ..................112-9187 Touch Screen Only .....................66-1189-1... -
Page 14: Parts List
REPLACEMENT PARTS LIST NVT-3/9 SERVICE AND REPAIR MANUAL OVEN INTERIOR COMPONENTS - - Oven Wall Assembly (Right) .................... 112-9190 Oven Wall Assembly (Left) ....................112-9191 Oven Element / Fan Cover Assembly ................112-9192 Wire Fan Guard ........................ 112-0275 PROOFER INTERIOR COMPONENTS - - Proofer Fan Cover Assembly ................... -
Page 15: Electrical Schematics
NVT-3/9 SERVICE AND REPAIR MANUAL ELECTRICAL SCHEMATICS ® NU-VU FOOD SERVICE SYSTEMS MENOMINEE, MICHIGAN 49858-0035 Sales Fax (906) 863-5889 ♦ Service Fax (906) 863-6322 page (800) 338-9886... - Page 16 ELECTRICAL SCHEMATICS NVT-3/9 SERVICE AND REPAIR MANUAL ® NU-VU FOOD SERVICE SYSTEMS MENOMINEE, MICHIGAN 49858-0035 Sales Fax (906) 863-5889 ♦ Service Fax (906) 863-6322 page (800) 338-9886...
-
Page 17: Exploded Views
NVT-3/9 SERVICE AND REPAIR MANUAL EXPLODED VIEWS ® NU-VU FOOD SERVICE SYSTEMS MENOMINEE, MICHIGAN 49858-0035 Sales Fax (906) 863-5889 ♦ Service Fax (906) 863-6322 page (800) 338-9886... - Page 18 EXPLODED VIEWS NVT-3/9 SERVICE AND REPAIR MANUAL ® NU-VU FOOD SERVICE SYSTEMS MENOMINEE, MICHIGAN 49858-0035 Sales Fax (906) 863-5889 ♦ Service Fax (906) 863-6322 page (800) 338-9886...
Need help?
Do you have a question about the NVT-3/9 and is the answer not in the manual?
Questions and answers