Advertisement
Quick Links
Advertisement

Related Manuals for Nu-Vu NCOT5


Summary of Contents for Nu-Vu NCOT5
- Page 1 Models: NCOT5 Revised: 01 March 2017...
-
Page 2: Table Of Contents
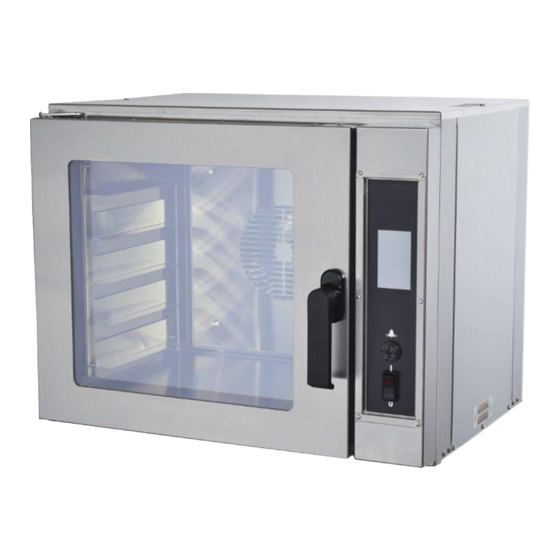
Model NCOT5 Half-Size Electric Convection Oven Unpacking ........................1 Maintenance ........................1 Installation ........................2 Operating Instructions ....................3 Parts List ........................13 Electrical Schematic ....................14 Warranty ........................15... -
Page 3: Unpacking
If so, notify the carrier immediately to file a damage claim. All Nu-Vu equipment is carefully tested and inspected prior to shipment. When accepted for delivery by carrier, the responsibility for safe arrival at the destination is assumed by the carrier. -
Page 4: Installation
Nu-Vu for instructions on changing the voltage and/or phase of your equipment. The Nu-Vu NCOT5 is normally equipped for either 208 volt or 240 volt operation in single phase configurations. A NEMA 6-30 receptacle is required to power the NCOT5 using the factory supplied cord and plug. -
Page 5: Operating Instructions
OPERATING INSTRUCTIONS - Control Operation Instructions for NCOT5 Operation: Push the power switch to the on position. The Programmable control will illuminate, displaying the following screens in succession. To activate the Touch Screen control, touch the red power icon at the center of the touch screen. - Page 6 Touch the food icon or number of the recipe that you wish to activate. This will bring up the details for that recipe and will begin to preheat. Preheat Temperature Time Setting Recipe Selected Current Function Current function options: Preheat; Ready; Step #; Cooling When the Operational function changes to “READY”, you may load the product, close the oven doors, and touch the green arrow icon to the left of the word “READY”.
- Page 7 When the timer reaches 00:00, the word “DONE” will appear on the temperature display, as shown below. PAGE 5...
- Page 8 To create a new recipe or make changes to existing recipes Push the power switch to the on position. The Programmable control will illuminate, displaying the following screens in succession. To activate the Touch Screen control, touch the red power icon at the center of the touch screen. PAGE 6...
- Page 9 The Main Menu screen will display as seen below, Touch the File icon labeled PROG. Enter the Pass Code: 7123 on the key pad and touch the icon. This will activate the touch screen below. Select the recipe you wish to change by touching the corresponding number or product icon.
- Page 10 This will give you the recipe editing screen: From here you can set the Pre-heat and Bake temperatures, time, and fan speed options for each step in your recipe by using the / arrow icons to the right of each step. When you are satisfied with your selections, touch the green Check icon to accept the recipe.
- Page 11 The recipe edit screen will display. If you are satisfied with your changes hit the icon to bring you back to the start screen below. PAGE 9...
- Page 12 To load recipes from or save recipes to USB Push the power switch to the on position. The Programmable control will illuminate, displaying the following screens in succession. To activate the Touch Screen control, touch the red power icon at the center of the touch screen. PAGE 10...
- Page 13 The Main Menu screen will display as seen below, Touch the File icon labeled PROG. Enter the Pass Code: 7111 on the key pad and touch the icon. Select which function you wish to do PAGE 11...
- Page 14 This may take a few minutes, if loading recipes from USB to oven, when complete oven will reboot and following screen will appear If loading recipes from oven to USB, the screen will revert back to following screen PAGE 12...
-
Page 15: Parts List
2 ............ Touch-Screen Controller ........66-1191 3............Control Transformer ..........66-9505 4 ............. Motor Speed Controller .......... 66-1080 6 ......... Blower and Motor Assembly (NCOT5) ........ 250-1066 7 ............. Motor Relay (NCOT5) ..........66-9025 8 ..............Alarm ............66-1151 9............Hi-Limit Switch ..........66-1047 10 ............ -
Page 16: Electrical Schematic
Electrical Schematic NCOT5 Half-Sized Electric Convection Oven NCOT5 PAGE 14... -
Page 17: Warranty
EQUIPMENT WARRANTY Nu-Vu warrants to the initial purchaser that all Nu-Vu products shall be free from defects in material or factory workmanship, under ordinary use for the purpose for which it is designed, for a period of two (2) years from the date of shipment from the manufacturing facility. At our option, any equipment will be repaired or a replacement part furnished FOB our factory.
Need help?
Do you have a question about the NCOT5 and is the answer not in the manual?
Questions and answers