Table of Contents
Advertisement
Quick Links
Advertisement
Table of Contents

Subscribe to Our Youtube Channel
Related Manuals for Dahua CA-FW480P


Summary of Contents for Dahua CA-FW480P
- Page 1 700 TVL IR Fixed Analog Camera with Zoom Lens User’s Manual Version 1.0.0...
-
Page 2: Table Of Contents
Table of Contents General Introduction ........................1 Overview ........................1 Features.........................1 Functions ........................1 Specifications ........................2 Framework...........................5 Product Dimension.......................5 Bracket Dimension .......................5 Lens and Cable Introduction..................6 Installation ...........................8 Menu.............................9 Main Menu List ......................9 Menu Note ........................10 Appendix Toxic or Hazardous Materials or Elements ...............11... - Page 3 Welcome Thank you for purchasing our analog camera! This user’s manual is designed to be a reference tool for your system. Please read the following safeguard and warnings carefully before you use this series product! Please keep this user’s manual well for future reference!
- Page 4 Important Safeguards and Warnings 1.Electrical safety All installation and operation here should conform to your local electrical safety codes. The power shall conform to the requirement in the SELV (Safety Extra Low Voltage) and the Limited power source is rated 12V DC (24V AC) in the IEC60950-1. We assume no liability or responsibility for all the fires or electrical shock caused by improper handling or installation.
- Page 5 Use the dry soft cloth to clean the device. If there is too much dust, please use the water to dilute the mild detergent first and then use it to clean the device. Finally use the dry cloth to clean the device. Please put the dustproof cap to protect the CCD (CMOS) component when you do not use the camera.
-
Page 6: General Introduction
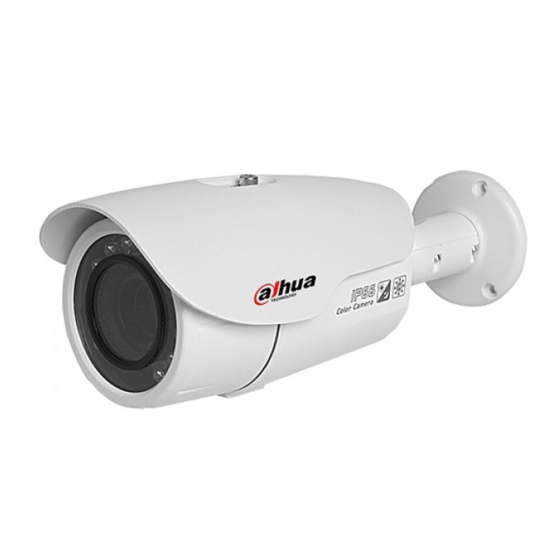
1 General Introduction 1.1 Overview This series analog camera adopts the high sensitivity CCD and advanced circuit design. It is featuring the high quality video, the lowest distortion, low noise and etc. This series product is suitable to be used in surveillance system and video process system. 1.2 Features High-performance SONY CCD, high resolution, vivid and impressive video. -
Page 7: Specifications
General Camera ATR Camera 1.4 Specifications Please refer to the following sheet for specification. Model CA-FW480P/N(-A) Parameter 1/3" SONY EXview HAD CCD Ⅱ Video Processor PAL/NTSC Video Format PAL: 976(H)*582(V)... - Page 8 Electronic Shutter Auto: 1/50s~1/100,000s Manual: 1/50s,1/120s,1/250s,1/500s,1/1000s,1/4000s,1/10,000s, 1/100,000s NTSC Auto: 1/60s~1/100,000s Manual: 1/60s,1/100s,1/250s,1/500s,1/1000s,1/4000s,1/10,000s, 1/100,000s Lens Type 4.9mm zoom lens/2.8mm-12mm zoom lens is optional. Accessories Default accessories is internal cable exit bracket Auto Day/Night Switch Video Output 1Vp-p Composite Output (75 Ohm/BNC) Above 65 dB(AGC OFF) IR Distance Max 30m...
- Page 9 Dimension(mm) 202.0×83.9×82.7 Weight 650g...
-
Page 10: Framework
2 Framework 2.1 Product Dimension Please refer to the following figure for the dimension information. The unit is mm. See Figure 2-1 and Figure 2-2. Figure 2-1 Figure 2-2 2.2 Bracket Dimension Please refer to the following figure for bracket chassis dimension information. The unit is mm. See Figure 2-3. -
Page 11: Lens And Cable Introduction
2.3 Lens and Cable Introduction The lens interface is shown as in Figure 2-4. Figure 2-4 Please refer to the following sheet for detailed information. Name Function IR light It is to send out the IR compensation light to enhance the night vision. Device lens. - Page 12 Please remove the secure screws, enclosure, and front cover and then connect the second video cable (provided) to the second video port. Now connect to the corresponding device, you can view the video. At the same time, you can use the menu button to implement the menu operation. You can refer to Figure 2-6 for detailed information.
-
Page 13: Installation
3 Installation Step 1 Dig three holes in the wall (or ceiling) and then insert the three expansion bolts into the holes. Fix these bolts. Figure 3-1 Step 2 Line up the three screw holes at the bottom of the pendent bracket to the three installation holes you just dug in the wall (or ceiling). -
Page 14: Menu
4 Menu 4.1 Main Menu List Please refer to the following sheet for menu information. THE 1 MENU THE 2 MENU THE 1 MENU THE 2 MENU TYPE VIDEO MODE AUTO. MIDLOW AUTO LENS○ CONTRAST MIDHIGH SPEED 0-255 HIGH MANUAL HIGH DETECT LUMINANCE... -
Page 15: Menu Note
CAMERA RESET 4.2 Menu Note ○ 1 : The different series products support various lens. Please refer to the specifications for detailed information. ○ 2 : The user2 setup is the same with the user1. ○ 3 ○ 4 :In day-night mode, the smaller the value is, and the hard for the camera to switch to the black and white mode. -
Page 16: Appendix Toxic Or Hazardous Materials Or Elements
Appendix Toxic or Hazardous Materials or Elements Toxic or Hazardous Materials or Elements Component Name Cr VI PBDE Circuit Board ○ ○ ○ ○ ○ ○ Component Device Construction ○ ○ ○ ○ ○ ○ Material Wire and Cable ○ ○...
Need help?
Do you have a question about the CA-FW480P and is the answer not in the manual?
Questions and answers