Table of Contents
Advertisement
Available languages
Available languages
Quick Links
Advertisement
Table of Contents

Related Manuals for Griven GR 0193 HMI 575


Summary of Contents for Griven GR 0193 HMI 575
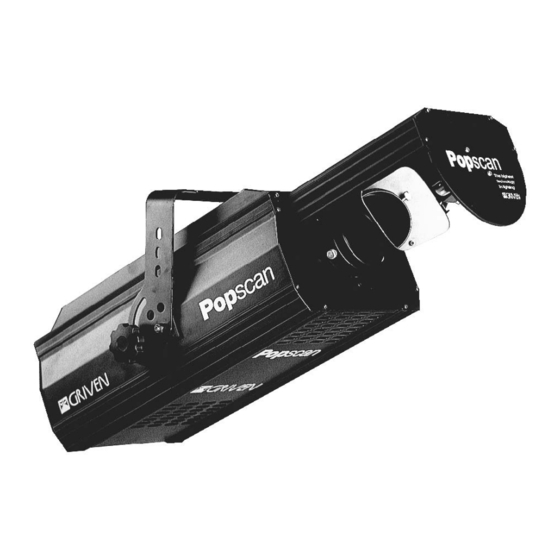
- Page 1 Foglio di Istruzioni Instructions POPSCAN GR 0193 HMI 575 GR 0191 MSD 250...
-
Page 2: Contenuto Dell'imballaggio
CONTENUTO DELL’IMBALLAGGIO Controllate attentamente il contenuto del cartone e, in caso di danni al prodotto, contattate il Vs. trasportatore. Nell’imballaggio del presente proiettore sono contenuti i seguenti prodotti: n° 1 Foglio di Istruzioni n° 1 proiettore POPSCAN. n° 2 spine XLR 3 poli (1 maschio+1 femmina) n°... -
Page 3: Uso Del Proiettore
Posizionamento del proiettore Il proiettore può essere montato in qualsiasi posizione, mantenendo una distanza dalla parete o dalle pareti di almeno 50cm per favorire la libera circolazione dell’aria intorno al proiettore e contenerne il riscaldamento. Fissaggio del proiettore Per il fissaggio del proiettore al supporto, al soffitto o al muro utilizzate la staffa di fissaggio provvista di 3 fori Ø... - Page 4 La connessione delle prese XLR 3 poli dovrà avvenire come di seguito descritto: pin 1---> function GND (SHIELD) pin 2---> function SIGNAL - pin 3---> function SIGNAL + Verificate che i fili siano correttamente collegati nel connettore e che essi non ne tocchino il guscio (utilizzare filo schermato) Indicazione dei canali...
- Page 5 Lettura del display ed uso dei comandi Il colore del led indica lo stato del proiettore. La luce verde indica lo stato operativo. La luce rossa indica lo stato di impostazione o modifica. Quando il proiettore è in stato operativo il display indica il numero dell’indirizzario DMX del proiettore (001 fino a quando non verrà...
-
Page 6: Manutenzione
Cambio Gobo Aprite il proiettore come per il montaggio della lampada ed individuate il gobo che intendete sostituire. Se si tratta di un gobo fisso (fig.1), sollevate delicatamente, con l’aiuto di un cacciavite, almeno 2 delle 3 linguette (A) di fissaggio del gobo fino all’uscita del gobo stesso. Inserite quindi il nuovo gobo e ripiegate le linguette. -
Page 7: Informazioni Tecniche
INFORMAZIONI TECNICHE PARTI DI RICAMBIO Tutti i componenti del proiettore POPSCAN sono disponibili come parti di ricambio ed il relativo catalogo è disponibile su richiesta. -
Page 8: Installation
PACKING Check carefully the content of the box and in case of damage contact immediately your forwarder. The following items are included in the box: n° 1 instructions leaflet n° 1 POPSCAN n° 2 XLR 3 poles plugs (1 male + 1 female) n°... -
Page 9: Use Of The Lantern
Mounting position POPSCAN can be mounted in any position; distance from flammable objects must be minimum 0.5m so as to make air circulation easy. Fixing 3 Ø 12.5mm holes are provided in the fork to fix the lantern to a clamp or bracket. Electrical connection 1) Cable the mains plug with a supply cable 3x2.5mm 2 minimum. - Page 10 The connection of the XLR 3 poles must be as follows: pin 1---> function GND (SHIELD) pin 2---> function SIGNAL - pin 3---> function SIGNAL + Pls. ensure that the cables are properly connected. Use shielded cable. Gobo changing Open the lamp cover as per the lamp replacement and figure out the gobo you want to change. If it is a fixed gobo (pict.1) remove it carefully using a screw driver to open at least two of three fixing splines (A).
- Page 11 Channels indication Display and control panel use The led colour indicates the projector mode. The green led indicates the operating mode. The red light indicates the setting or the zapping mode. When the projector is in the operating mode the display indicates the DMX addressing number, which is 001 the first time you turn it on.
-
Page 12: Maintenance
Options: The option is activated. The option is not activated. To reset the lamp life meter push (-), (+) and (ENTER) simultaneously until you get the zero set- ting of the display. MAINTENANCE All lanterns require regular maintenance to ensure maximum performance and light output. Please follow these instructions: - clean lenses, mirrors and dichroics regularly, as even a thin layer of dust can reduce the light out- put and scatter the beam;... -
Page 13: Technical Information
Lubrication To ensure a perfect gobos rotation we recommend to lubricate the ball bearings at least every 4--6 months. Use a high-performance lubricating oil such as COMLUBE 534/Plus/M. TECHNICAL INFORMATION SPARE PARTS All components for the POPSCAN are available. The exploded diagram and the catalogue are available on request. - Page 16 WORLD LIGHTING CHALLENGE Professional Lighting Manufacturer Via Bulgaria, 16 - 46042 CASTEL GOFFREDO (MN) Telefono 0376/779483 - Fax 0376/779682 - 0376/779552 http://www.griven.com/ e-mail griven@griven.com http://www.griven.it/ e-mail griven@griven.it...
Need help?
Do you have a question about the GR 0193 HMI 575 and is the answer not in the manual?
Questions and answers