Table of Contents
Advertisement
Quick Links
Advertisement
Table of Contents

Subscribe to Our Youtube Channel
Related Manuals for Blanco CG604WXC


Summary of Contents for Blanco CG604WXC
- Page 1 Instruction Manual for Cooktop CG604WXC...
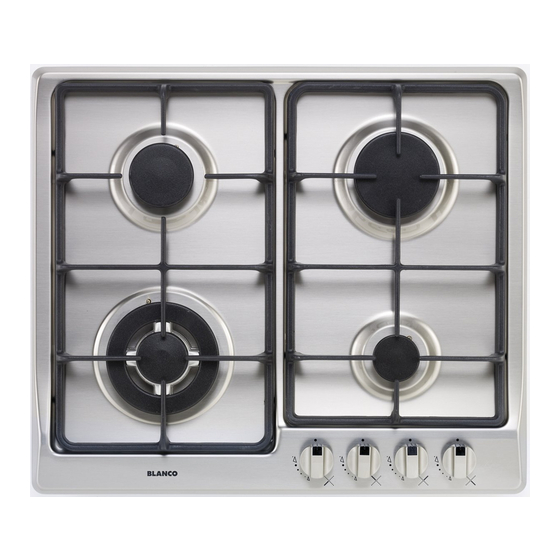
- Page 2 You will find that the clean lines and modern look of your Blanco cooktop blends in perfectly with your kitchen décor. It is easy to use and performs to a high standard.
-
Page 3: Important Safety Instructions
It is important that you retain these instructions, proof of purchase as well as other important documents about this product for future reference. Due to continual product development, Blanco reserves the right to alter specifications or appearances without notice. Dispose of packaging responsibly – recycle where facilities are available. -
Page 4: Table Of Contents
TABLE OF CONTENTS 1. Description of the burners 5 - 8 2. Installation 9 - 12 3. Adjustments 14 – 16 4. Conversions 5. Servicing 17 -18 6. Cable types and section 7. Warranty Card... -
Page 5: Description Of The Burners
1) DESCRIPTION OF THE BURNERS NATURAL LPG 1 Ultra rapid gas burner/WOK 14.5 MJ/h 11.4 MJ/h 2 Rapid gas burner 12.0 MJ/h 10.4 MJ/h 3 Semi - rapid gas burner 7.1 MJ/h 6.2 MJ/h 4 Auxiliary gas burner 4.1 MJ/h 3.5 MJ/h 5 Trivet pan support 2F 6 Burner n°... - Page 6 BURNERS Power ratings A diagram is screen-printed above each knob on Burners Pan Ø in cm NATURAL LPG the front panel. This diagram indicates to which burner the knob in question corresponds. After 22 ÷ 24 Ultra rapid/WOK 14.5 MJ/h 11.4 MJ/h having opened the gas mains or gas bottle tap, light the burners as described below: 20 ÷...
- Page 7 Notes: Use of a gas cooking appliance produces heat and moisture in the room in which it is installed. The room must therefore be well ventilated by keeping the natural air vents clear (fig. 3) and by activating the mechanical aeration device (suction hood or electric fan fig. 4 and fig. 5). Intensive and lengthy use of the appliance may require additional ventilation.
-
Page 8: Cleaning The Burners
IMPORTANT: Always disconnect the appliance from the gas and electricity mains before carrying out any cleaning operation. CLEANING THE BURNERS Periodically wash the burner, the cast iron steel pan support, the cast iron burner caps “C” and the burner heads “M” (see fig. 6) with lukewarm soapy water. Following this, all parts should be thoroughly rinsed and dried. -
Page 9: Installation
Never leave the packaging materials bags, polystyrene foam, nails, etc.) within children’s 2) INSTALLATION reach since they could become potential sources of INSTRUCTIONS danger. The measurements of the opening made in the top of the modular cabinet and into which the burner will This appliance shall be installed only by authorised be installed are indicated in fig. - Page 10 FIXING THE COOKTOP - Fix the hob with the proper brackets “S”and fit the The burner has a special seal which prevents prominent part into the porthole “H” on the bottom; liquid from infiltrating into the cabinet. Strictly turn the screw “F” until the bracket “S” stick on the comply with the following instructions in order to top (fig.
- Page 11 GAS CONNECTION Natural Gas Natural Gas installations require the connection of The gas connection is located in the rear and on the a gas regulator at the appliance. This regulator is underside of the appliance 118 mm (for EH/60) from supplied with the appliance on purchase.
-
Page 12: Electrical Connection
ELECTRICAL CONNECTION THE APPLIANCE MUST BE EARTHED Ensure that this power point is properly earthed. The appliance is supplied with a 1800 mm long L o o k a t t h e c o n n e c t i o n w i r i n g d i a g r a m s flexible supply lead. -
Page 13: Adjustments
3) ADJUSTMENTS all checks have been carried out, refer to the authorised service provider in your area. Always disconnect the appliance from the TAPS electricity main before making any adjustments. Our taps are suitable for all the gas, they are male All seals must be replaced by the technician at conical type at one way. -
Page 14: Conversions
7. Connect the gas supply to the Regulator. 8. Check for gas leaks. Do not use a naked flame CG604WXC 4 Burners to check for gas leaks. 9. Adjust the gas pressure to 1.00 kPa with the 1. - Page 15 4. Shut off gas supply to the appliance. models: 5. Disconnect gas inlet pipe from the Natural Gas Regulator. CG604WXC 4 Burners 6. Remove the Natural Gas Regulator from the appliance. 7. Fit the LPG test point inlet fitting supplied in the 1.
- Page 16 REPLACING THE INJECTORS burners must be regulated as explained in paragraphs 7. The technician must reset any seals on the regulating or pre-regulating devices. The burners can be adapted to different types of The envelope with the injectors and the labels can gas by mounting injectors suited to the type of gas be included in the kit, or at disposal to the in question.
-
Page 17: Servicing
5) SERVICING Greasing the taps (see fig. 20 - 21) If a tap becomes stiff to operate, it must be immediately greased in compliance with the WARNING: following instructions: S e r v i c i n g s h o u l d b e c a r r i e d o u t o n l y b y authorised personnel. - Page 18 FIG. 19 FIG. 20 FIG. 21...
-
Page 19: Cable Types And Section
6) CABLE TYPES AND SECTIONS TYPE OF TYPE OF SINGLE - PHASE BURNER CABLE POWER SUPPLY H05 RR - F Section 3 X 0.75 mm Gas burner ATTENTION If the power supply cable is replaced, the installer should leave the ground wire longer than the phase conductors (fig. - Page 20 We appreciate your feedback. Please review our products on www. blanco-australia.com...
-
Page 21: Warranty Card
Our Warranty (which is subject to the conditions below) covers rectification free of charge of any fault arising from defective materials or components, or faulty workmanship. The product will be repaired or replaced at the option of Blanco, and all costs of installation, removal, cartage, freight travelling expenses and insurance are to be paid by the customer.
Need help?
Do you have a question about the CG604WXC and is the answer not in the manual?
Questions and answers