Advertisement
Quick Links
Advertisement

Related Manuals for Blanco BCC640T


Summary of Contents for Blanco BCC640T
- Page 1 Instruction Manual for Ceramic Cooktop BCC640T / BCC64TCOM...
- Page 3 DESCRIPT ION OF T HE HOB............02 SAFET Y INST RUCT IONS ..............03 INST ALLAT ON .................. 05 Locating Your Built-in Hob Electrical Connection of Your Hob USAGE……................…….11 Turn On and Turn Off The Control Select Heater Set Cooking Level Turn Off Individual Heaters Timer Function Key Lock...
-
Page 4: Description Of The Hob
DESCRIPTION OF THE HOB Dear Customer, It is important that you should read the safety instructions and the full manual for proper installation, operation, best performance and to extend the life of your appliance. We recommend you to keep this manual for future reference. - Page 5 Please comply with these instructions. If you do not, any damage resulting from improper, incorrect or negligent use or improper connection or installation is not covered by the warranty. • This appliance should be used only for normal domestic use. •...
- Page 6 • Do not cut any food on the glass of the vitroceramic hob. Glass panels should not be used as working surfaces. • Be careful when using small household appliances, such as irons, near the elements. • Do not use the cooking zones with empty cookware or without cookware. •...
- Page 7 The electrical connection of this hob should be carried out by an authorised service personal or a qualified electrician, according to the instructions in this guide and in compliance with the current regulations. • Prior to installation, ensure that the local distribution conditions and the adjustment of the appliance are compatible.
- Page 8 Create an opening with the dimensions shown in the picture below. 50mm 50mm Note: The safety distance between the sides of the hob and the inner surfaces of the worktop should be at least 3mm. The minimum distance between the hob and the cupboard above the hob should be at least 650 mm.
- Page 9 Ventilation Requirement All induction cooktops are fitted with cooling fans that draw fresh air in from the rear of the unit and expel the warm air through vents at the front. When installing your cooktop the following ventilation requirements are as follows: ...
- Page 11 Electrical connection of your hob • Before proceeding with the electrical connection, verify that the current carrying capacity of the system and the socket is adequate for the maximum power rating of the hob. • Electrical installation of the residence and the electrical current plug in use must be earthed and conform to safety regulations.
- Page 12 IMPORTANT: The following figure shows the connection details and minimum diameters of supply cables that must be used for both single and three phase connections: • The oven is to be connected to a 220-240Vac 50Hz supply. It is earthed via the supply cord. The earthing cable must be connected via the screw with the earthing mark.
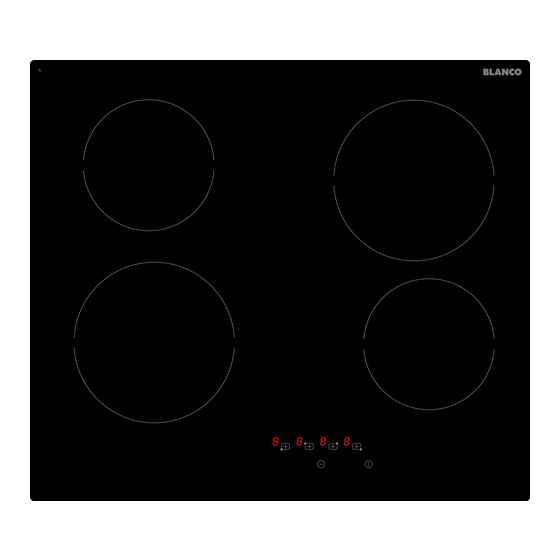
- Page 13 The appliance is operated by touching buttons and the functions are confirmed by displays and acoustic signals. Cooking Zone Heater Active/Deacti v e Timer lndicators Decimal Display Heater Display Timer Function Point LJ . L1.• LJ . L1.. Heat Setting/ Active/Deactive Heat Setting/ Lock...
- Page 14 Turn On and Turn Off The Appliance if the appliance is in Stand-By-Mode, it is put in Operating-Mode by pressing the On/Off button at least 1 second. A buzzer signal indicates the successful operation acoustically. On all zones a '0' appears and all Decimal Point of the heater flashes (1 sec on, 1 sec off).
- Page 15 Set Cooking Level With and Without Heat Boost zones are equipped with heat boost functionality. lf the heat boost is active, then the zone will be operated with maximum power for the period of the heat boost time, that is dependent from the selected heat setting.
- Page 16 Turn Off individual Zone A selective zone can be turned off with 3 different ways: • Simultaneous operation of buttons ·o· • Reduction of the heat setting to by operating button • Use of timer turn off function for the corres ponding heater Simultaneous operation of buttons Active/Deactive Zone...
- Page 17 Use of timer turn off function for corresponding zone (available only in some models) After reaching a remaining time of 0 minutes, the timer stops the linked zone, sh o w i n g the '0' shown in the Zone Display and shuts down t h e Timer Display, with the Timer Display showing '00'.
- Page 18 Minute Minder No matter whether a zone is activated or not, the minute minder can be operated by touching . The appearing '00' shows that timer is active and the dot in the right Timer Display indicates that are now linked for setting the timer value.
- Page 19 10 sec after the last operation, the timer display changes to the timer that will run out next. The assignment of that timer is displayed always by a flashing Cooking Zone indicator. The amount of timers that are running can be identified by the number of Cooking Zone indicator that are constantly on.
-
Page 20: Child Lock
if the cooktop is locked, only can be operated, all other buttons are locked. if any other button is pushed during the locked mode, a tone signal and the Key Lock lndicator flashes as indication of the activated key lock functionality. - Page 21 The same way the child lock is activated, it can also get deactivated. After pressing until the t o n e beep, then the have to be pressed simultaneously for at least 0,5 sec, followed by touching only the . As a confirmation for successful unlocking, 'L' symbol in the displays will disappear immediately.
- Page 22 The following safety functions are available to avoid unintended operations of the hob control. Sensor Safety Cut Off To prevent the appliance from unwanted, random sensor operation, a sensor monitoring is included. in case of one or more buttons are pressed longer than 12 sec, the sensor monitoring routine indicates acoustically that wrong operation (pot or other object placed on the button, sensor failure, etc.) and switches off the appliance.
- Page 23 Over Temperature Switch Off Due to the placement of the control is very close to the heater in the middle front of the hob, it can occur that a not correctly placed pot half on the control and not sensed by the sensor safety cut off (not covering a button) heats up the hob to a very high temperature, which makes the glass and the buttons untouchable without get burned the finger.
- Page 24 Residual Heat Functions After all cooking processes there is some heat stored in the vitroceramic glass called residual heat. The control can calculate roughly how hot the glass is in the worst case. if the calculated temperature is higher than + 60 °...
- Page 25 Cookware with rough bottoms should not be used since these can scratch the glass ceramic surface. The bottom of the good cookwares should be as thick and flat as possible. Before use, make sure that cookware bottoms are clean and dry. Always place the cookware on the cooking zone before it is switched on.
- Page 26 The symbol on the product or on its packaging indic ates that this product may not be treated as household waste. instead it shall be handed over to the applicable collection point for the recycling of electrical and electronic equipment. By ensuring this product is disposed of correctly, you will help p revent potential neg ative consequences for the environment and human health, which could otherwise be caused by inapp ropriate waste handling of this...
Need help?
Do you have a question about the BCC640T and is the answer not in the manual?
Questions and answers
Error 8 x4 showing on heat dial