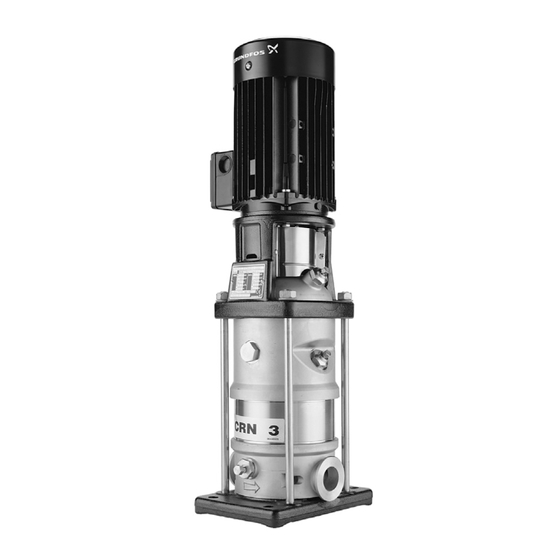
Grundfos CR Service Instructions Manual
Double shaft seal (tandem)
Hide thumbs
Also See for CR:
- Installation and operating instructions manual (73 pages) ,
- Manual (48 pages) ,
- Instructions manual (44 pages)

Related Manuals for Grundfos CR


Summary of Contents for Grundfos CR
- Page 1 GRUNDFOS INSTRUCTIONS CR, CRI, CRN Double shaft seal (tandem) Service instructions...
-
Page 2: Table Of Contents
(letters) refer to section 5. Service 9.1 Dismantling tools. 9.2 Assembly Electrical parts must only be serviced by Grundfos or an 10. Exploded views authorised service workshop. Warning Warning Prior to service work, read these service Use personal protective equipment if there is a instructions carefully. -
Page 3: Torques
Motor stool 1, 3, 5, 10, 15, screws 1/2" UNC CR, CRN 32, 45, 64, 90, 120, 150 CR 1, 3, 5 CRI 1, 3, 5 CRN 1, 3, 5 CR, CRI 10, 15, 20 CRN 10, 15, Pump head... -
Page 4: Service Tools
5. Service tools CR, CRI, Tool Product Pos. Designation pos. size 1, 3, 5, 10, SV0196 15, 20 SV0032 32, 45, 64, SV0032 SV0032 120, 150 SV0033 Hexagon key 1, 3, 5, 10, SV0277 15, 20 32, 45, 64, 90, 120, 150... -
Page 5: Cr, Cri, Crn
6. CR: Remove motor stool (pos. 2) and O-ring (pos. 37b). (pos. 18a). CRI, CRN: Remove motor stool (pos. 2), pump head cover 5. CR: Fit O-ring (pos. 37b) in motor stool (pos. 2) and fit the (pos. 77) and O-ring (pos. 37b). stool on the cover. -
Page 6: Cr, Cri, Crn
6. CR: Remove motor stool (pos. 2) and O-ring (pos. 37b). lower shaft seal (pos. 105b). CRI, CRN: Remove motor stool (pos. 2), pump head cover 5. CR: Fit O-ring (pos. 37b) in motor stool (pos. 2) and fit the (pos. 77), and O-ring (pos. 37b). stool on the cover. -
Page 7: Cr, Cri, Crn
8. CR, CRI, CRN 32, 45, 64, 90 8.1 Dismantling 1. Remove screws (pos. 7a) and coupling guards (pos. 7). 2. Remove screws (pos. 9) and coupling (pos. 8). 3. Attach the lifting device to eyebolts (pos. 28b). 4. Remove screws (pos. 28). Lift and remove the motor and motor stool (pos. -
Page 8: Cr, Crn 120, 150
9. CR, CRN 120, 150 9.2 Assembly 1. Clean and smooth shaft (pos. 51) using the holder with emery 9.1 Dismantling cloth supplied with the shaft seal kit. 1. Remove screws (pos. 7a) and coupling guards (pos. 7). 2. Fit lower pump head (pos. 2b) on shaft (pos. 51) and carefully 2. - Page 9 16. Turn the motor and motor stool (pos. 1a) to the required 22. Lubricate and tighten screws (pos. 9), but leave loose. terminal box position, according to the installation 23. Check that the gaps either side of the coupling halves are instructions.
-
Page 10: Exploded Views
10. Exploded views Fig. 13 CR, CRI, CRN 1, 3, 5... - Page 11 100b 100a 100a 100b Fig. 14 CR, CRI, CRN 10, 15, 20...
- Page 12 Fig. 15 CR, CRI, CRN 32, 45, 64, 90...
- Page 13 Fig. 16 CR, CRN 120, 150...
- Page 15 ул. Шафарнянская, 11, оф. 56, БЦ Turkey 20th km. Athinon-Markopoulou Av. «Порт» New Zealand GRUNDFOS POMPA San. ve Tic. Ltd. Sti. P.O. Box 71 Тел.: +7 (375 17) 286 39 72/73 GRUNDFOS Pumps NZ Ltd. Gebze Organize Sanayi Bölgesi GR-19002 Peania Факс: +7 (375 17) 286 39 71...
- Page 16 96531035 1113 ECM: 1123003 www.grundfos.com...
Need help?
Do you have a question about the CR and is the answer not in the manual?
Questions and answers