Subscribe to Our Youtube Channel
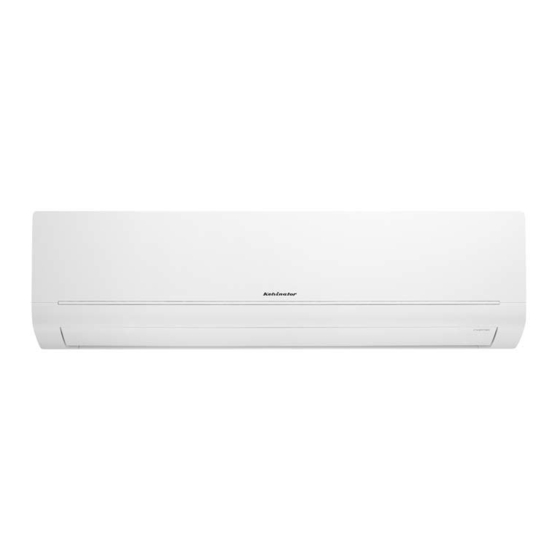
Summary of Contents for Kelvinator KSV80HRD
- Page 1 Inverter Split Room Air Conditioner Installation Manual KSV25HRD, KSV35HRD, KSV52HRD, KSV70HRD, KSV80HRD Refrigerant R410A...
-
Page 2: Table Of Contents
Congratulations Contents Congratulations and thank you for choosing our Inverter Speed Contents ..............2 Split room air conditioner. We are sure you will find your new air conditioner a pleasure to use. Before you use the air Safety precautions ............3 conditioner, we recommend that you read through the entire user manual, which provides the description of Notice for installation .......... -
Page 3: Notice For Installation
Important safety instructions Notice for installation Please read this installation manual and the user manual before installation and carefully store in a handy place for later reference. caution WARNING Inside you will find many helpful hints on how to install and test the The unit must only be installed by a qualified refrigeration air conditioner properly. -
Page 4: Safety Precautions
KSV52HRD outdoor unit. KSV70HRD Select a place where it is out of reach of children. KSV80HRD Select the place where the wall is strong enough to withstand the full weight and vibration of the unit. NOTE: Be sure to leave enough space to allow access for routine •... -
Page 5: Installation Drawing
Installation drawing Space to the ceiling 15cm Above Space to the wall 15cm horizontally to the side 15cm horizontally to the side Space to the wall 300cm horizontally in front below Air outlet side Space to the floor The dimensions of the minimum clearance ●... -
Page 6: Installation Of Indoor Unit
Installation of indoor unit Installation of Mounting Plate Insert the piping-hole sleeve into the hole to prevent the connection piping and wiring from being damaged when The mounting plate should be installed horizontally. passing through the hole. As the water tray's outlet for the indoor unit is two-way type, during installation, the indoor unit should slightly slant to water Indoor Outdoor... - Page 7 Installation of indoor and outdoor electric wires Take out the piping from body case, wrap the piping, power cords, drain hose with the tape and then make them pass Open the front panel. through the piping hole. (As shown in Fig.2) Remove the wiring cover connect and fix the power connection Hang the mounting slots of the indoor unit on the cord to the terminal board as shown in below.
-
Page 8: Refrigerant Pipe Connection
Refrigerant pipe connection Flaring work A(mm) Outer diam. (mm) Main cause for refrigerant leakage is due to defects in the flaring Max. Min. work. Carry out correct flaring work using the following procedure: φ 6.35 φ 9.53 90 C Oblique Roughness Burr φ... -
Page 9: Installation Of Outdoor Unit
Low pressure valve Charging hose 6.4 (1/4") 16.0 (5/8") KSV80HRD Vacu um pump NOTE: Connect the connection pipe to indoor unit at first and then to outdoor unit. Handle piping bending with care. Do not damage the connection pipe. Ensure that the joint nut is tightened firmly, Outdoor Condensate Drainage otherwise, it may cause leakage. -
Page 10: Check After Installation And Operation Test
Check after installation and Installation and maintenance of operation test HEPA filter Check after installation Installation of HEPA Filter Lift up the front panel from the two ends of it, as shown by the Items to be checked Possible malfunction arrow direction, and then remove the air filter Has the unit been The unit may drop, shake or... - Page 11 Installation of Dred network cable Installation instruction of Dred network cable Bundle the Dred network cable at the wire-fixing hole of electric box with cable tie. Insert network cable tightly as shown in the fig. For 2.5kW and 3.5kW is as below: For 2.5kW and 3.5kW is as below: Clasp of RJ45 plug of network cable shall aim at the notch of RJ45 terminal to be installed.
- Page 12 Notes Notes...
- Page 13 Notes Notes...
- Page 14 Notes Notes...
-
Page 15: Warranty
Warranty FOR SALES IN AUSTRALIA AND NEW ZEALAND APPLIANCE: kELvINATOR SPLIT SYSTEM AIR CONDITIONER This document sets out the terms and conditions of the product In all instances, unless the Appliance is transported by Electrolux or an Electrolux warranties for Electrolux Appliances. It is an important document. - Page 16 0800 436 245 fax: 0800 225 088 email: customercare@electrolux.co.nz web: kelvinator.co.nz Kelvinator. We are part of the Electrolux family. Share more of our thinking at electrolux.com.au Part No. 66129909124 © 2015 Electrolux Home Products Pty Ltd. ABN 51 004 762 341 KMAN_AIRWAVE_IM_Jun15...


Need help?
Do you have a question about the KSV80HRD and is the answer not in the manual?
Questions and answers