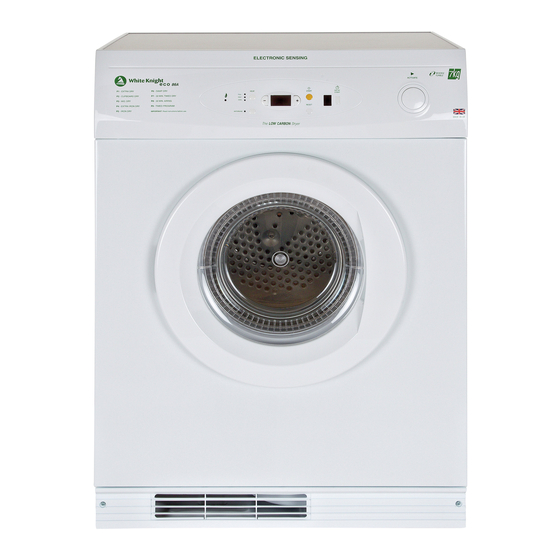
White Knight ECO 86A Instructions For Use Manual
Electronic sensing gas dryer
Hide thumbs
Also See for ECO 86A:
- Installation and service instructions manual (20 pages) ,
- Instructions for use manual (13 pages)
Table of Contents

Subscribe to Our Youtube Channel
Summary of Contents for White Knight ECO 86A
-
Page 1: Instructions For Use
ELECTRONIC SENSING GAS DRYER INSTRUCTIONS FOR USE FOR USE IN THE UNITED KINGDOM AND IRELAND WITH NATURAL GAS ONLY IMPORTANT PLEASE READ THESE INSTRUCTIONS THOROUGHLY BEFORE USING THIS APPLIANCE. KEEP THEM IN A SAFE PLACE FOR FUTURE REFERENCE. - Page 3 SECTION 1: BEFORE USE SECTION 2: INSTALLATION * Safety Warnings * User Information * Venting * Prior to Installation * Positioning and Air Supply * Final Installation SECTION 3: TECHNICAL SPECIFICATIONS SECTION 4: CONTROL PANEL SECTION 5: DRYING YOUR LAUNDRY * Before Drying * Drying * After Removing the Dried Clothes...
-
Page 4: Section 1: Before Use
SECTION 1: BEFORE USE * User Information - WARNING: Never stop a tumble dryer before the end of a drying cycle unless all items are quickly removed and spread out so that heat is dissipated. - Clean the lint filter after each drying cycle or the restrictions to airflow will extend drying times and could cause the limit thermostat to stop the burner firing for the remaining part of the drying cycle. -
Page 5: Section 2: Installation
SECTION 2: INSTALLATION * Venting For a safe and reliable installation please refer to the installation and service booklet. Fixed Rear Venting. The dryer vents through a hole at the bottom of the back panel. A vent hose must always be used to vent the warm damp exhaust air to outside. -
Page 6: Section 3: Technical Specifications
* Final Installation Place the filter in its operating position as shown in the diagram. For cleaning the filter refer to Section 5: Drying your laundry. If you wish to change the side on which your door opens, see Section7 - Door Reversal. Remove any dust by wiping the drum and door with a damp cloth. - Page 7 “-” push button, changes program or time selected downwards Display Window, indicates program number / drying time / delay time “+” push button, changes program or time selected upwards Start push button, push to start the drying cycle Activate push button; press to illuminate the Display Window. Program Chart (printed on control panel door, press to open).
-
Page 8: Section 5: Drying Your Laundry
SECTION 5: DRYING YOUR LAUNDRY * Before Drying - Check care labels inside the garments CARE LABELS YOU MAY FIND ON YOUR FABRICS * Drying When starting the dryer for the first time, or starting after temporary disconnection from the gas supply, air in the pipes will prevent ignition. -
Page 9: Delay Start
Once the Start button has been pressed, the program is locked and all buttons are disabled. To stop the machine and unlock the buttons - open the door There is an automatic 12 minute cool down period at the end of each cycle, during which the heater is switched off and the green cool indicator is on. -
Page 10: This Appliance Must Be Earthed
If all these points are checked and the laundry is still not dry, call for a service engineer. If your machine does not work check the following before calling a service engineer: - Check that there is a supply of electricity. - Check that the machine is switched on and the door properly closed. -
Page 11: Section 7: Door Reversal
SECTION 7: DOOR REVERSAL... - Page 12 Manufactured by: Crosslee plc. Hipperholme, Halifax, West Yorkshire HX3 8DE 4213 194 05451...


Need help?
Do you have a question about the ECO 86A and is the answer not in the manual?
Questions and answers