Table of Contents
Advertisement
Advertisement
Table of Contents
Troubleshooting

Related Manuals for HiTi Digital P510L


Summary of Contents for HiTi Digital P510L
- Page 1 Printer Troubleshooting Guide...
- Page 2 All Printers It is paramount that the manufacturer instructions for transporting the printer be followed. Both Hiti and Ciaat require that you remove all media - paper and ribbon - from the printer before transporting. More than 60% of all printer issues result from failure to remove the media prior to transporting.
- Page 3 B. Use canned air to blow into areas you cannot see clearly. This will help to dislodge any debris. IV. Power off Printer A. It can help to clear bad data out of the printer memory by turning the printer (only the printer) off for a period of 30 seconds. After 30 seconds turn the printer back on.
- Page 4 Ciaat Brava 21 Troubleshooting Torn Ribbon The ribbon can be easily repaired with scotch tape. Just bring the two broken ends together and tape both sides with scotch tape. Then roll the broken area onto the uptake roll. Checking for Debris If no debris is seen in the cavity of the printer, there could possibly be debris in the paper path.
- Page 5 do with the media not being loaded correctly, or a small jam. Removing the paper and ribbon will typically fix issues.
- Page 6 Adjusting the Ribbon If reloading the ribbon does not work initially, remove the ribbon and roll 6 inches of it into the take-up roll, then reinsert. There is information on the ribbon that the printer reads and this information can be faulty. Adjusting the position of the ribbon material will force the printer to advance to the next information strip.
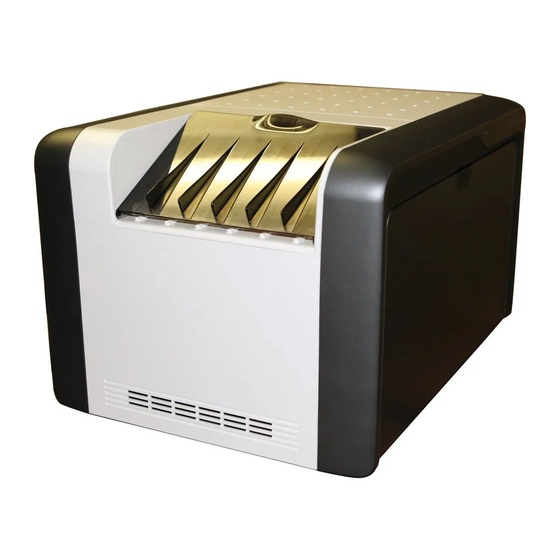
- Page 7 Hiti P510L Troubleshooting Ribbon rip or Paper Jam Open the side door of your printer. Rewind the paper back into the roll by turning the handle in the direction of the arrow. Push the button and remove the paper. Does the paper have a clean-cut edge? If the edge of the paper is crumpled, you will need some scissors to cut a clean edge.
- Page 8 Disable Automatic Cutting for 4x6/postcard prints This is a setting within Darkroom: Open Darkroom and head to Global Settings (upper right-hand corner)> Select Printer Options> Right-click the printer and select Configure> Properties> select the Paper tab> select 6×4 (not 6×4 split) from the drop-down menu and make sure this setting is saved before testing.
- Page 9 ‘devices and printers’. Windows 7, Start Menu > Control Panel> Printers and Devices. Right-click the HiTi P510L and make it the default printer. If there are multiple copies (Copy 1, Copy 2, etc…), select the highest copy of printer.
-
Page 10: Printer Is Not Printing
5. Open Darkroom and head to Global Settings (upper right-hand corner)> Select Printer Options> if there is currently a printer appearing here, right-click and remove this printer. 6. Select Add Printer (right-hand side)> select windows printer and then press “Add Printer”> click on the Hiti P510L Printer and then... -
Page 11: The Printer
press “OK” (if there are multiple copies showing, again, select the highest copy) 7. You may also want to right-click the printer and select Configure if needing to switch between Postcard/Photo strips and landscape/ portrait so that the printer knows whether or not to cut the photos into strip, or to reposition the photos for printing. - Page 12 1. Within Darkroom - Go to Settings > Main 2. For Print output, if printing photo strips, make sure 2×6 is selected from the first drop-down menu, and 2 copies is selected from the second drop-down menu. 3. Follow the steps above under “Photo Strips are NOT being automatically cut into strips by the printer”...
Need help?
Do you have a question about the P510L and is the answer not in the manual?
Questions and answers