Advertisement
Quick Links
Advertisement

Related Manuals for Carf-Models Sukhoi SU 31


Summary of Contents for Carf-Models Sukhoi SU 31
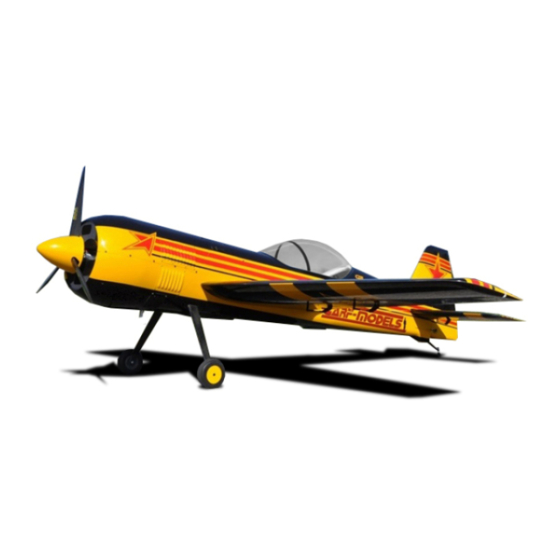
- Page 1 Assembly Manual Sukhoi SU 31—2.75m/2.6m Page|...
- Page 2 However, CARF-Models can offer this airplane also with a typical 2.6m wing, which makes it even more a pattern ma- chine, perfectly suited for F3A-X. Almost square dimensions will give any pilot the competitive edge over most of the pack.
- Page 3 C of G check. Rudder servo(s), RX and ignition batteries etc can generally be relocated to suit your requirements. Most of all, enjoy the process of creating your new Composite Arf Sukhoi SU-31, a job well done is always satisfying! Sukhoi SU 31—2.75m/2.6m Page|3...
- Page 4 There is a multitude of engines available for you to use in your Sukhoi SU-31. The airframe is suited to today s current crop of 120cc engines. We used a DA120 in the process of producing this manual, the performance is excellent with an abundance of power, as well as being very light. Sukhoi SU 31—2.75m/2.6m Page|4...
-
Page 5: Build Requirements
For surface cleaning we recommend old fashioned liquid lighter fluid such as Ronsonol . Do not use acetone for cleaning the external painted surfaces, damage to the paint could occur. (If in doubt, test on a small area that will not be seen). Sukhoi SU 31—2.75m/2.6m Page|5... -
Page 6: Tools Required
Sukhoi SU 31—2.75m/2.6m Page|6... -
Page 7: Landing Gear
The bolt spacing is 40mm, but please measure before you drill your tail- wheel assembly, some variations may occur during production. Use the 15mm x 4mm cap head bolts and washers provided in the hardware pack to mount the tailwheel assembly. Sukhoi SU 31—2.75m/2.6m Page|7... - Page 8 Remove the cowl and get ready to mark out the engine placement. Use the seam line of the fuselage as reference, but you can also place a small level on the wing tube socket in the fuselage make sure everything is level. Sukhoi SU 31—2.75m/2.6m Page|8...
- Page 9 7mm drill bit to enlarge the hole to suit the 6mm T-nut. Using a 6mm bolt and a washer pull the T-nuts into posi- tion. Mount your engine using the alloy standoff s supplied in your hardware pack. Sukhoi SU 31—2.75m/2.6m Page|9...
- Page 10 When mounting the tray inside the engine dome, keep in mind the throttle servo position. If posi- tioned correctly you will have a nice straight path for your throttle push rod. We have provided a plywood throttle servo mount in the hardware pack for you. Sukhoi SU 31—2.75m/2.6m Page|10...
- Page 11 This didn t take long, all that was needed is a fret saw and some 2.5mm or 3mm ply. Its easier to make a cardboard template first, to ensure a good fit and less hassles. Sukhoi SU 31—2.75m/2.6m Page|11...
- Page 12 Alternatively you may want to use an aftermarket turnbuckle, such as those provided by SWB, Secraft or Hanger 9. A turnbuckle length of 60mm is required. A suitable ball link may also be used in place of the alloy clevis. Sukhoi SU 31—2.75m/2.6m Page|12...
- Page 13 Pass your lead through the grommet and insert the grommet into the fuselage. You may want to use a clip to secure the extension lead to the side of the fuselage as shown. Sukhoi SU 31—2.75m/2.6m Page|13...
- Page 14 When you have adjusted the push rod to the correct length, fit the push rods between the servo and control horn. Carefully move the aileron through its full travel to ensure there is no binding. Sukhoi SU 31—2.75m/2.6m Page|14...
- Page 15 3mm screws and nylock nuts. Most hobby stores will keep these items. The same measuring process as with the ply mounts applies. Work toward keeping the servo output shaft as close as possible to the centre of the hatch slot.) Sukhoi SU 31—2.75m/2.6m Page|15...
- Page 16 This can mostly be done by hand with some sandpaper, but if you use a Dremel be careful not to remove too much material. Lightly sand all the area where the canopy will sit, then wipe clean. Sukhoi SU 31—2.75m/2.6m Page|16...
- Page 17 Leaving the canopy overnight is also a good option if you are unsure. When you remove the tape, simply rub away any silicone that has come above the tape. Mineral Turpentine with a soft cloth can make it easier. Jobs done! Sukhoi SU 31—2.75m/2.6m Page|17...
- Page 18 Before you epoxy the tray in place make sure that it is centred in the fuselage. You can use CA and kicker in a couple of spots to hold in position while the epoxy cures. Sukhoi SU 31—2.75m/2.6m Page|18...
- Page 19 30mm long. Flip the model upside down, and directly underneath the servo draw the servo arm measurements onto some masking tape. Remember this measurement is dependent on which servo arms you use. Sukhoi SU 31—2.75m/2.6m Page|19...
- Page 20 Don t forget to leave room for tensioning adjustment at the ball link. You do not want everything wound right up and no thread left to fine tune the cable tension Sukhoi SU 31—2.75m/2.6m Page|20...
- Page 21 DA120, you will need to mount the majority of your radio equipment as far forward as possible to aid in obtaining the correct C of G. It may not be possible to mount the batteries over the wing tube. Sukhoi SU 31—2.75m/2.6m Page|21...
- Page 22 25mm from the seam line. Use the seam line as a reference to keep your vent slots nice and straight. The shape of the slots is not that important, but making them oval, and just large enough to accommodate the Dremel sanding drum makes the process easy. Sukhoi SU 31—2.75m/2.6m Page|22...
-
Page 23: Control Throws
We also welcome your feedback, please contact us if you would like to see something added or altered. We are always looking to improve our products and the information we supply. Technical support; techsupport@composite-arf.com Feedback; feeback@composite-arf.com www.carf-models.com SU-31 2.6m/2.75m manual V1 (March 2015) Sukhoi SU 31—2.75m/2.6m Page|23...
Need help?
Do you have a question about the Sukhoi SU 31 and is the answer not in the manual?
Questions and answers