Summary of Contents for StarTech.com SV231USBA
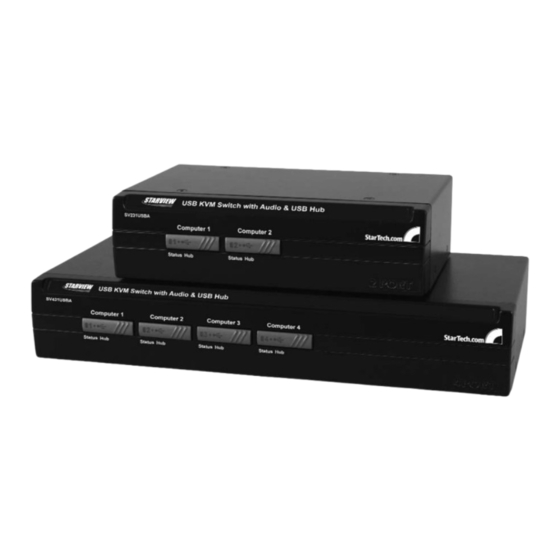
- Page 1 USB KVM Switch 2 Port USB Desktop KVM Switch with Audio Switching 4 Port USB Desktop KVM Switch with Audio Switching SV231USBA Instruction Manual SV431USBA Actual product may vary from photo...
- Page 2 StarTech.com. Where they occur these references are for illustrative purposes only and do not represent an endorsement of a product or service by StarTech.com, or an endorsement of the product(s) to which this manual applies by the third-party company in question.
-
Page 3: Table Of Contents
Programmable Autoscan delay time ......5 Accessory Products from StarTech.com ..... . .6 Technical Support . -
Page 4: Introduction
Additional cables required (not included): Each controlled computer will require a USB Type A to Type B cable (1) and VGA switchbox cable (1) or StarTech.com 2-in-1 USB KVM cable (1), optional 3.5 mm phono male-to-male sound cable for speakers and microphone (2). -
Page 5: Installation
Instruction Manual Installation This section details how to connect your computers to the KVM switch. For best results, ensure that all the computers to be controlled are located as close as possible to the KVM switch and console peripherals (monitor, keyboard, mouse). This will reduce the length of cabling required and reduces the chance of interference. -
Page 6: Using The Kvm Switch
Instruction Manual (marked PC 1 ~ PC 2 or PC 1 ~ PC 4 as applicable). 3. Using a USB Type A to Type B cable, connect the “A” (flat) end to an available USB port on the computer. Connect the opposite end to the “B” (D-shaped) USB connector on the KVM switch that corresponds to the computer number you wish to use for that system (directly under the monitor connection in step 2). -
Page 7: Keyboard Hotkey Command Reference Chart
Instruction Manual Keyboard Hotkey Command Reference Chart Command Name Hotkey Sequence Description Switches access to the computer connected to the [ScrLk]+[ScrLk]+[ x ] Select active computer corresponding port number on the KVM. ([ x ]= a number on the keyboard) Switches which corresponding port number has access Select USB hub control [ScrLk]+[ScrLk]+[F x ]... -
Page 8: Programmable Autoscan Delay Time
Instruction Manual Programmable Autoscan delay time: [ z ] can be any one of the following values: 1=10 sec., 2=20 sec. through 9=90 sec., 0=100 sec. Note: Apple computers will need to be programmed using an IBM-compatible keyboard that has a Scroll Lock key. -
Page 9: Accessory Products From Startech.com
Instruction Manual Accessory Products from StarTech.com Contact your local StarTech.com dealer or visit www.startech.com for cables or other accessories that will help you get the best performance out of your new product. SVUSB2N1_6 6 ft. USB+VGA 2-in-1 KVM Switch Cable SVUSB2N1_10 10 ft. -
Page 10: Technical Support
Limitation of Liability In no event shall the liability of StarTech.com Ltd. and StarTech.com USA LLP (or their officers, directors, employees or agents) for any damages (whether direct or indirect,... - Page 11 Visit www.startech.com for complete information about all our products and to access exclusive interactive tools such as the Parts Finder and the KVM Reference Guide. StarTech.com makes it easy to complete almost any IT solution. Find out for yourself why our products lead the industry in performance, support, and value.


Need help?
Do you have a question about the SV231USBA and is the answer not in the manual?
Questions and answers