Table of Contents
Advertisement
Quick Links
Download this manual
See also:
User Manual
Advertisement
Table of Contents

Related Manuals for HiTi Digital P910L


Summary of Contents for HiTi Digital P910L
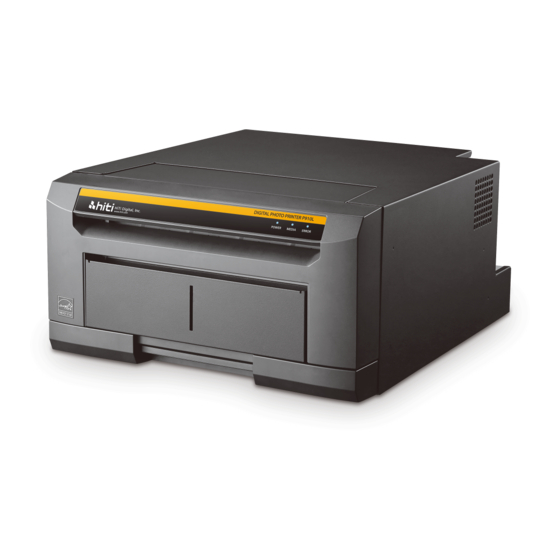
- Page 1 Digital Photo Printer P910L Operation Manual...
- Page 2 1. All rights reserved. No part of this operation manual covered by the copyright herein maybe reproduced or copied in any form or by any means, including translation, without the written permission of HiTi Digital, Inc. 2. The specifications in this operation manual are subject to change without prior notice.
-
Page 3: Table Of Contents
CONTENTS PREFACE Chapter 1. Important Safety Instruction Chapter 1. Important Safety Instruction Chapter 1. Important Safety Instruction Chapter 1. Important Safety Instruction ・・・・・・・・・・・・・・・・・ Environments ・・・・・・・・・・・・・・・・・・・・・・・・・・・・・・ Handling Instruction ・・・・・・・・・・・・・・・・・・・・・・・・・・ Handling Instruction for Consumable and Printed Output ・・・・・・ Chapter 2. Installing and Set Up Chapter 2. -
Page 5: Chapter 1. Important Safety Instruction
Chapter 1. Important Safety Instruction Environments This manual provides detailed instructions for the safety use of the printer. To use the printer safety, please pay attention Read this manual before operating the printer to the followings: to ensure to have proper use. Caution: Do not let children to ◆In this manual, there are notes that require touch the printer or the cables. -
Page 6: Handling Instruction
Chapter 1. Important Safety Instruction Handling Instruction In handling the printer, please pay attention to the followings; Warning: Do not attempt to Warning: Lift the printer from its service the printer beyond the box and put it onto a flat table or instruction specified in this desk. -
Page 7: Handling Instruction For Consumable And Printed Output
In handling the ink ribbon, paper and printed output, please pay attention to the followings; Attention: Paper Handling ・Use the paper specified by HiTi Digital. ・Store the paper flat. ・ Store the paper in a dry and dark place to avoid the direct Sunlight. -
Page 9: Chapter 2. Installing And Set Up
Chapter 2. Installing and Set Up This chapter explains the unpacking and set up of the printer. Before proceeding to this chapter, please make sure to read Chapter 1. Important Safety Instruction. Unpacking and Checking the Accessories 1. Open the box and remove the box containing the accessories and protection materials. Attention: Keep the packaging materials. -
Page 10: Parts Name And Function
Chapter 2. Installing and Set Up Parts Name and Function ④ ① ② ⑤ ③ ⑥ Front View Rear View ⑦ ⑨ ⑧ (Front Internal View) (Upper Internal View) Name Function № Printer Status Lamps Printer status display lamps are located on the panel. ①... -
Page 11: Printer Status Lamps Name And Printer Status
Chapter 2. Installing and Set Up Printer Status Lamps Name and Printer Status Printer status lamp display ●:on, ○:off, *:flashing LED Display Description POWER MEDIA ERROR ○ ○ ○ The power of printer is off. The printer is initializing after turn on the power *... -
Page 12: Connecting Power Cable
Chapter 2. Installing and Set Up Connecting USB Cable Connecting Power Cable Insert the power cable attached to the Connect the USB cable from the personal printer into the power connector located on computer to the USB connector located on the rear of the printer. -
Page 13: Setting Ink Ribbon
Chapter 2. Installing and Set Up Setting Ink Ribbon 1. Remove dust box. 4. Take the slack the ink ribbon by turning the ink ribbon supply core. 2. Carefully lift the drawer lever and pull the drawer unit. Attention: Do not open the drawer unit quickly or with unnecessary force. -
Page 14: Loading Paper
Chapter 2. Installing and Set Up Loading Paper 3. Set the paper in the printer. Set the paper by matching the color of the Turn on the power of the printer by paper flange and the color of the holder. pressing "|"... -
Page 15: Installing Dust Box
Chapter 2. Installing and Set Up Installing Dust Box Insert the claw of the dust box first and insert the projected section of the printer in the hole at the bottom of the dust box. Claw Transporting the Printer The following cautions are necessary in transportation of the printer.
Need help?
Do you have a question about the P910L and is the answer not in the manual?
Questions and answers