Advertisement
Table of Contents
- 1 Table of Contents
- 2 Warning Decal Placement
- 3 Important Precautions
- 4 Before You Begin
- 5 Assembly
- 6 Console Features
- 7 How to Operate the Elliptical
- 8 How to Measure Your Pulse
- 9 Maintenance and Troubleshooting
- 10 Exercise Guidelines
- 11 Suggested Stretches
- 12 Exploded Drawings
- 13 Part List
- 14 Ordering Replacement Parts
- Download this manual
Model No. PFIVEL87310.0
Serial No. ___________
Write the serial number above for
reference, it can be found on a decal
under the main frame
QUESTIONS ?
If you have questions, or if there are
missing parts, please contact us:
UK
Call: 08457 089 009
From Ireland: 053 92 36102
Website: www.iconsupport.eu
E-mail: csuk@iconeurope.com
Write:
ICON Health & Fitness, Ltd.
c/o HI Group PLC
Express Way
Whitwood, West Yorkshire
WF10 5QJ
UK
CAUTION
Read all precautions and instruc-
tions in this manual before using
this equipment. Keep this manual
for future reference.
USERʼS MANUAL
Visit our website
www.iconsupport.eu
Advertisement
Table of Contents

Related Manuals for Pro-Form PFIVEL87310.0


Summary of Contents for Pro-Form PFIVEL87310.0
- Page 1 USERʼS MANUAL Model No. PFIVEL87310.0 Serial No. ___________ Write the serial number above for reference, it can be found on a decal under the main frame QUESTIONS ? If you have questions, or if there are missing parts, please contact us:...
-
Page 2: Table Of Contents
TABLE OF CONTENTS WARNING DECAL PLACEMENT ............1 IMPORTANT PRECAUTIONS . -
Page 3: Important Precautions
IMPORTANT PRECAUTIONS WARNING : To reduce the risk of serious injury, read all important precautions and instructions in this manual and all warnings on your elliptical before using your elliptical. ICON assumes no responsibility for personal injury or property damage sustained by or through the use of this product. -
Page 4: Before You Begin
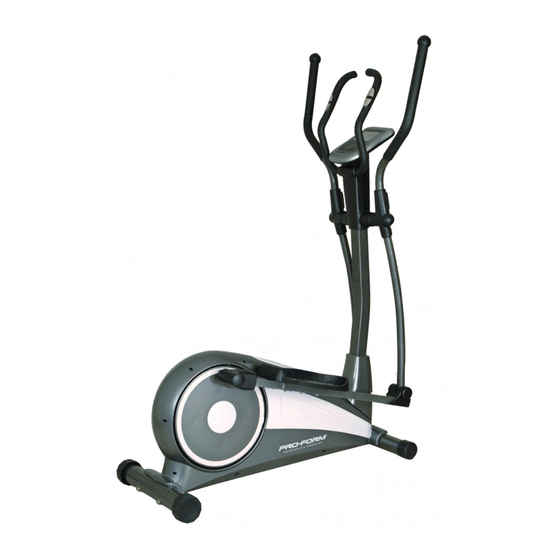
BEFORE YOU BEGIN Thank you for purchasing the ProForm® 475 ZLE. before contacting us. The model number is PFIV- The elliptical provides an array of features de- EL87310.0 and the location of the serial number signed to make your workouts at home more ef- decal is under the main frame. -
Page 5: Assembly
ASSEMBLY STEP 1 Tighten the front bottom tube(23) to the mainframe(1) with inner hexagon boltM8X72 (21), arc washer D8×Φ19×1.5×R30 (20). Tighten the rear bottom tube(3) to the main- frame(1) with inner hexagon bolt M8X90 (4), arc washer d8×2×Φ25×R39 (33). STEP 2 Firstly put the protective guard (49) to the han- dlebar post (46).Then connect the connection wire (50) to the sensor wire(53), lastly tighten the... - Page 6 STEP 3 Attach the L/R Swing tube (24L/R) to the shaft (51) on Handlebar post (46) with Inner hexagon bolt (10),Spring washer (11) D-shape washer (9) and Wave wash- ers (35), But don’tighten them first. Tighten the L/R pedal tube joint (39) to the L/R crank (56L/R) with Inner hexa- gon bolt (10), Spring washer (11), D-shape washer (9) and Wave washer (35), but don’t...
- Page 7 STEP 6 Fix the joint part of L/R handlebar (28L/R) and L/R swing tube(24L/R) with protective guard(26a/b), protective guard(55a/b), then tighten them with screwST3.5X10(27). Tighten the protective guard (17L/R) to the L/R pedal support (15L/R) with screw ST4.2X18 (34). Tighten the protective guard (54a/b) to the L/R pedal tube joint (39L/R) with screwM5X10 (16).
-
Page 8: Console Features
CONSOLE FEATURES During the time setting mode, press this button to validate the hours and minutes. During the setting mode, press this button to validate the adjusted values. During the STOP mode, press this button to reset the values. ST/SP (START/STOP) : For a quick start, press this button to start the counting of the console, it will start at 0. - Page 9 1. Turn on the console. 6. Pause your program. Make sure to plug the power adapter, then to start If you want to pause your program, simply press the the console, simply press one of the button or begin ST/SP button. Note : If the pedals do not move for a pedaling.
- Page 10 WATT PROGRAM : pulse/min. 1. Turn on the console 3. Entering your datas Make sure to plug the power adapter, then to start AGE will flash, press the UP and DOWN button the console, simply press one of the button or begin to select your AGE, then slide the UP and DOWN pedaling.
- Page 11 USER SETTING PROGRAMS : 3.Entering your datas 1. Turn on the console With 5 different body types, the computer can generate 5 different profiles (Slim, Healthy, Fleshy, To turn on the console, press any button on the Over WT and Obese) for each. Press “ENTER” key console or simply begin pedaling.
-
Page 12: How To Operate The Elliptical
HOW TO USE THE ELLIPTICAL HOW TO EXERCISE ON THE ELLIPTICAL HOW TO PLUG IN THE POWER ADAPTER EXERCISER IMPORTANT: If the exercise bike has been exposed to cold temperatures, allow it to warm To mount the elliptical exerciser, hold the upper to room temperature before plugging in the body arms and step onto the pedal that is in the power adapter. -
Page 13: How To Measure Your Pulse
HOW TO MEASURE YOUR PULSE Measure your heart rate if desired When you are finished exercising You can measure you heart rate using either the If the pedals do not move for several minutes and handgrip pulse sensor or the optional chest pulse the buttons are not pressed, the console will turn sensor. -
Page 14: Maintenance And Troubleshooting
MAINTENANCE AND TROUBLESHOOTING Inspect and tighten all parts of the exercise cycle regularly. Replace any worn parts immediately. To clean the exercise cycle, use a damp cloth and a small amount of mild detergent. Important: To avoid damaging the console, keep liquids away from the console and keep the console out of direct sunlight. -
Page 15: Exercise Guidelines
EXERCISE GUIDELINES Burning Fat—To burn fat effectively, you must exer- WARNING: cise at a low intensity level for a sustained period of time. During the first few minutes of exercise, your Before beginning this or any exercise pro- body uses carbohydrate calories for energy. Only af- gram, consult your physician. -
Page 16: Suggested Stretches
SUGGESTED STRETCHES The correct form for several basic stretches is shown at the right. Move slowly as you stretch—never bounce. 1. Toe Touch Stretch Stand with your knees bent slightly and slowly bend forward from your hips. Allow your back and shoulders to relax as you reach down toward your toes as far as possible. -
Page 17: Exploded Drawings
EXPLODED DRAWING—Model No. PFIVEL87310.0 part 1... - Page 18 EXPLODED DRAWING—Model No. PFIVEL87310.0 part 2...
-
Page 19: Part List
PART LIST—Model No.PFIVEL87310.0 Item Description Qty. Item Description Qty. Mainframe Connection wire End cap Long axle Rear bottom tube Flat washerD12×Φ24×1.5 Inner hexagon boltM8×90 Sensor wire Flat washer D10×Φ20×2 Protective guard Nylon nut M10 Protective guard Plastic bushingΦ28×16×Φ16.1 L/R crank BushingΦ18×Φ10×11... -
Page 20: Ordering Replacement Parts
ORDERING REPLACEMENT PARTS To order replacement parts, please see the front cover of this manual. To help us assist you, be prepared to provide the following information when contacting us: • the model number and serial number of the product (see the front cover of this manual) •...
Need help?
Do you have a question about the PFIVEL87310.0 and is the answer not in the manual?
Questions and answers