Clek Olli Instruction Manual
Hide thumbs
Also See for Olli:
- Instruction manual (22 pages) ,
- Instruction manual (22 pages) ,
- Instruction manual (36 pages)
Table of Contents
Advertisement
Quick Links
Download this manual
See also:
Instruction Manual
000001
0
9
Olli and Ozzi
Instruction Manual
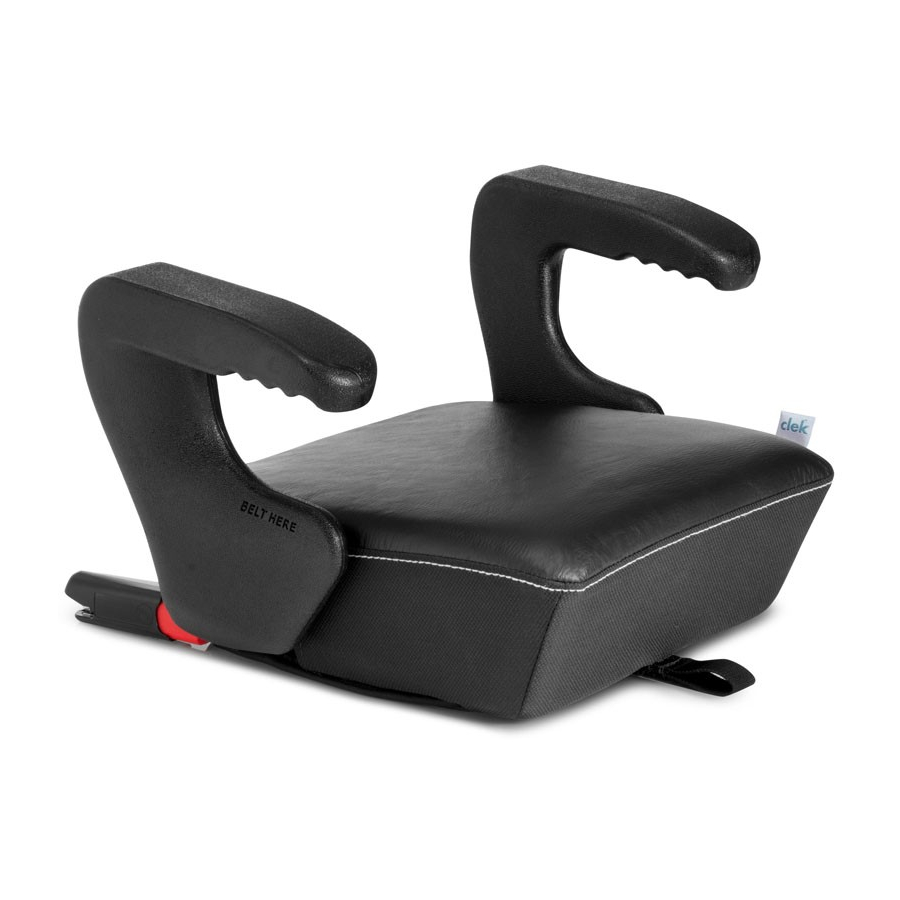
This belt-positioning booster seat (booster seat)
is designed for use by children who meet
these requirements:
101–145 cm.
40–57 in.
of serious injury or death to the child and others in a sharp turn, sudden stop or
crash.
SEPTEMBER2012
18–54 kg.
40–120 lb.
WARNING
Failure to properly install or use this booster seat increases the risk
Advertisement
Table of Contents

Related Manuals for Clek Olli


Summary of Contents for Clek Olli
- Page 1 000001 Olli and Ozzi Instruction Manual This belt-positioning booster seat (booster seat) is designed for use by children who meet these requirements: 101–145 cm. 18–54 kg. 40–57 in. 40–120 lb. WARNING Failure to properly install or use this booster seat increases the risk of serious injury or death to the child and others in a sharp turn, sudden stop or crash.
-
Page 2: Table Of Contents
Limited Warranty ..................... Warranty Limitations ..................Limitation of Warranties and State/Provincial Law Rights ........® Clek and Clek logos, Olli, Ozzi, and Oobr are registered trademarks of Clek Inc. For a complete list of Clek Inc. trademarks please visit www.clekinc.com/trademarks. -
Page 3: General Information
™ Armrests ™ For concerns related to the parts, use or maintenance of this product, please contact us at: 5 Quick Release System Clek Inc. Removable & Attn: Customer Service washable seat cover 12 Upjohn Rd., Suite 1 ™*... -
Page 4: Registering Your Booster Seat
(booster seat) to be reached in a recall. Send your name, address and the restraint’s model number and manufacturing date to Clek Inc., 12 Upjohn Rd., Suite 1, Toronto, Ontario Canada, M3B 2V9 or call Clek Inc.’s customer service line at 1-866-656-2462 Date of Purchase: _________________________________________________________________ to register, or you may register online at http://www.clekinc.ca/register. - Page 5 warnings WARNING WARNING...
- Page 6 WARNING WARNING...
-
Page 7: Height And Weight Limitations
certification height and weight limitations WARNING Using this booster seat with a child vehicle classification who does not meet these requirements will increase the risk of serious injury or death to the child. This booster seat is for use only in the following classes of vehicle: Passenger Cars, Trucks, and Multi-Purpose Passenger Vehicles such as SUVs (sports utility vehicles) and CUVs The child MUST meet ALL of the following (crossover utility vehicles). -
Page 8: Latch Anchorage System
vehicle requirements Vehicle Seat Location Requirements LATCH Anchorage System WARNING (applicable only if installing booster seat in vehicle using LATCH connectors) Some seating positions in your vehicle may not be safe for this booster seat. Some vehicles do NOT have any seating Children, also referred to as lower Universal positions that can be used safely with the booster seat. -
Page 9: Vehicle Seat Belt Requirements
Vehicle Seat Belt Requirements booster seat on vehicle seats facing sideways or backwards. WARNING Pay careful attention to these systems; some of the seat belts that are NOT safe to use look very much like seat belts that are safe to use. If you are unsure, consult your vehicle owner’s manual or call 1-866-656-2462. - Page 10 installing/removing booster seat WARNING in vehicle WARNING Failure to properly install or use this booster seat increases the risk of serious injury or death to the child and others in a sharp turn, sudden stop or crash.
-
Page 11: Installing Booster Seat In Vehicle Using Latch Connectors
Installing Booster Seat in Vehicle Press the LATCH connectors using LATCH connectors against the LATCH lower anchors until you hear each LATCH connector click. Select a forward facing vehicle position which has a lap and shoulder belt. Locate the LATCH lower in the “LATCH Anchorage System”... -
Page 12: Installing Booster Seat In Vehicle Without Using Latch Connectors
Installing Booster Seat in Vehicle WARNING without using LATCH connectors Select a forward facing vehicle position which has a lap and shoulder belt. Position the booster seat with LATCH connectors tucked into the crease between the seat back and seat cushion. WARNING This booster seat MUST remain connected to the LATCH lower anchors in the vehicle or secured... -
Page 13: Removing Booster Seat In Vehicle
Removing Booster Seat in Vehicle model only) ™ Locate the release strap hanging at the front of the seat. Locate the red buttons on the front of the LATCH connectors. of the booster seat. Use the other hand Releasing one LATCH connector at a to pull forward on the strap releasing time, use your thumb to press in on one both LATCH connectors and pulling... - Page 14 securing child in booster seat The child MUST sit in the booster seat with their back flat against the vehicle seat back. The tops of the child’s ears MUST be below the top of the vehicle seat back or a fully deployed head restraint WARNING on the vehicle seat.
- Page 15 Pull the shoulder belt across the child’s chest while positioning BOTH the lap and shoulder When sitting on the booster seat, the shoulder belt belt underneath the inboard armrest as shown. Buckle the seat belt. Use only the vehicle’s MUST lie snug across the midpoint of the child’s vehicle lap-only belt system.
- Page 16 owner’s manual storage The lap belt MUST sit low and snug on the child’s hips. Pull on the shoulder belt to tighten. The shoulder belt MUST be centered over the child’s shoulder and lie across the mid point of the child’s chest. After carefully reading and following these instructions, store the instruction manual in its pocket located on the bottom of the seat as shown.
-
Page 17: Washing Instructions
care & cleaning Pull up on the bottom flap and sides of the seat cover releasing the fastening strips. Flip the bottom flap forward so that it hangs in front of the seat. WARNING Unfasten the triangular flaps and flip them sideways so that they hang off to the side of the seat. - Page 18 Reinstalling Cover Unfasten the seat cover and align it with the seat frame. Place the base frame right side up with Pull the cover over the frame, starting the LATCH connectors pointing toward from the front of the seat (opposite your body.
-
Page 19: Limited Warranty
Warranty Period, Clek Inc. will, at its option, repair or replace this product if it is found by the man ufacturer to be defective in material or workmanship. Clek Inc. reserves the right to dis con tinue or change parts, fabrics, models, or products, or to substitute this product with a comparable model or product. - Page 20 Neither Clek Inc. nor the dealer selling this product has author ized any person to create for it any other warranty, obligation, or liability in connection with this product.
- Page 21 Clek Inc. 12 Upjohn Rd., Suite 1 Toronto, Ontario Canada M3B 2V9 1-866-656-2462 JULY2012...
Need help?
Do you have a question about the Olli and is the answer not in the manual?
Questions and answers