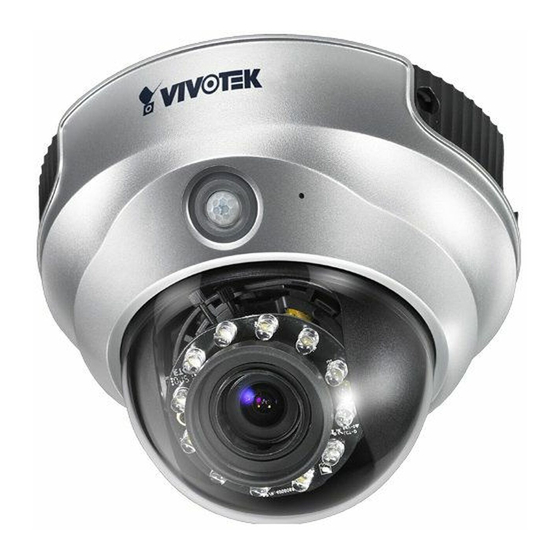
Vivotek FD7131 Quick Installation Manual
Hide thumbs
Also See for FD7131:
- User manual (104 pages) ,
- Quick installation manual (12 pages) ,
- User manual (122 pages)
Table of Contents
Advertisement
Quick Links
Download this manual
See also:
User Manual
Advertisement
Table of Contents

Summary of Contents for Vivotek FD7131
-
Page 2: Warning Before Install
Warning Before Install Power off the Network Camera as soon as Keep the Network Camera away from the water. If the Network Camera is wet, power it is found smoking or smelt unusual. off immediately. Contact your distributor when such cases Contact your distributor when such cases happen. -
Page 3: Package Contents
Package Contents FD7131 Power adapter Alignment sticker Software CD Warranty card Quick installation guide Screwdriver Screws and I/O connector EN - 2... -
Page 4: Physical Description
Drill holes Network Camera Dome cover RoHS Model No: FD7131 MAC: 0002D1122299 This device complies with part 15 of the FCC rules. Operation is subject to the following two conditions: (1)This device may not cause harmful interference, and (2) this device must accept any interference received, including interference that may cause undesired operation. -
Page 5: Hardware Installation
Hardware Installation First, use the supplied screwdriver to detach the dome cover from the camera base. Then, follow the steps below to install the camera; either to a ceiling or to a wall. Installation Tips Before installing the camera, look for a spot that best suits your needs. The built-in PIR sensor is designed to be triggered when a person enters its detection range. -
Page 6: Network Deployment
Network Deployment General Connection (without PoE) 1. If you have external devices such as sensors and alarms, make connections from gen- eral I/O terminal block. 2. Connect the camera to a switch via a Ethernet cable. 3. Connect the supplied power cable from the camera to a power outlet. 1: Power 2: Digital output 3: Digital input... - Page 7 Power over Ethernet (PoE) When using a PoE-enabled switch The camera is PoE-compliant, allowing transmission of power and data via single Ether- net cable. See the following illustration to connect the camera to a PoE-enabled switch via Ethernet cable. PoE switch When using a non-PoE switch Use a PoE power injector (optional) to connect between the camera and a non-PoE switch.
-
Page 8: Assigning Ip Address
"Next" button to continue the program. Installation Wizard 2 3. The program will search the VIVOTEK Video Receivers, Video Servers or Network Cam- eras on the same LAN. 4. After searching, the main installer window will pop up. Click on the MAC that matches the one labeled on the bottom of your device to connect the Internet Explorer to the Network Camera. -
Page 9: Ready To Use
Ready to Use 1. Access to the Network Camera from the Internet. 2. Retrieve live video through web browsers or recording software. For further setup, please refer to user's manual on the software CD. EN - 8... -
Page 10: Adjusting The Lens
Adjusting the Lens Based on the live image retrieved from the camera, adjust the camera lens by doing the following: To adjust the viewing angle 1. Loosen the pan screw and then turn the lens module left and right. Upon completion, tighten the pan screw. - Page 11 Completion Attach the dome cover to camera. Secure the two dome screws with a screwdriver. Finally, make sure all parts of the camera are securely installed. The supplied screwdriver is exclusively designed to match the dome screws. In case you will need to adjust the lens at a later time, do not discard the screwdriver.


Need help?
Do you have a question about the FD7131 and is the answer not in the manual?
Questions and answers