Advertisement
Advertisement
Table of Contents

Related Manuals for NewAir AC-12200E


Summary of Contents for NewAir AC-12200E
- Page 1 Certified to CSA STD. C22.2 No.117...
- Page 2 Trust has to be earned and we will earn yours. Customer happiness is the focus of our business. From the factory to the warehouse, from the sales floor to your home, the whole NewAir family promises to provide you with innovative products, exceptional service, and support when you need it the most.
-
Page 3: Table Of Contents
TABLE OF CONTENTS BEFORE USE ……………………………………………………………………………… PARTS …………………………………………………………………………………… INSTALLATION of the exhaust pipe …………………………………………… INSTALLATION of the unit …………………………………………………………. OPERATION ……………………………………………………………………………. DRAINING …………..…………………………………………………………………… MAINTENANCE ……………………..………………………………………………… FAULT CHECK LIST …………………………………………………………………… TECHNICAL SPECIFICATIONS ……………………………………………………. WARRANTY PAGE ……………………………………………………………………. A Name You Can Trust... -
Page 4: Before Use
BEFORE USE GENERAL SAFETY INSTRUCTIONS: Always operate the unit in an upright position and place it on a flat, level surface at least 14” (36 cm) away from any other objects (fig. 1 & 4). Do not place objects on the unit, and do not cover or block the air inlet / outlet (fig. -
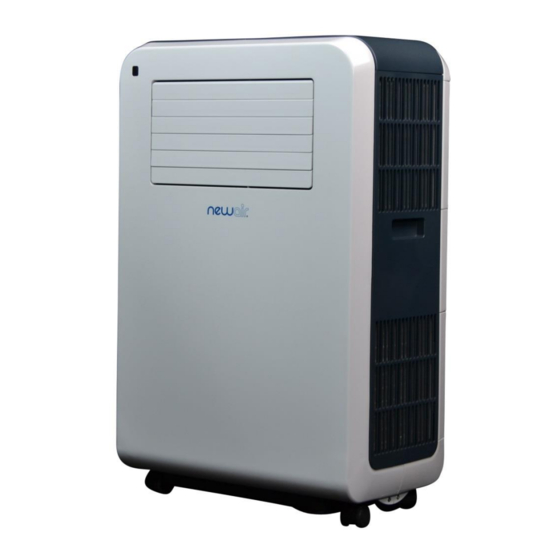
Page 5: Parts
PARTS Front Back FIG.5 FIG.6 Exhaust pipe compartment Air filter (air inlet) Control Panel 10. Carrying handle Remote control receiver 11. Cord compartment Carrying handle 12. Air filter (air inlet) Water funnel (for energy saving) 13. Air filter (air inlet) Horizontal louver 14. -
Page 6: Installation Of The Exhaust Pipe
INSTALLATION of the exhaust pipe Unscrew the slide at the top. FIG.8 Unscrew the screw here Remove the slide at the top. FIG.9 Take out the exhaust pipe. FIG.10 Fix the exhaust pipe to the air outlet at the back. FIG.11 Remember For storage of the exhaust pipe, please do it in the opposite steps. - Page 7 Use only the hose provided and clip exhaust hose and unit adaptor to the back of the air conditioner Avoid kinks and bends in the exhaust hose as this will cause expelled humid air to build up causing the unit to overheat and shut down.
-
Page 8: Installation Of The Unit
INSTALLATION of the unit The unit is a portable air conditioner that may be moved from room to room. 1. Using the extendable slide Extendable slide FIG.14 Offer window spacer to the window gap and adjust the length as you need. ... - Page 10 Turning the Unit On and Off Press the ON/OFF button. The unit will start automatically: For cooling only model: AC-12200E F → the unit will work in cooling mode R.T. (room temperature) > 75 F → the unit will work in fan mode R.T.
- Page 11 Setting temperature Press the increase temperature or decrease temperature button to change the set temperature. The display window will then indicate the set temperature. If no temperature is set, the display will show the room‟s ambient temperature. Setting the Fan Speed Press the fan speed button to select the desired fan speed.
- Page 12 Heating Function (Optional – Only Available on model# AC-12200H ) This portable air conditioner can work as a heater because it has a heat pump. Ambient warm air is recycled and used to heat specific areas. In order to use the air conditioner as a heater, the exhaust hose must still be fitted onto the unit in order to allow cold air to be removed.
-
Page 13: Draining
IMPORTANT ! To prolong the compressor's life, after switch-off of the unit, please wait for 3 minutes (at least) before re-switch. The cooling system will switch off if the ambient temperature is lower than the set one. The fan, however, keeps working at the set level. If the ambient temperature rises above the selected level, the cooling will return to work. - Page 14 Connect the drain tube supplied to the water outlet as shown and locate the other end into a drain. The drain tube may be extended by adding an extension tube and using a suitable connector. FIG.24 Please note The drain must be at a lower level than the drain hole on the unit.
-
Page 15: Maintenance
MAINTENANCE Always unplug the air conditioner from the mains before cleaning. To maximize the efficiency of the air conditioner, clean the unit regularly. Cleaning the housing Use a soft, damp cloth to wipe the body clean. Never use aggressive chemicals, gasoline, detergents, chemically treated cloths, or other cleansing solutions. -
Page 16: Fault Check List
FAULT CHECK LIST The air conditioner does not run Is the air conditioner plugged in? Is there a power failure? Is the ‘full water’ indicator flashing? Is the room temperature below the set temperature? The machine seems to do little Is there direct sunshine? (Please put down the curtain.) ...
Need help?
Do you have a question about the AC-12200E and is the answer not in the manual?
Questions and answers
I need to replace the exhaust hose, can you help on where to purchase one? thank you