Table of Contents
Advertisement
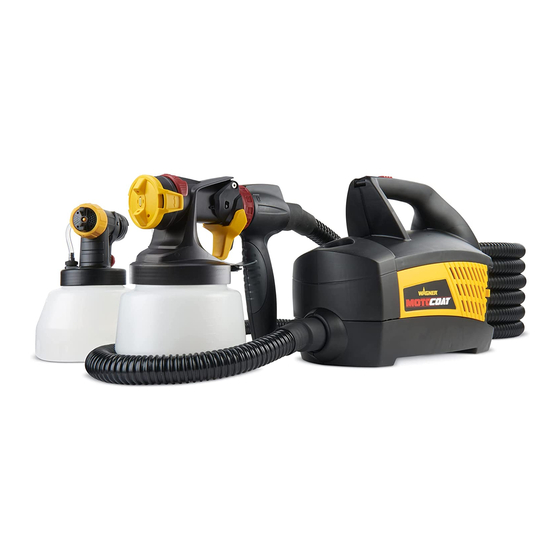
MotoCoat
Contents
2
4
5
6/7
Assembly
8
9
10
12
14
15
16
49
52
Warranty
• Form No. 0529448A
0315
Owner's Manual
Read this manual for complete instructions
Français (page 17) / Español (página 33)
Questions?
Call Wagner Technical Service at:
1-800-328-8251
Register your product online at:
www.wagnerspraytech.com
Français
Español
English
Advertisement
Table of Contents

Related Manuals for WAGNER motocoat


Summary of Contents for WAGNER motocoat
-
Page 1: Table Of Contents
Français (page 17) / Español (página 33) MotoCoat Contents Important Safety Information Controls and Functions Questions? Material Preparation Assembly Call Wagner Technical Service at: Air and Material Controls 1-800-328-8251 Spray Pattern Adjustment Proper Spraying Technique Register your product online at: Cleanup www.wagnerspraytech.com... -
Page 2: Important Safety Information
7. Verify that all containers and collection systems are grounded to prevent static discharge. 8. Connect to a grounded outlet and use grounded extension cords (electric models only). Do not use a 3 to 2 adapter. English © Wagner Spray Tech - All Rights Reserved... - Page 3 10. Power cord must be connected to a grounded circuit. 11. Do not spray outdoors on windy days. English © Wagner Spray Tech - All Rights Reserved...
-
Page 4: Controls And Functions
1 = Thin materials 2 = Thick materials Material Flow Control The material flow control determines the amount of spray material that is sprayed from the spray gun. English © Wagner Spray Tech - All Rights Reserved... -
Page 5: Material Preparation
(using the mixer installed into a cordless drill is recommended). 2. Unscrew the cup from the nozzle. 3. After the material has been properly thinned and strained, fill the container to desired level. English © Wagner Spray Tech. - All Rights Reserved... -
Page 6: Before You Begin
Make sure the suction tube is inserted as far as it will go to ensure a tight fit. 3. Carefully screw the cup back onto the spray gun assembly. Tighten firmly. English © Wagner Spray Tech. - All Rights Reserved... - Page 7 7. Insert the air hose tightly into the connection into the turbine. The connections can be positioned as desired. IMPORTanT: If the unit has already been used, make sure the nozzle seal is in place (see pages 13-14). English © Wagner Spray Tech - All Rights Reserved...
-
Page 8: Air And Material Controls
(not enough material). Tip: To ensure desired results are achieved with the controls, test your spray pattern on the spray poster or a scrap piece of wood or cardboard. English © Wagner Spray Tech - All Rights Reserved... -
Page 9: Spray Pattern Adjustment
*note: The air cap can be set diagonally on the Detail Finish nozzle only. To achieve a round pattern with the iSpray nozzle, see the “Adjust Spray Width” section. English © Wagner Spray Tech - All Rights Reserved... -
Page 10: Proper Spraying Technique
With reduced material flow and air power, you can get closer to the spraying surface. • Always apply a thin coat of material on the first pass and allow to dry before applying a second, slightly heavier coat. English © Wagner Spray Tech - All Rights Reserved... - Page 11 • Spray gun movement - moving the gun too quickly will cause the spray pattern to be too thin and excess overspray. Moving the gun too slowly will cause the spray pattern to be too coarse or thick. English © Wagner Spray Tech - All Rights Reserved...
-
Page 12: Cleanup
IMPORTanT: If you cleaned the sprayer using mineral spirits, repeat steps 1-6 using warm, soapy water. Move on to “Cleanup - Cleaning the nozzle”, next page. PULL Empty waste container English © Wagner Spray Tech - All Rights Reserved... - Page 13 Finish nozzle when the nozzle the groove) is facing out towards is removed. If this occurs, make the front of the nozzle. Improper sure to pull it out. installation will cause leakage. Groove English © Wagner Spray Tech - All Rights Reserved...
-
Page 14: Reassembly
Make sure the cup side of the seal (the side with the groove) is facing out towards the front of the nozzle. Improper installation will cause leakage. Groove English © Wagner Spray Tech - All Rights Reserved... -
Page 15: Maintenance
Turning the nozzle upside down will prevent the valve seal from falling out of the valve cover during reinstallation. 4. Place the air tube on the valve cover and on the nipple at the nozzle. English © Wagner Spray Tech. - All Rights Reserved... -
Page 16: Troubleshooting
Have you tried the recommendations above and are still having problems? In the United States, to speak to a customer service representative, call our Technical Service at 1-800-328-8251. See www.wagnerspraytech.com in the “Contact Us” section for Technical Service hours. English © Wagner Spray Tech. - All Rights Reserved... -
Page 17: Parts List
2) 2307279 Filter Filtre Filtro 2352268 Air hose Tuyau d’air Manguera de aire 0414240 Spray gun handle Poignée de pistolet Asa de pistola 0L1565 Mixer Agitateur Agitador Français Español English English © Wagner Spray Tech. - All Rights Reserved... - Page 18 Tube / Joint de clapet Tube / Junta de la válvula 0417474 Seal Joint Sello 0417473 Suction tube Tube d’aspiration Tubo de succión 2303366 Material container Réservoir de liquide Recipiente Français English Español © Wagner Spray Tech - All Rights Reserved...
- Page 19 Container seal Joint d’étanchéité de Sello de recipiente réservoir 0417357 Suction tube Tube d’aspiration Tubo de succión 0414336 Material container (48 oz) Réservoir de liquide (1400 Recipiente (1400 ml) Français Español English © Wagner Spray Tech - All Rights Reserved...
- Page 20 Français English Español © Wagner Spray Tech - All Rights Reserved...
Need help?
Do you have a question about the motocoat and is the answer not in the manual?
Questions and answers