Table of Contents
Advertisement
Quick Links
Advertisement
Table of Contents

Related Manuals for Simrad M5000 SERIES


Summary of Contents for Simrad M5000 SERIES
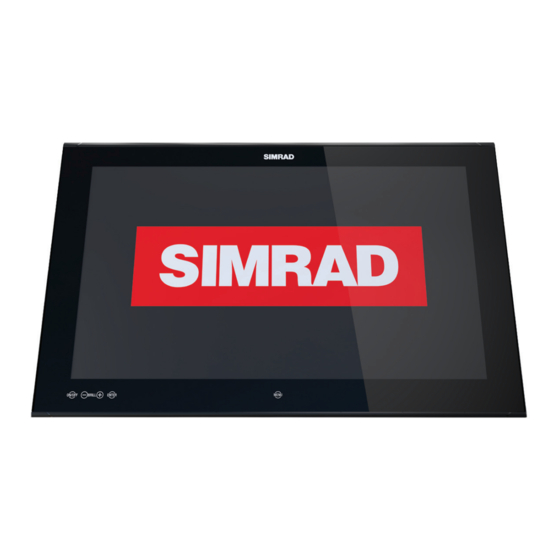
- Page 1 M5000 Series Monitors User Guide ENGLISH www.navico.com/commercial...
- Page 3 Wheelmark, which is a symbol of conformity with the Marine Equipment Directive. The M5000 Series (M5016, M5019, M5024 and M5027) monitors comply with IEC62388 Ed.2 for Radars. The monitors can be used as part of a radar system applying for type approval.
- Page 4 HDMI Licensing LLC in the United States and other countries About this manual This manual is a reference guide for installing and operating the Simrad M5000 Series monitors. Important text that requires special attention from the reader is emphasized as follows: ¼...
-
Page 5: Table Of Contents
Serial connection using the CT&A cable Operating the display First time operation OSD menu Cleaning and maintenance Display removal Replacing the gasket Replacing the filters Other maintenance Checking current firmware version Installing an update Troubleshooting Accessories Specifications Dimensional drawings Contents | M5000 Series User Manual... -
Page 6: Introduction
Introduction The Simrad M5000 series monitors offer a low profile solution for displaying video from a variety of sources. This includes 4 models; M5016, M5019, M5024 and M5027. • The whole M5000 series range complies with IEC62388 for Radars. •... -
Page 7: Installation
Cutout template Use the supplied scale template to help mark up the cutout area. ¼ Note: Always check the template dimensions against the physical monitor to ensure dimensions are correct, prior to making the cutout. Installation | M5000 Series User Manual... -
Page 8: Fixing Options
Fixing options The M5000 series monitors can be dash or bracket mounted (using optional VESA adaptor). When dash mounting, unit should be fitted using the rear mounted dash mount brackets, and bezel screws from the front. Exclusion of the dash mount bracket will increase strain on bezel screws and adjacent bezel plastics, and is not recommended. - Page 9 5 mm of threaded rod protrudes through other side of bracket. Fit stopper foot on to end of wing screw. Complete for both threaded holes on each bracket. Installation | M5000 Series User Manual...
- Page 10 Once flush with front surface of screen, slide top bezel to the left, and bottom bezel to the right to lock in to place. 10 | Installation | M5000 Series User Manual...
-
Page 11: Vesa Mounting The Display
The bracket mounting points on the monitor are only intended to carry the weight of the monitor - do not install monitor in such a place where it may be used as a handhold, or have additional equipment attached to it. | 11 Installation | M5000 Series User Manual... -
Page 12: Connecting The Display
Connecting the display The M5000 series monitors largely use industry standard cables, which can be purchased pre-terminated in a variety of lengths. The following chapter provides additional detail where cables require field termination by the installer. Rear connections Connection Function... -
Page 13: Connecting Power
¼ Note: In an ECDIS configuration connect the red and yellow wires in parallel. Recommended fuse rating Model M5016 M5019 M5024 M5027 Fuse 3 amp 4 amp 4 amp 4 amps | 13 Connecting the display | M5000 Series User Manual... -
Page 14: Color Calibration Connection For Maris Ecdis900 Mk5 Pc
ECDIS900 MK5 PC system. The connection must be made using the CT&A cable. Serial connection using the CT&A cable The M5000 series monitors must always be connected to the MARIS ECDIS900 MK5 PC via serial. Make all connections with power turned off. -
Page 15: Operating The Display
This auto adjustment will take place when the unit is first installed and connected to a source and there after, if the video input changes, or is user initiated. | 15 Operating the display | M5000 Series User Manual... -
Page 16: Osd Menu
Sub option Range Description Adjusts horizontal position, where 0 = left, Horizontal and 100 = right 0-100 Position Adjusts vertical position, where 0 = left, and Vertical 100 = right 16 | Operating the display | M5000 Series User Manual... - Page 17 12 V to yellow wire when figuration monitor is on Key Beeps Off, On Turns on or off the OSD key beeps Factory Reset Yes, No Restore all settings to default | 17 Operating the display | M5000 Series User Manual...
-
Page 18: Cleaning And Maintenance
The backing paper on outside of gasket will help prevent stretch, and should only be removed when display is ready to install in to dashboard. 18 | Cleaning and maintenance | M5000 Series User Manual... -
Page 19: Replacing The Filters
OSD version, BIOS version, and the serial number. Installing an update Updates should be loaded via a compatible Simrad device such as the NSO evo2. Refer to the applicable product manual on how to upgrade a device over NMEA 2000. -
Page 20: Troubleshooting
Video compromised by interference from other equipment Vertical shaded bars on Incoming video may be in 4:3 ratio, either leave in ‘aspect’ mode, screen image or set to ‘fill’ to use full screen space. 20 | Troubleshooting | M5000 Series User Manual... -
Page 21: Accessories
M5016/19/24/27 inlet filter cover 000-11624-001 HDMI cable (3 m) 000-11248-001 HDMI cable (10 m) 000-11249-001 Connector kit (power and serial plugs) 000-11625-001 ¼ Note: Available accessories may change - refer to the website: www.navico.com/commercial | 21 Accessories | M5000 Series User Manual... -
Page 22: Specifications
1360 x 768 (8-32 bit colour, 25, 29, 30, (16-32 bit colour, 50-60 Hz) (8-32 bit colour, 60 Hz) (8-32 bit colour, 60 Hz) 60 Hz) 1024 x 768 (8-32 bit colour, 60 Hz) 22 | Specifications | M5000 Series User Manual... -
Page 23: Dimensional Drawings
M5024: 598 mm M5027: 646.5 mm MAX 25.4 mm (1.00") M5016: 400 mm M5019: 478 mm M5024: 625 mm M5027: 675 mm 8 mm (0.31") 66.0 mm (2.60") MAX 88.0 mm (3.46") | 23 Dimensional drawings | M5000 Series User Manual... - Page 24 www.navico.com/commercial...
Need help?
Do you have a question about the M5000 SERIES and is the answer not in the manual?
Questions and answers