Sign In
Upload
Download
Table of Contents
Contents
Add to my manuals
Delete from my manuals
Share
URL of this page:
HTML Link:
Bookmark this page
Add
Manual will be automatically added to "My Manuals"
Print this page
×
Bookmark added
×
Added to my manuals
Manuals
Brands
HP Manuals
Digital Camera
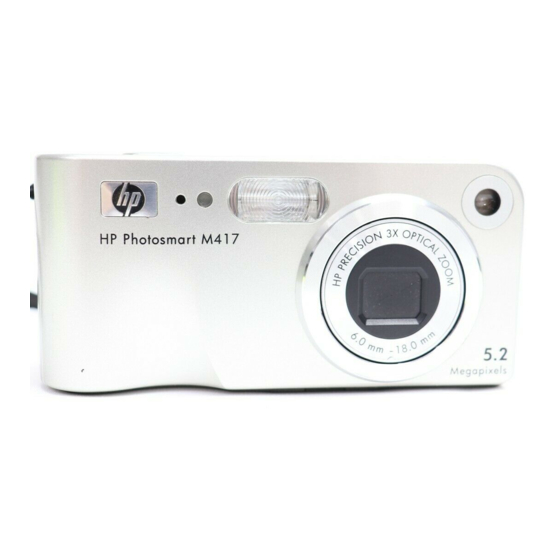
Photosmart M417
User manual
HP Photosmart M417 User Manual
With hp instant share
Hide thumbs
Also See for Photosmart M417
:
Quick start manual
(40 pages)
1
2
3
4
Table Of Contents
5
6
7
8
9
10
11
12
13
14
15
16
17
18
19
20
21
22
23
24
25
26
27
28
29
30
31
32
33
34
35
36
37
38
39
40
41
42
43
44
45
46
47
48
49
50
51
52
53
54
55
56
57
58
59
60
61
62
63
64
65
66
67
68
69
70
71
72
73
74
75
76
77
78
79
80
81
82
83
84
85
86
87
88
89
90
91
92
93
94
95
96
97
98
99
100
101
102
103
104
105
106
107
108
109
110
111
112
113
114
115
116
117
118
119
120
121
122
123
124
125
126
127
128
129
130
131
132
133
134
135
136
137
138
139
140
141
142
143
144
145
146
147
148
149
150
151
152
153
154
155
156
157
158
159
160
161
162
163
164
165
166
167
168
169
170
171
172
173
174
175
176
177
178
179
180
181
182
183
184
185
186
187
188
189
190
191
192
193
194
195
196
197
198
199
200
201
202
203
204
205
206
207
208
209
210
211
212
213
214
215
216
217
218
219
page
of
219
Go
/
219
Contents
Table of Contents
Troubleshooting
Bookmarks
Table of Contents
Table of Contents
Getting Started
Setup
Attach the Wrist Strap
Install the Batteries
Turn on the Camera
Choose the Language
Set the Region
Set the Date and Time
Install and Format a Memory Card (Optional)
Install the Software
Windows
Macintosh
User's Manual on the CD
Camera Parts
Top of the Camera
Back and Right Side of the Camera
Front, Left Side, and Bottom of the Camera
Camera States
Camera Menus
Camera Status Screen
Restoring Previous Settings
Viewing the On-Camera Demo
Taking Pictures and Recording Video Clips
Taking Still Pictures
Recording Audio with Still Pictures
Recording Video Clips
Using Live View
Focusing the Camera
Obtaining Optimum Focus
Using Focus Lock
Using Zoom
Using Optical Zoom
Using Digital Zoom
Setting the Flash
Using the Shooting Modes
Using the Self-Timer Settings
Using the Burst Setting
Using the Capture Menu
Help for the Menu Options
Image Quality
Adaptive Lighting
Color
Date & Time Imprint
EV Compensation
White Balance
ISO Speed
Reviewing Images and Video Clips
Using Playback
Total Images Summary Screen
Viewing Thumbnails
Magnifying Images
Using the Playback Menu
Delete
Remove Red Eyes
Rotate
Record Audio
Using HP Instant Share
Using the HP Instant Share Menu
Setting up Online Destinations in the Camera
Sending Images to Destinations
Transferring and Printing Images
Transferring Images to a Computer
Printing Images Directly from the Camera
Using the Setup Menu
Display Brightness
Camera Sounds
Live View at Power on
Date & Time
USB Configuration
TV Configuration
Language
Move Images to Card
Troubleshooting and Support
Resetting the Camera
HP Image Zone Software
System Requirements (Windows Only)
HP Image Zone Express (Windows Only)
Using Your Camera Without Installing the
Using Your Camera Without Installing the HP Image Zone Software
Transferring Images to a Computer Without HP Image Zone Software
Using a Memory Card Reader
Configuring the Camera as a Disk Drive
Problems and Solutions
Error Messages on the Camera
Error Messages on the Computer
Getting Assistance
HP Accessibility Website
HP Photosmart Website
Support Process
Phone Support in the United States and Canada
Phone Support in Europe, the Middle East, and Africa
Other Phone Support Worldwide
A Managing Batteries
Top Points about Batteries
Extending Battery Life
Safety Precautions for Using Batteries
Performance Per Battery Type
Number of Shots Per Battery Type
Power Indicators
Recharging Nimh Batteries
Safety Precautions for Recharging Nimh Batteries
Sleep Time-Out for Power Conservation
B Purchasing Camera Accessories
C Caring for Your Camera
Basic Camera Care
Cleaning the Camera
Cleaning the Camera Lens
Cleaning the Camera Body and Image Display
D Specifications
Memory Capacity
M417 Memory Capacity
M517 Memory Capacity
Take a Still Picture
Record a Video Clip
Video Clips
Windows System Requirements
Advertisement
Quick Links
1
Install the Batteries
2
Turn on the Camera
3
Install and Format a Memory Card (Optional)
4
Transferring Images to a Computer
Download this manual
Table of
Contents
Previous
Page
Next
Page
1
2
3
4
5
Advertisement
Table of Contents
Need help?
Do you have a question about the Photosmart M417 and is the answer not in the manual?
Ask a question
Questions and answers
Related Manuals for HP Photosmart M417
Digital Camera HP Photosmart M415 Quick Start Manual
Digital camera with hp instant share (40 pages)
Digital Camera HP Photosmart M407 Specifications
Hewlett-packard digital camera owner's manual (4 pages)
Digital Camera HP Photosmart M407 User Manual
(19 pages)
Digital Camera HP L2443A Description
Hewlett packard digital camera owner's manual (3 pages)
Digital Camera HP Photosmart M437 User Manual
Hewlett-packard digital camera user guide (49 pages)
Digital Camera HP M537 - Photosmart 6MP Digital Camera Warranty And Regulatory Information
Limited warranty statement (28 pages)
Digital Camera HP Photosmart M437 User Manual
(47 pages)
Digital Camera HP Photosmart M537 Manual
(128 pages)
Digital Camera HP Photosmart M437 Manual
(180 pages)
Digital Camera HP Photosmart M415 User Manual
Digital camera with hp instant share (178 pages)
Digital Camera HP HP PhotoSmart M415 Disassembly Instructions
End-of-life disassembly (2 pages)
Digital Camera HP Photosmart M440 series User Manual
Hewlett-packard digital camera user guide (48 pages)
Digital Camera HP PhotoSmart M407xi Specifications
Digital camera and m-series dock with hp instant share (4 pages)
Digital Camera HP PhotoSmart M525 User Manual
Hewlett-packard digital camera user guide (46 pages)
Digital Camera HP M525 - Photosmart Digital Camera Warranty And Regulatory Information
Warranty and regulatory guide (48 pages)
Digital Camera HP Photosmart M425 Instruction Manual
(188 pages)
This manual is also suitable for:
Photosmart m517
Table of Contents
Save PDF
Print
Rename the bookmark
Delete bookmark?
Delete from my manuals?
Login
Sign In
OR
Sign in with Facebook
Sign in with Google
Upload manual
Upload from disk
Upload from URL


Need help?
Do you have a question about the Photosmart M417 and is the answer not in the manual?
Questions and answers