Menvier Security SD1+ Installation And Programming Manual
Speech dialler
Hide thumbs
Also See for SD1+:
- Installation instructions manual (80 pages) ,
- Operation & maintenance manual (21 pages) ,
- Operator's manual (20 pages)
Table of Contents
Advertisement
Programming
SD1+
SD1+
Speech Dialler
Installation and
Programming Guide
Cooper Security Ltd
Security House
Vantage Point Business Village
Mitcheldean
Gloucestershire
GL17 0SZ
www.coopersecurity.co.uk
Product Support (UK) Tel: +44 (0) 1594 541979.
Available between:
08:15 and 17:00 Monday to Friday.
Product Support Fax: (01594) 545401
Part No: 11832027
34
Advertisement
Table of Contents

Related Manuals for Menvier Security SD1+


Summary of Contents for Menvier Security SD1+
-
Page 1: Speech Dialler
Programming SD1+ SD1+ Speech Dialler Installation and Programming Guide Cooper Security Ltd Security House Vantage Point Business Village Mitcheldean Gloucestershire GL17 0SZ www.coopersecurity.co.uk Product Support (UK) Tel: +44 (0) 1594 541979. Available between: 08:15 and 17:00 Monday to Friday. Product Support Fax: (01594) 545401 Part No: 11832027... -
Page 2: Table Of Contents
SD1+ SD1+ Programming NOTES: Contents Introduction......................1 Overview ..........................1 Specifications ........................4 Installation......................5 Installation Requirements ....................5 Mounting Instructions......................5 PCB Layout........................5 SD1+ Connections......................6 Commissioning ........................9 Programming ....................11 Entering Programming Mode ................... 11 Leaving Programming Mode .................... 11 Initialising a Unit........................ -
Page 3: Introduction
Programming SD1+ SD1+ NOTES: Introduction This manual describes how to install and program all SD1+ units manufactured after June 2008. Note that the programming menu for units made after that date is slightly different from the menu in older versions of the SD1+, and the recording time has been lengthened to 25 seconds per message. - Page 4 Introduction SD1+ SD1+ Programming Problem Possible Cause Action ECORDING ESSAGES The recipient can’t Weak reception or Mobile phones will only work The SD1+ has a built in microphone to let you record messages directly acknowledge the call incompatible telephone. correctly if they are used in an into the unit.
- Page 5 “9” (page the number “8” on the their telephone keypad. When the SD1+receives a (PABX) that needs a 14). digit “8” it will stop attempting to send that message until it is triggered pause after initial “9”.
-
Page 6: Specifications
Introduction SD1+ SD1+ Programming You can program the SD1+ to activate the output for one of the following Display Messages conditions: PLEASE The unit has no stored messages or telephone The unit has been triggered and is making calls. The output is active numbers. -
Page 7: Installation
Programming SD1+ SD1+ Options ABCD: Testing Messages Installation Installation Requirements To test a message and it’s telephone numbers: The SD1+ is designed for connection to an intruder alarm control panel or 1. Make sure the SD1+ is not currently sending any SD1+ similar equipment. -
Page 8: Sd1+ Connections
Installation SD1+ SD1+ Programming Option 0: Acknowledgement Options SD1+ Connections Caution: Before making any connections to the SD1+ remove the Once the SD1+ has made a call and delivered a power (battery and 240V mains) from the equipment you intend to message, it needs a signal to say that the message has connect the unit to. - Page 9 Programming SD1+ SD1+ Installation Option 9: Last Call Log TRIG POLARITY TRIG POLARITY Once someone has acknowledged a call, the SD1+ +12V +12V stores a record of the event. You can see that record N.O. N.C. using option 9. N.C. N.O.
- Page 10 Installation SD1+ SD1+ Programming Option 8: Abort Options When using the bell output to trigger the SD1+, you may find that the external sounder is partially triggered. If this is the case you will need to fit a 1k resistor between the SD1+ trigger input and 12V. Occasionally you may trigger the SD1+ by accident and cause it to send an unwanted call.
-
Page 11: Commissioning
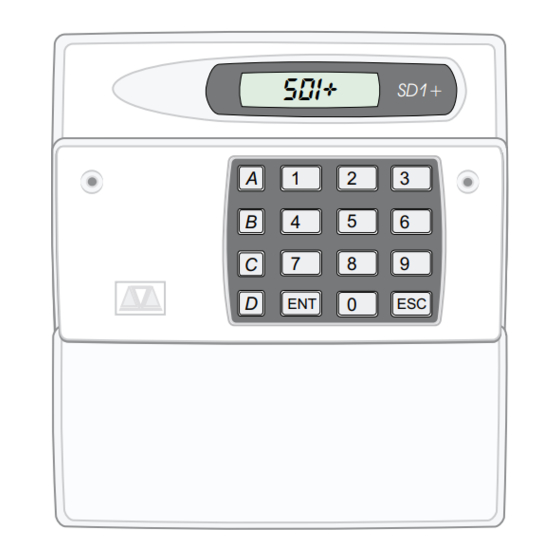
Programming SD1+ SD1+ Installation Option 7: Call Routing Commissioning Once you have made all the necessary connections, fit the cover back You can program messages A, B, C or D so that they onto the base and apply power to the SD1+. report to one or more of the four telephone numbers. - Page 12 Installation SD1+ SD1+ Programming Option 6: Programmable Output While the SD1+ is in standby the display continues to show “SD1+” You can re-enter programming mode if you need to by keying in the passcode. The SD1+ has a single output. Using option 6 you can program this output to operate under one of the When the SD1+ is making a call, the display continues to following conditions:...
-
Page 13: Programming
Programming SD1+ SD1+ Option 5: Changing Your Passcode Type Programming When delivered from the factory, (or if you have just Entering Programming Mode initialised the unit) the SD1+ uses four-digit passcodes. If To gain access to the program menus you must key in a you want to use a longer passcode, use option 5 to set passcode. - Page 14 Programming SD1+ SD1+ Programming Option 4: Changing Your Passcode The SD1+ is now in programming mode. It has no stored messages or telephone numbers. The passcode is 1234. To change the programming of the SD1+ you must first key in a passcode. In addition, you can use the same Note: If you wish, you can also initialise the unit as passcode to abort a call if it was started by accident (and follows:...
-
Page 15: Programming Options
Programming SD1+ SD1+ Programming Option 3: Erasing Messages/Telephone Programming Options Numbers There are 10 programming options, one assigned to each number key. The keys A, B, C and D allow you to test the messages and telephone If you wish to record a new set of phrases, or store a numbers that you program in. -
Page 16: Option 1: Storing Telephone Numbers
Programming SD1+ SD1+ Programming Option 1: Storing Telephone Numbers The display shows “REC” and a number: The number counts down in seconds from 25 to show you the amount of time you have left for the The SD1+ stores up to four telephone numbers, each up phrase. -
Page 17: Option 2: Recording Messages
Programming SD1+ SD1+ Programming Option 2: Recording Messages number (or correct any other digit). 6. Press [ to store the new telephone number and ENT 1-4 The SD1+ can transmit up to four messages. A message return to “ENT 1-4”. is made up of two phrases: phrase 0 plus one of phrases At this point you can select any phone number by A, B, C or D. - Page 18 Programming SD1+ SD1+ Programming 4. Press D. The display alternates between the words 5. Key in the phone number of the pager, for example: 08323456 TONE “TONE” and “DIALLING”. 6. Key in BBBBC. The display shows an “M” at 8323456M DIALLING the end of the telephone number: 5.
Need help?
Do you have a question about the SD1+ and is the answer not in the manual?
Questions and answers