Table of Contents
Advertisement
Advertisement
Table of Contents

Related Manuals for Horizon Hobby Night Vapor RTF


Summary of Contents for Horizon Hobby Night Vapor RTF
-
Page 1: Instruction Manual
Instruction Manual RTF PKZU1100 BNF PKZU1180 Created 03/10 18147 www.parkzone.com... -
Page 2: Table Of Contents
Night Vapor RTF Contents ........ -
Page 3: Product Support
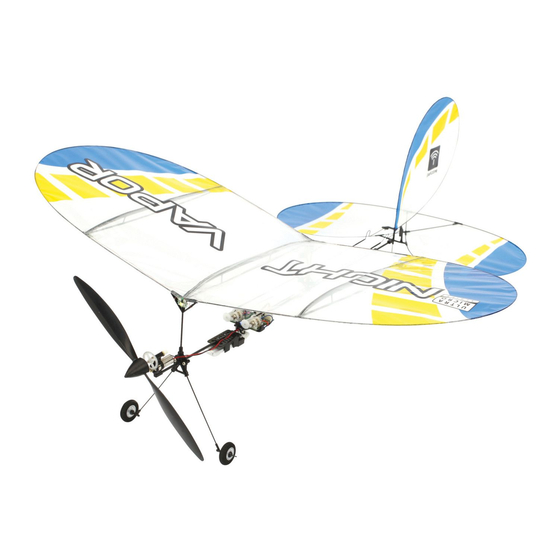
Night Vapor BNF Contents • Night Vapor Airframe Congratulations on the purchase of your ParkZone Ultra Micro Series Night Vapor RTF/BNF. Its feather-light ® • 4 AA batteries flying weight, slow speed and integrated LED lights make it possible for you to experience a whole world •... -
Page 4: Battery Charging
First Flight Preparation • By handling, charging or using the included Li-Po battery you assume all risks associated with lithium batteries. If you do not agree with these conditions, return your complete Night Vapor model in new, unused condition to the place of purchase immediately. Please note this checklist is not intended to be a replacement for the content included in this manual. -
Page 5: Transmitter Specific Binding Instructions
Note: Always disconnect the Li-Po from the receiver of the airplane when not flying. Failure to do so will render the battery unusable. Transmitter and Receiver Binding Your Night Vapor RTF comes pre-bound to the included DSM2 transmitter. If you should need to re-bind your airplane follow the simple directions below. DX5e or DX6i Setting the Airplane for Binding 1. -
Page 6: Led Identification
Transmitter Control Identification LED Identification Note: Before each flight you should ALWAYS turn the transmitter on before connecting the flight battery The Night Vapor is equipped with six LED lights. Below is a description of what each individual light to the receiver unit. After each flight, be sure you always disconnect the flight battery from the looks like. -
Page 7: Control Centering
Move the rudder stick left and right to check yaw control. When the stick is pushed to the right, the rudder d. Right rudder trim button—rudder reverse should also move right. 3. Continue holding the desired digital trim button down and turn the transmitter on. Note: On 3-channel aircraft, like the Vapor, the rudder is controlled by the stick usually used by the 4. -
Page 8: Replacing/Removing The Landing Gear
Replacing/Removing the Landing Gear The following checklist contains the steps to ensure proper arming and operation of the receiver unit, as well as the proper motor response. To remove the landing gear, follow these steps: • The throttle stick MUST be set in the lowest possible position, and for most transmitters, the throttle trim must also be set to the lowest possible position in order for the receiver unit to arm. -
Page 9: Replacing The Vertical Fin
Replacing the Vertical Fin Replacing the Wing To replace the vertical fin on your Night Vapor, follow the steps listed below. All LEDs on the wing are permanently attached. The new wing will include a new set of LEDs. To replace the wing follow the steps below: 1. -
Page 10: Replacing The Propeller
Replacing the Propeller 2. While holding the nylon nut, rotate the spur gear clockwise. The prop shaft will thread out of the nut. The propeller is threaded onto the shaft of the gearbox. 1. To remove the propeller, use needle-nose pliers or hemostats to grip the shaft. 3. -
Page 11: Replacement Parts
Replacement Parts Troubleshooting Guide PKZ3001....3.7V 70mAh Li-Po Battery If you have any problems with setup or programming that cannot be fixed by the Troubleshooting Guide, PKZ3240....DC 3.7V LiPo Charger please see page 23 and call the appropriate Horizon Product Support office. -
Page 12: Warranty And Repair Policy
Provided warranty conditions have been met, your Product will be repaired or replaced free of charge. Repair or replacement decisions are at the sole discretion of Horizon Warranty Period: Exclusive Warranty- Horizon Hobby, Inc., (Horizon) warranties that the Products purchased Hobby. -
Page 13: Compliance Information For The European Union
Horizon Hobby, Inc. US patents D578,146. 7,391,320. PRC patent number ZL 2007 2 0069025.2 Other patents pending DSM and DSM2 are trademarks or registered trademarks of Horizon Hobby, Inc. The Spektrum trademark is used with permission of Bachmann Industries, Inc.
Need help?
Do you have a question about the Night Vapor RTF and is the answer not in the manual?
Questions and answers