Table of Contents
Advertisement
Advertisement
Table of Contents

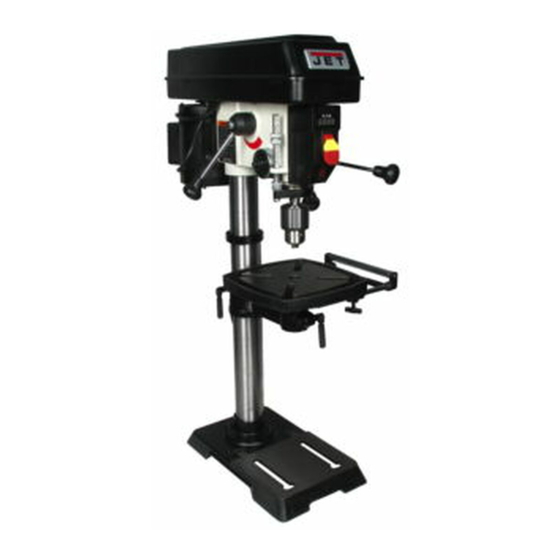
Summary of Contents for Jet JWDP-12
- Page 1 This .pdf document is bookmarked Operating Instructions and Parts Manual 12" Variable Speed Drill Press Model: JWDP-12 427 New Sanford Road LaVergne, Tennessee 37086 Part No. M-716000 Ph.: 800-274-6848 Edition 1 12/2015 www.jettools.com Copyright © 2015 JET...
-
Page 2: Important Safety Instructions
5. Do not use this drill press for other than its operate properly and perform its intended function. intended use. If used for other purposes, JET Check for alignment of moving parts, binding of disclaims any real or implied warranty and holds... -
Page 3: About This Manual
Your machine has been designed and constructed to provide consistent, long-term operation if used in accordance with the instructions set forth in this document. If there are questions or comments, please contact your local supplier or JET. JET can also be reached at our web site: www.jettools.com. -
Page 4: Table Of Contents
12.0 Troubleshooting JWDP-12 Drill Press ......................13 13.0 Replacement parts ............................ 14 13.1.1 JWDP-12 Drill Press – Exploded View ....................14 13.1.2 JWDP-12 Drill Press – Parts List ......................15 14.0 Electrical connections – JWDP-12 ......................18 ... -
Page 5: Specifications
Shipping Weight (approx.) ......................92.5 lb. (42 kg) The specifications in this manual are given as general information and are not binding. JET reserves the right to effect, at any time and without prior notice, changes or alterations to parts, fittings, and accessory equipment deemed necessary for any reason whatsoever. -
Page 6: Unpacking
1. Remove contents from shipping container. 2. Compare contents of shipping container with the list found above. Report any shortages or damage to your JET distributor. 3. Clean all rust protected surfaces with kerosene or a light solvent. Do not use lacquer thinner, paint thinner, or gasoline. -
Page 7: Assembly
6.0 Assembly 6.1 Base and column assembly Refer to Figure 3: 1. Place base (D) on a level floor. 2. Place column assembly (E) on base (D) and align holes in column support with holes in base. 3. Using a 5/8-in wrench, secure column (E) with four M10 x 25 hex cap screws (N) to the base. -
Page 8: Mounting The Head
6.4 Mounting the head 1. With the aid of a second person, carefully lift head onto column top (Figure 5). The head assembly is heavy. To avoid injury and/or damage to equipment, lift head onto column only with additional assistance. 2. -
Page 9: Electrical Connections
115 Volt operation only The JWDP-12 is rated at 115-volt power. The drill This tool is intended for use on a circuit that has an press comes with a plug designed for use on a... -
Page 10: Adjustments
8.0 Adjustments 8.1 Removing chuck and arbor Refer to Figure 8: 1. Unplug machine from power source. 2. Raise table until it is about seven inches below chuck. 3. Place a piece of scrap wood on the table, and lower quill (E) using the downfeed handle (A). 4. -
Page 11: Return Spring Adjustment
8.4 Return spring adjustment The return spring is located opposite the downfeed handle hub and sets the tension for the downfeed handle. It is adjusted at the factory and should not need further adjustment. If adjustment is deemed necessary: 1. Unplug machine from power source. Refer to Figure 10: 2. -
Page 12: Features And Controls
Figure 12 11.0 Basic operation 9.0 Features and controls Always use a back-up piece of scrap wood to Refer to Figure 12: cover the table. This protects both the table Downfeed Handle – Lower and raise spindle. and the drill bit. Lamp Switch –... -
Page 13: Troubleshooting Jwdp-12 Drill Press
12.0 Troubleshooting JWDP-12 Drill Press Symptom Possible Cause Correction * Drill press unplugged from wall or Check all plug connections. motor. Fuse blown or circuit breaker tripped. Replace fuse or reset circuit breaker. Drill press will not start. Cord damaged. -
Page 14: Replacement Parts
13.0 Replacement parts 13.1.1 JWDP-12 Drill Press – Exploded View... -
Page 15: Jwdp-12 Drill Press - Parts List
13.1.2 JWDP-12 Drill Press – Parts List To order parts or reach our service department, call 1-800-274-6848 Monday through Friday, 8:00 a.m. to 5:00 p.m. CST. Having the Model Number and Serial Number of your machine available when you call will allow us to serve you quickly and accurately. - Page 16 Index No Part No Description Size 50 ....JWDP12-050 ..... Drift Key ......................1 51 ....JWDP12-051 ..... Chuck Arbor ....................1 207 .... JWDP12-207 ..... Chuck Assembly (#52 and 53)............... 1 52 ....JDP12-30 ....Chuck......................1 53 ....
- Page 17 ....JWDP12-127CS ..Centrifugal Switch (not shown) ..............1 128 .... JWDP12-128 ..... Key ................A4x4x80 ......1 129 .... JET-92....... Jet Logo ..............92x38mm ...... 1 130 .... LM000139 ....Speed Control Label ..................1 131 .... LM000140 ....RPM Label ..................... 1 132 ....
-
Page 18: Electrical Connections - Jwdp-12
14.0 Electrical connections – JWDP-12 1 Phase, 115V only... -
Page 19: Warranty And Service
JET sells through distributors only. The specifications listed in JET printed materials and on official JET website are given as general information and are not binding. JET reserves the right to effect at any time, without prior notice, those alterations to parts, fittings, and accessory equipment which they may deem necessary for any reason ®... - Page 20 427 New Sanford Road LaVergne, Tennessee 37086 Phone: 800-274-6848 www.jettools.com...


Need help?
Do you have a question about the JWDP-12 and is the answer not in the manual?
Questions and answers